Comments/questions and feedback welcome, send them to: volvo164@ and then tinternet.nl
Inspired by Christer Haddal who inspired me to start my conversion, see his creation @http://forums.turbobricks.com/showthread.php?t=220363
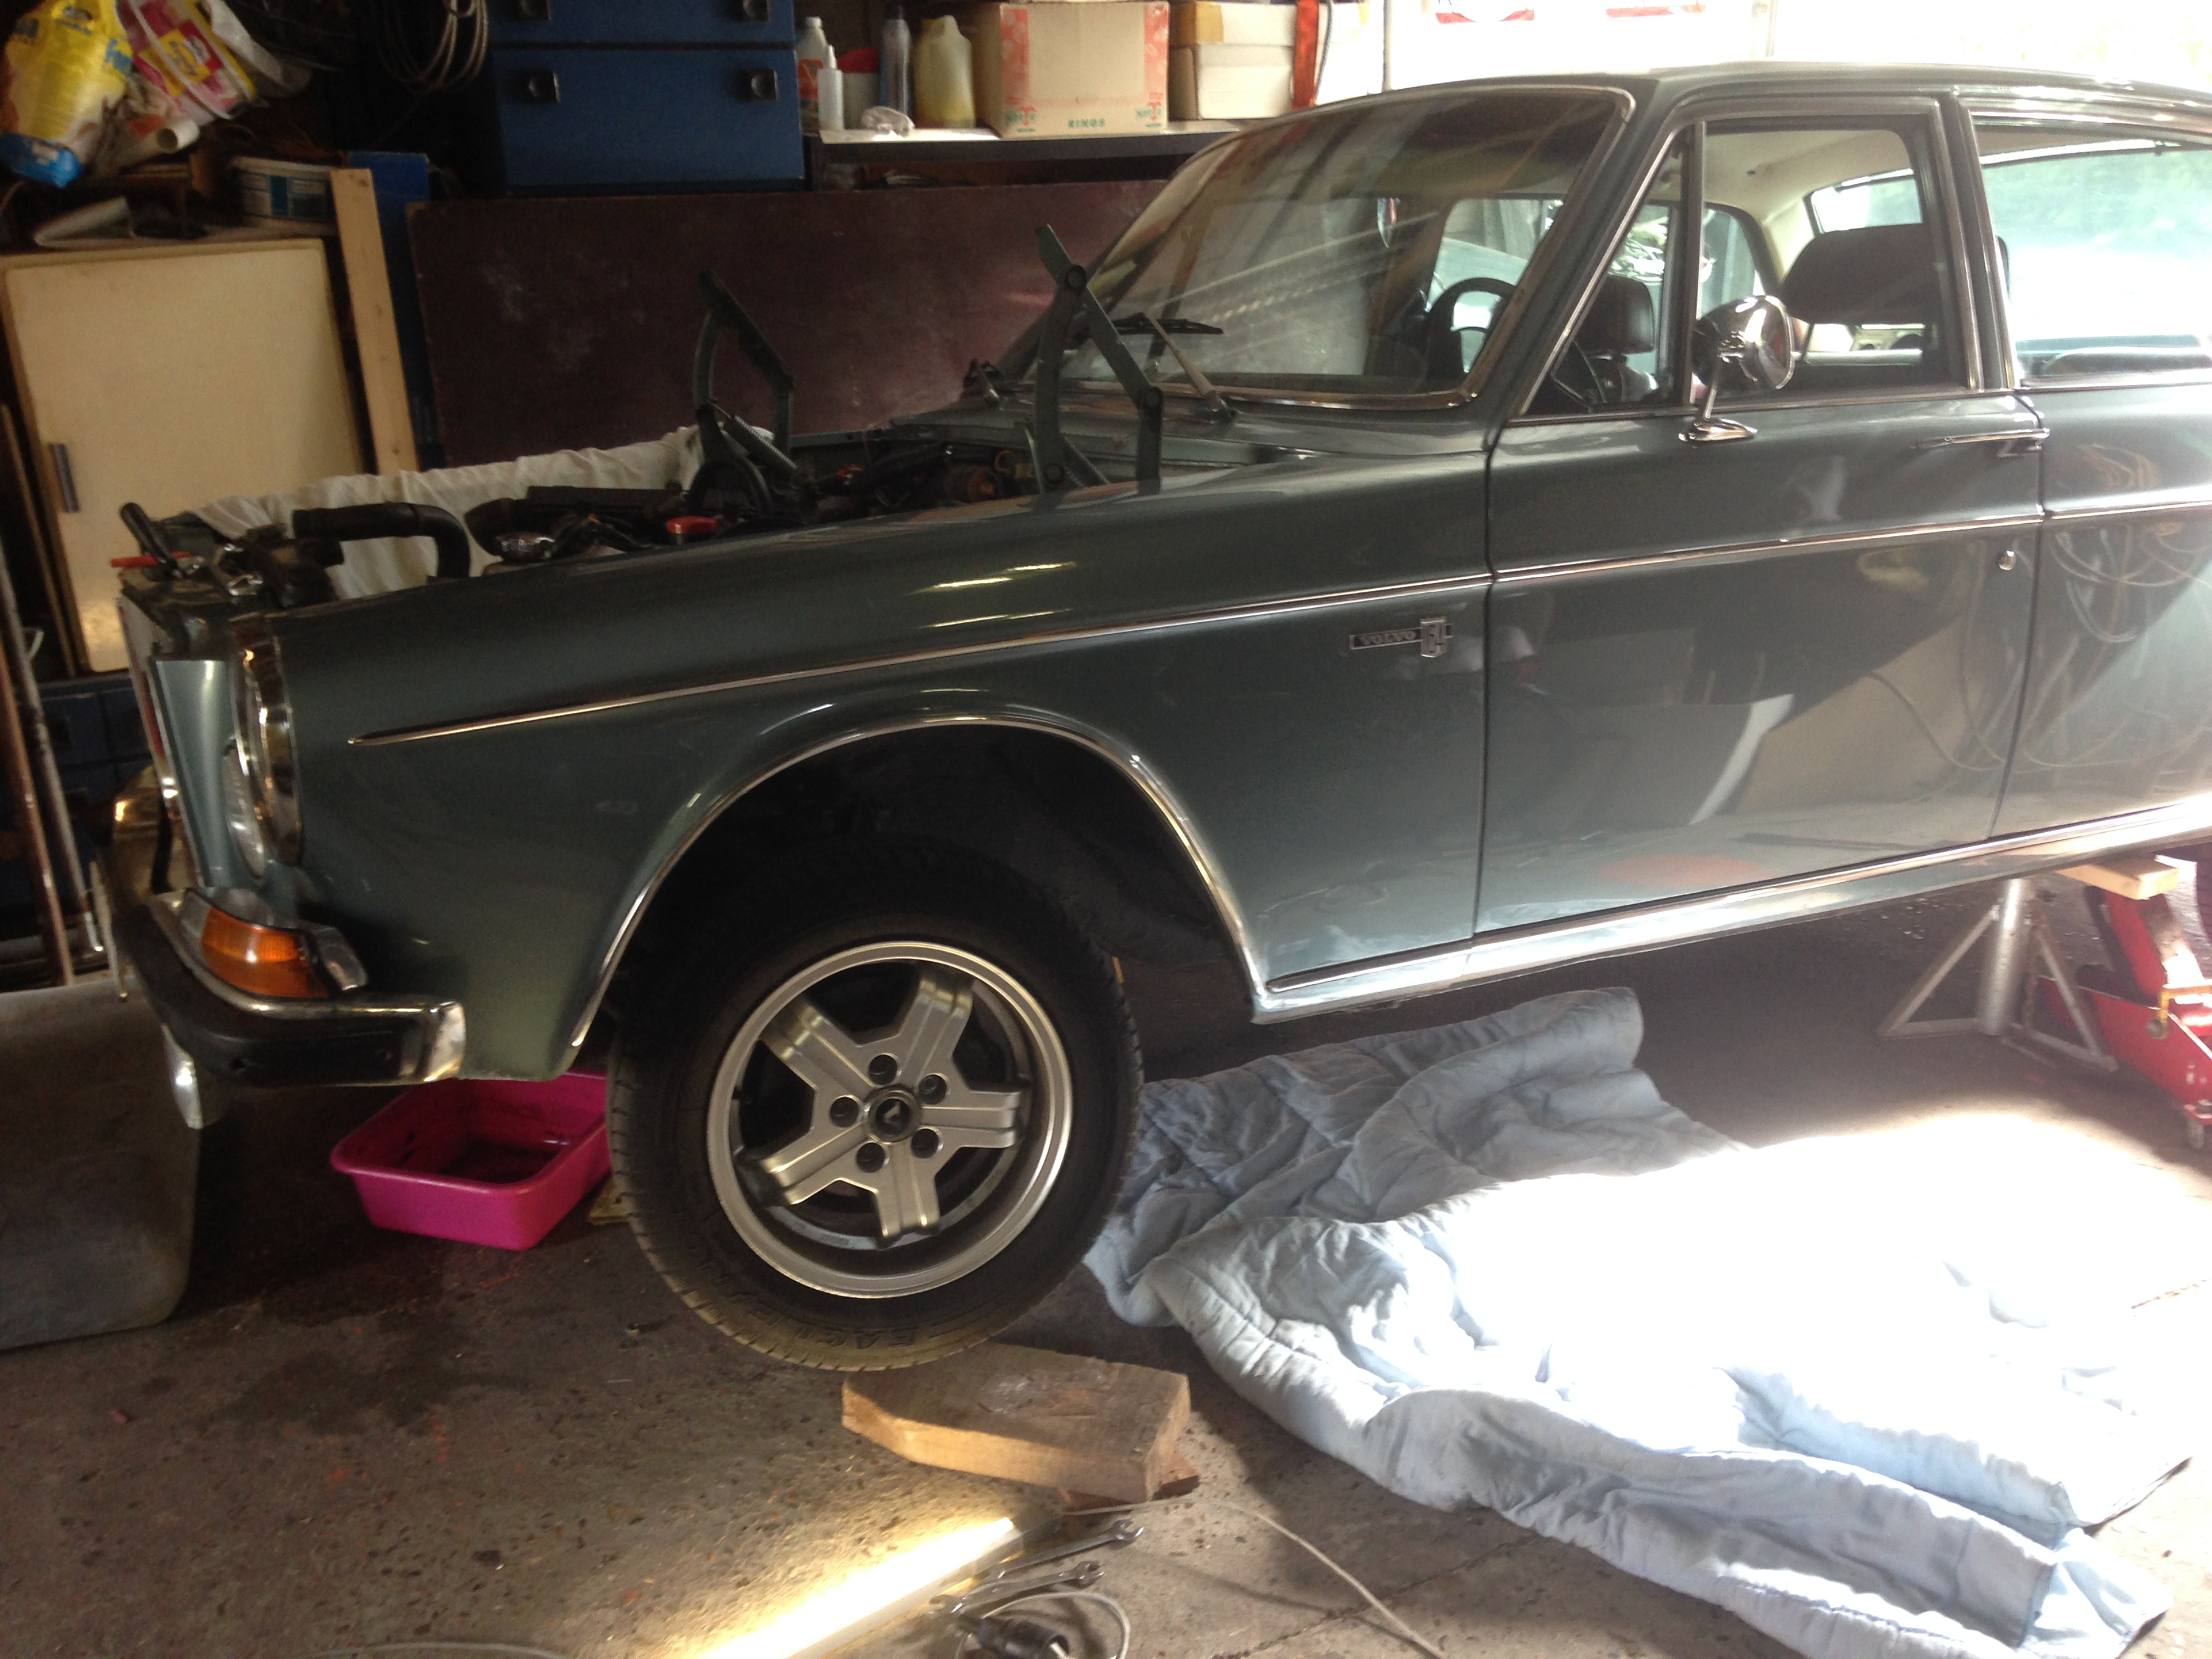
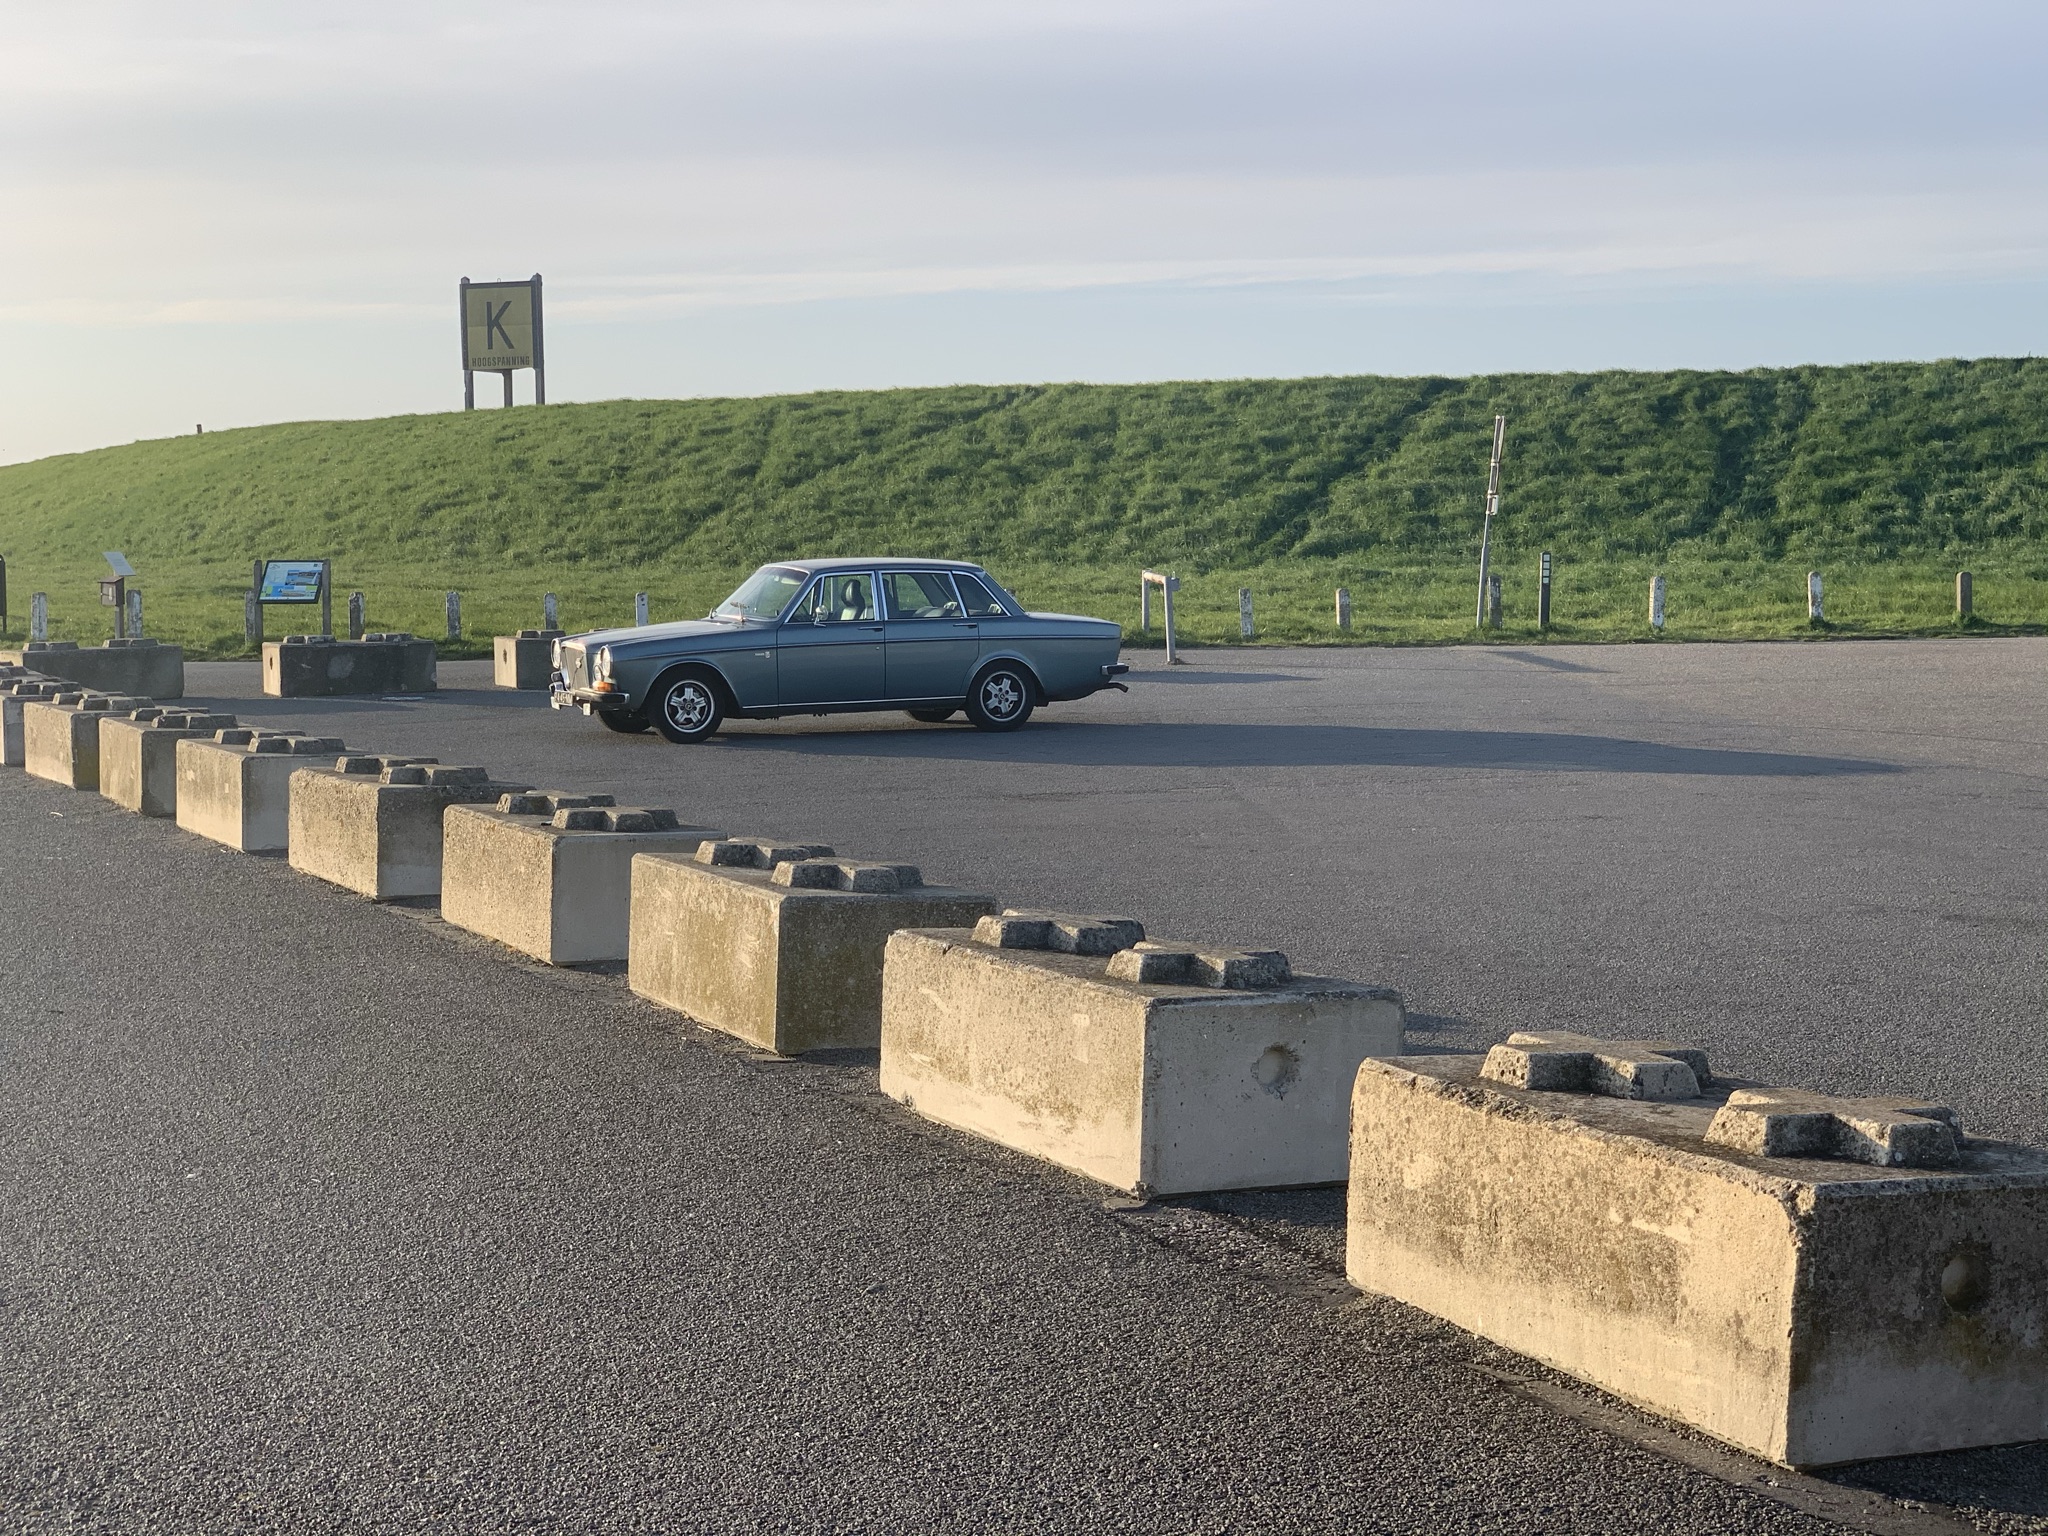
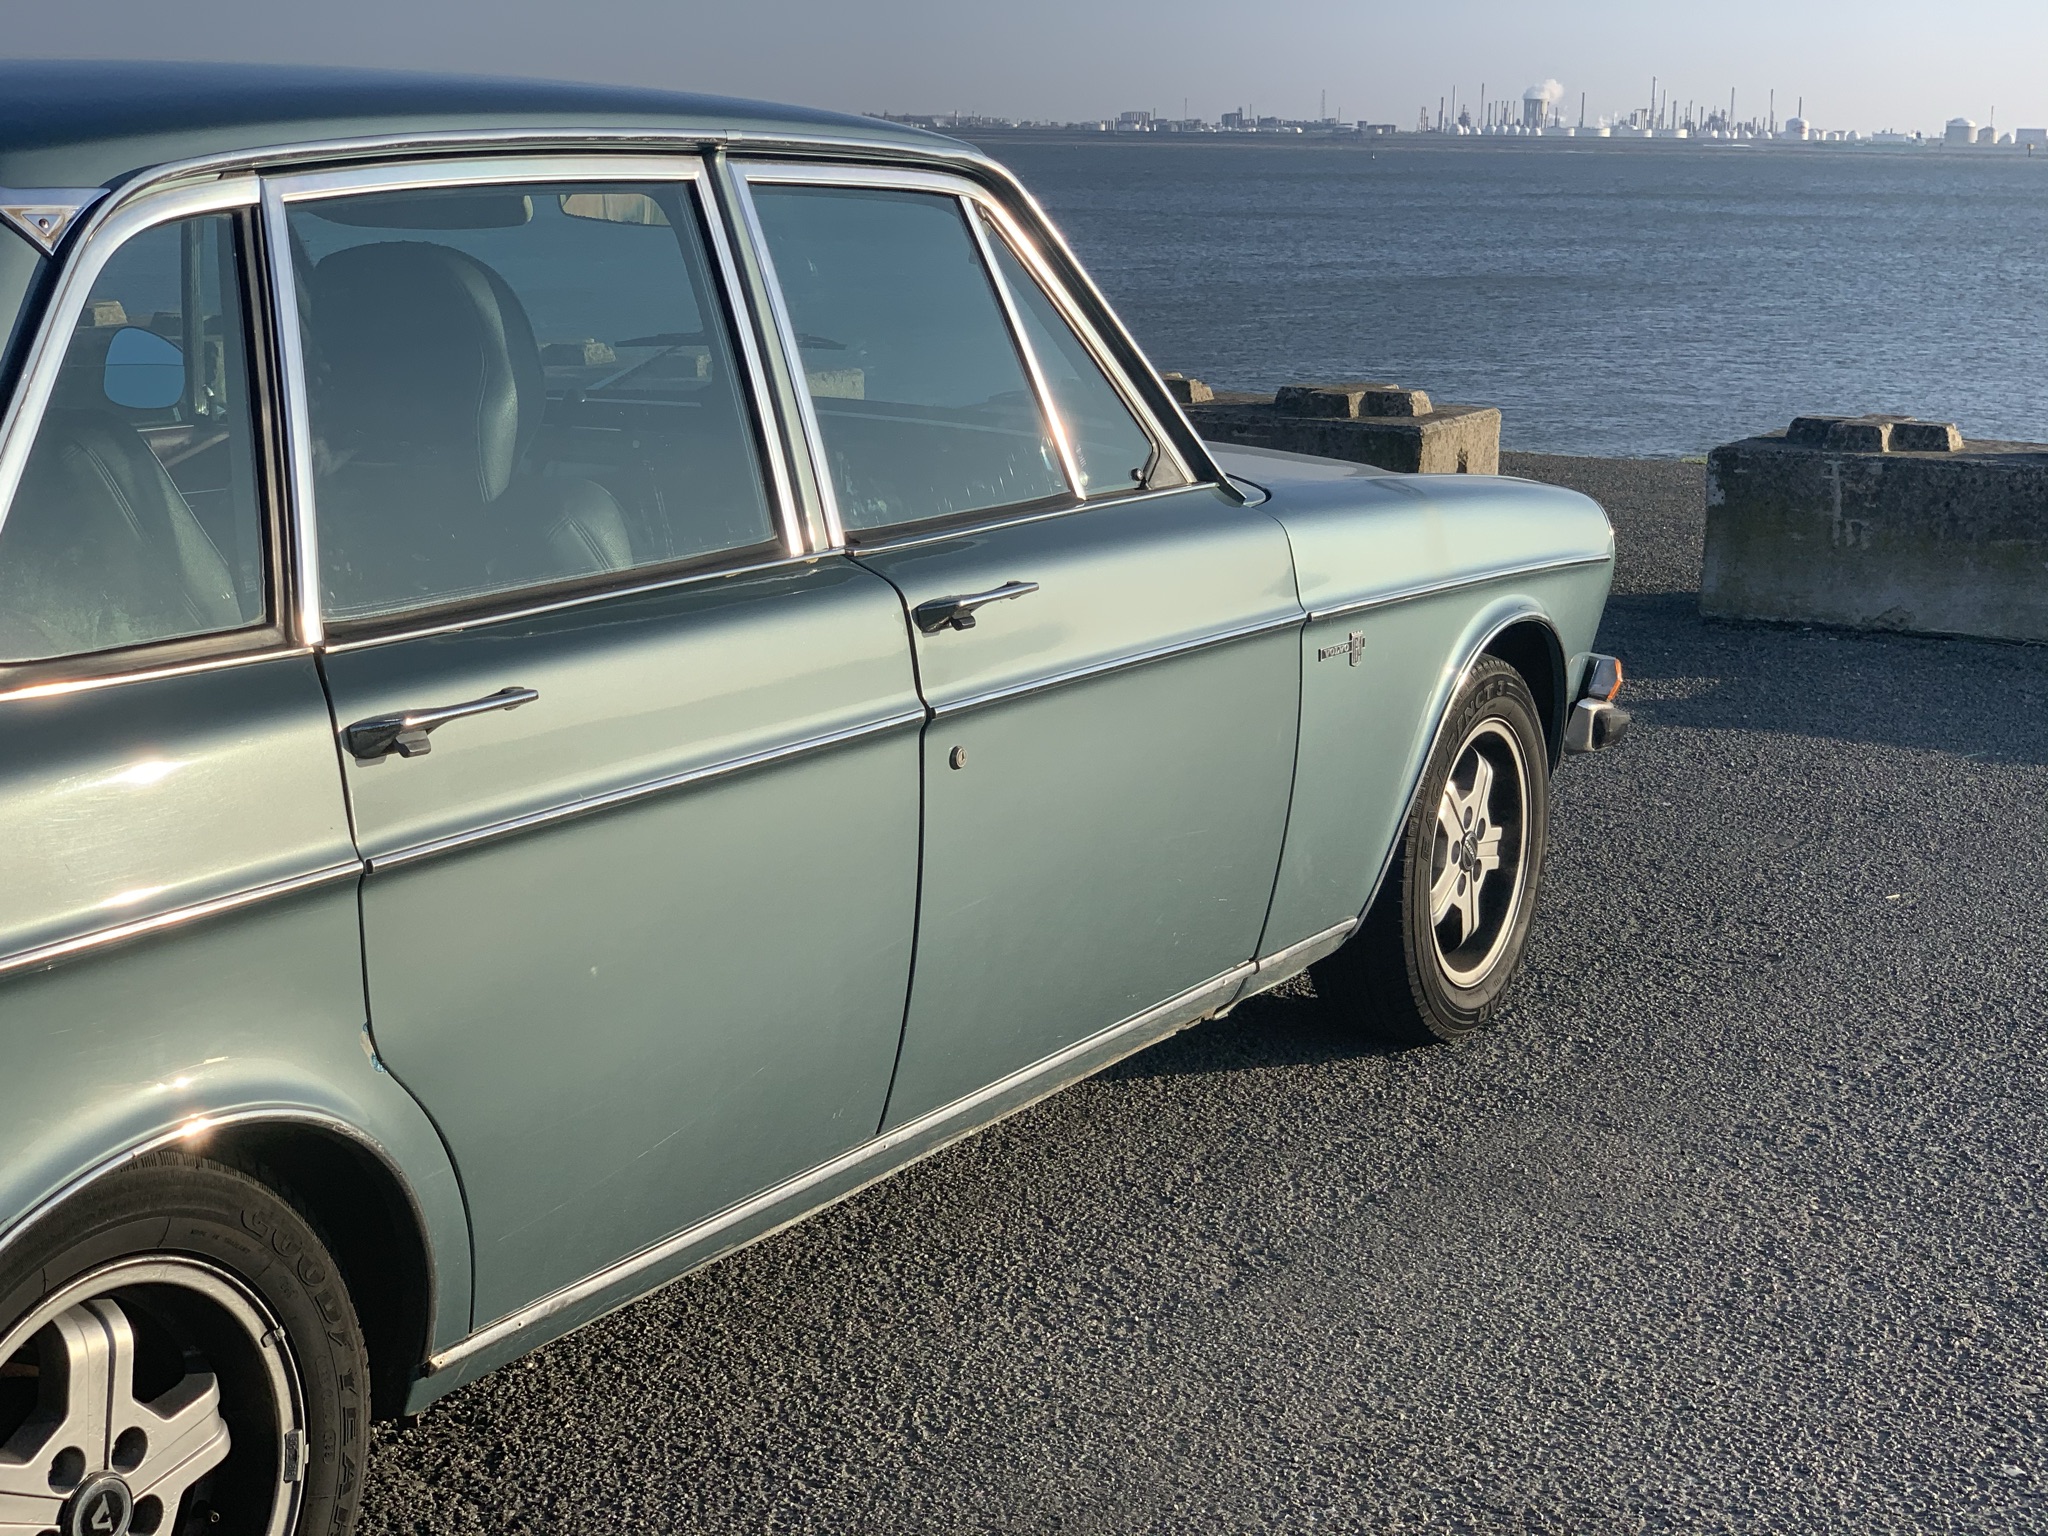
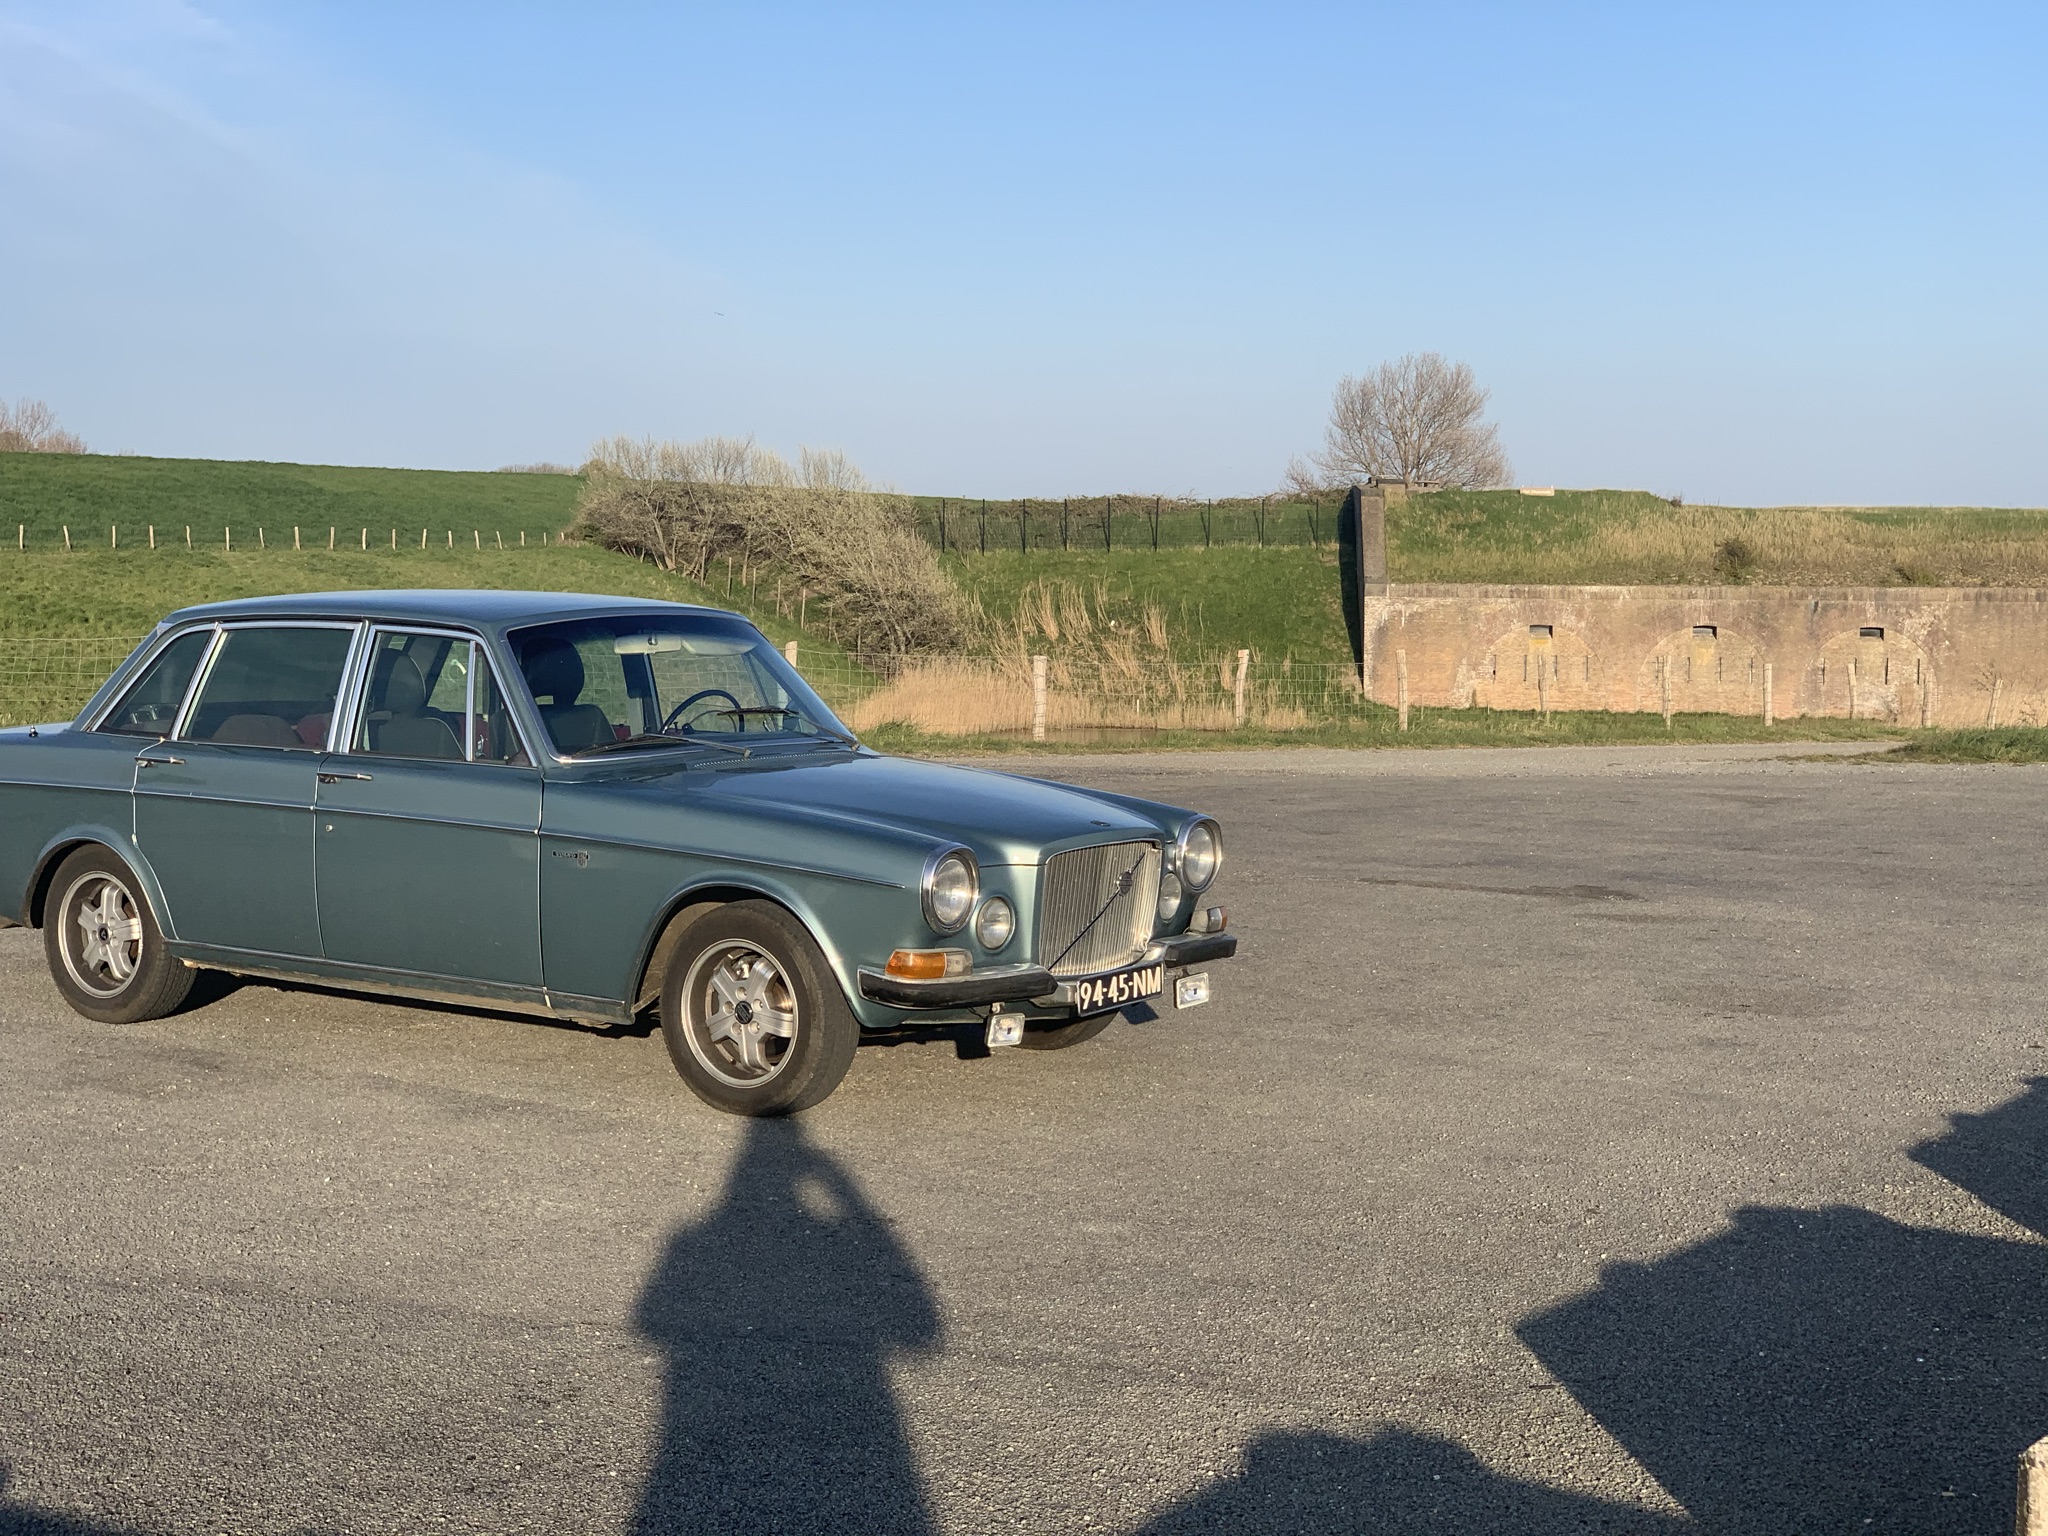
So this is my Volvo 164 wich I bought somewhere around 1997, not in this condition but that's another story for another time...
Having planned this engine swap with a 3.0 24Valve from a Volvo S90 for a couple of years I decided to realise it for real now!
Wild guess is to have it running by end of summer 2015
Feb.2015
Getting ready for taking the old B30 out...
And after some work the engine is out...
Wich looks like this :-)
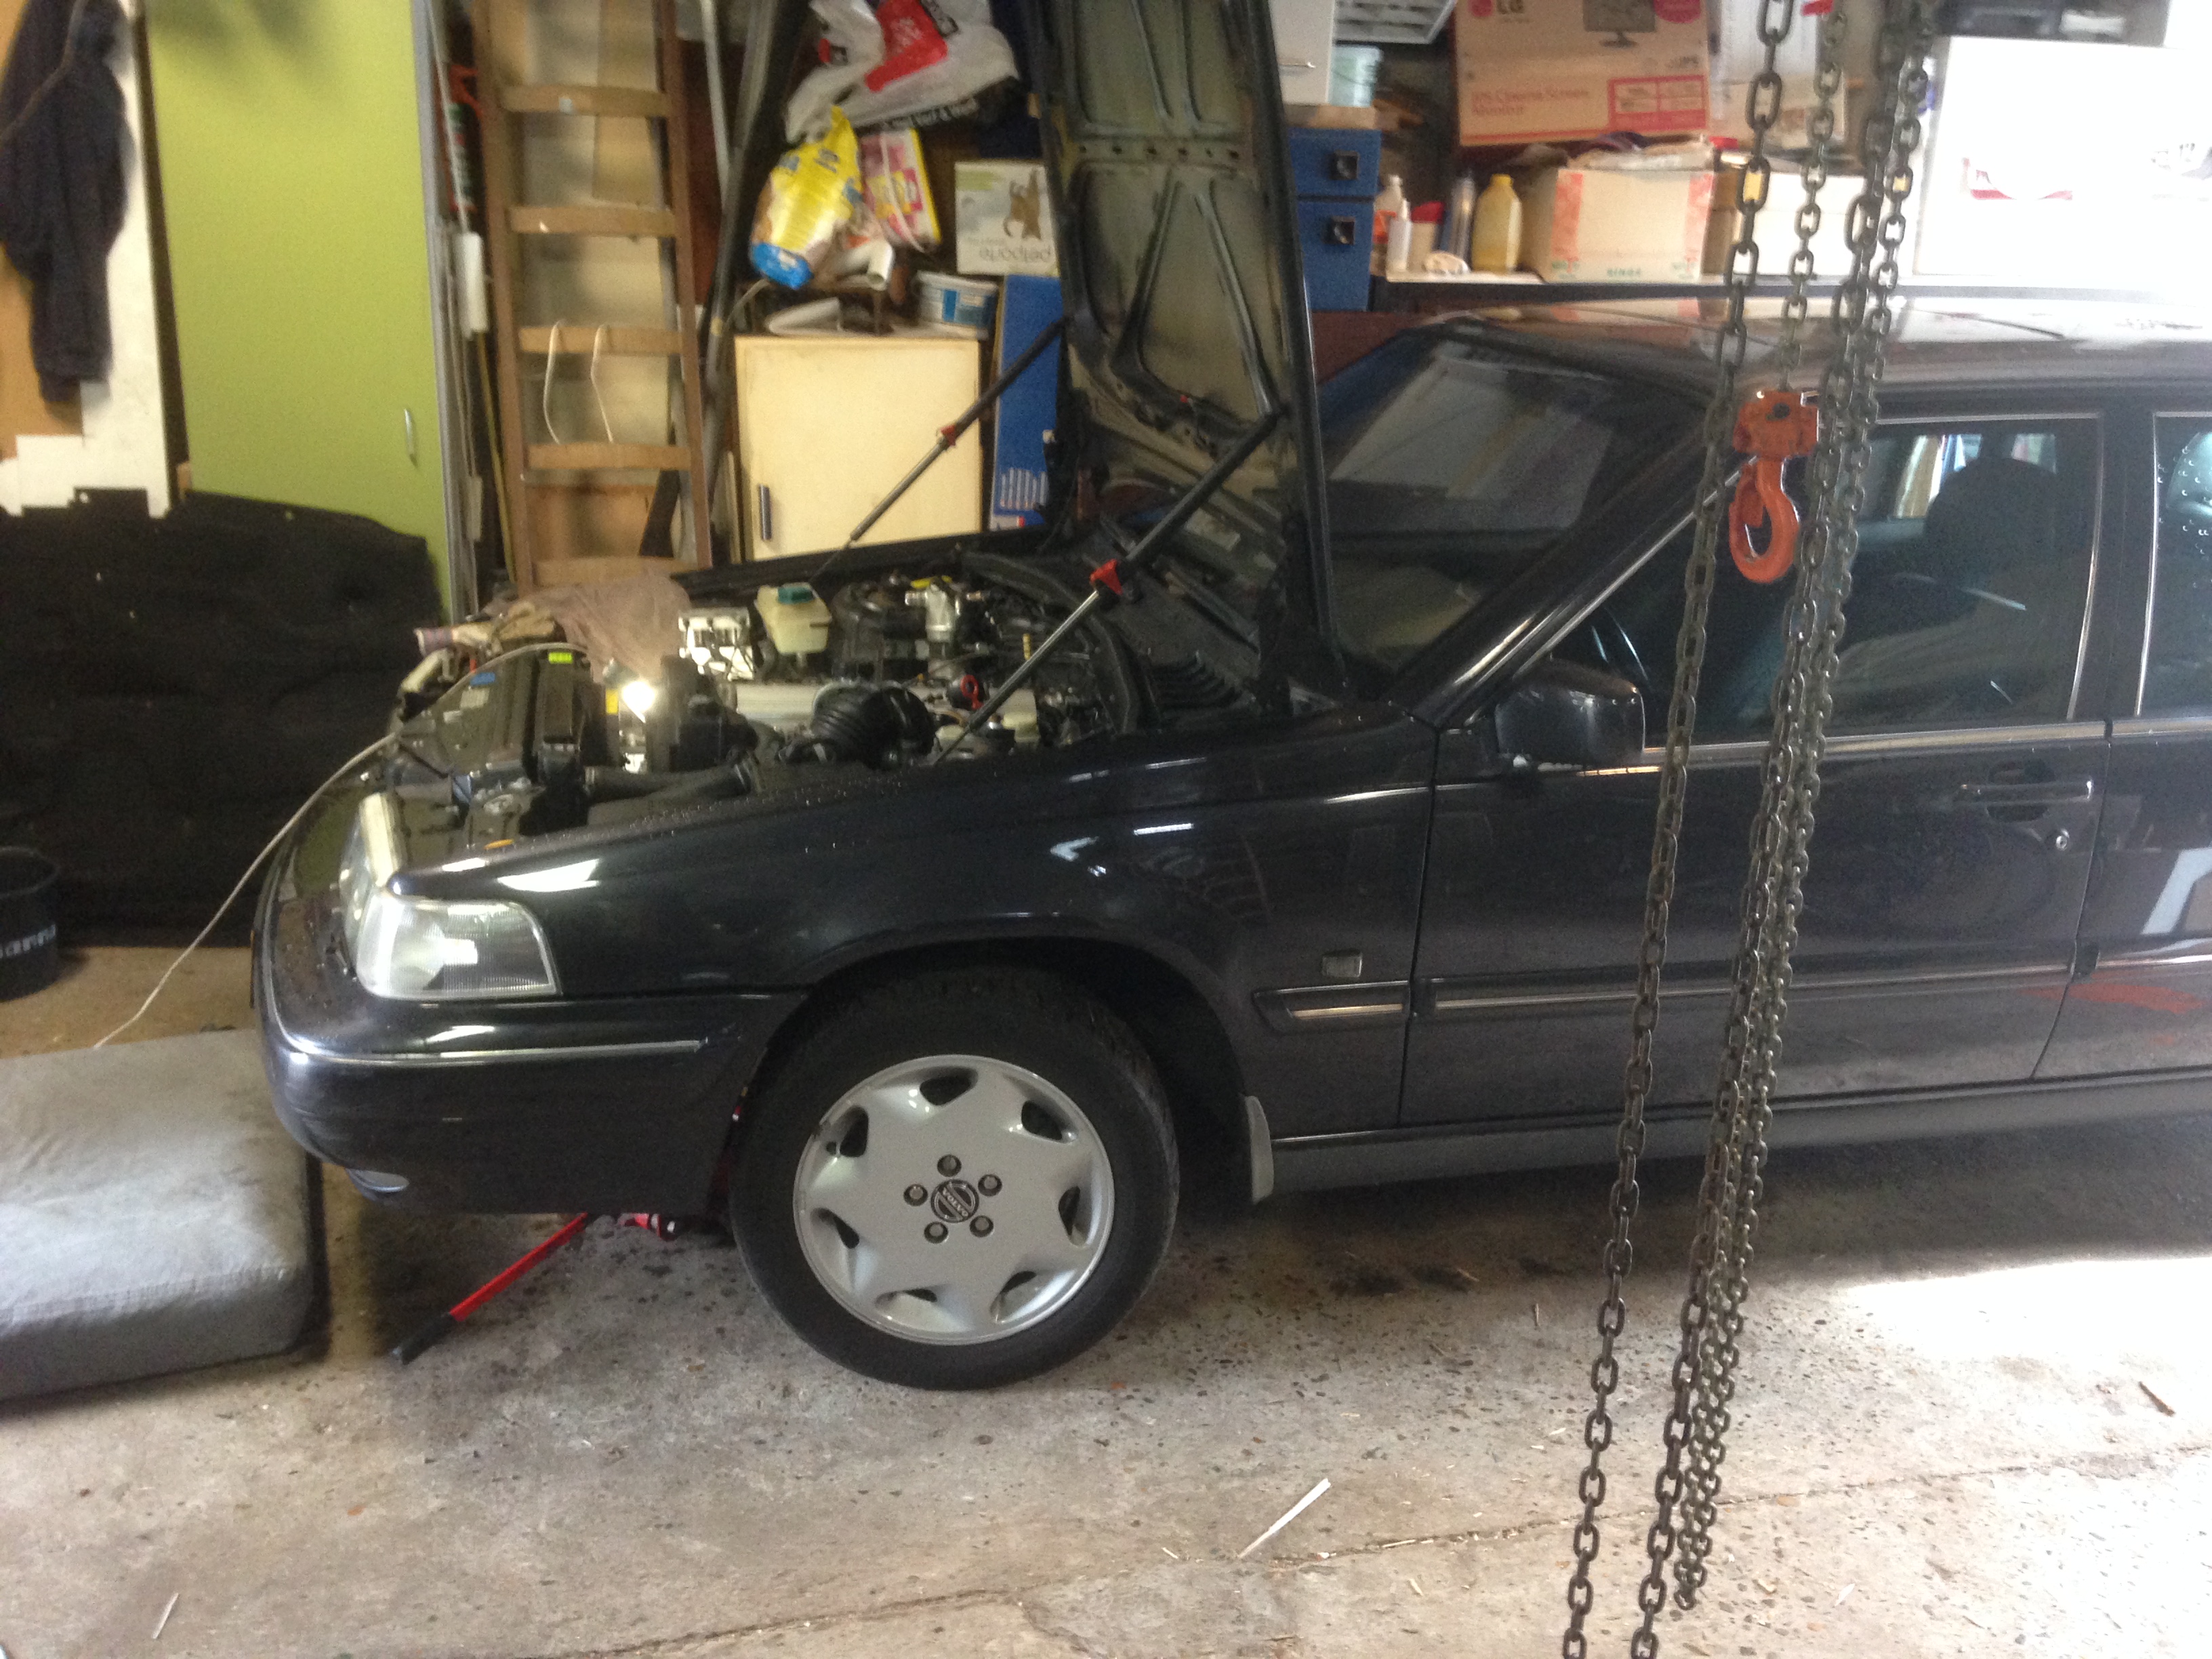
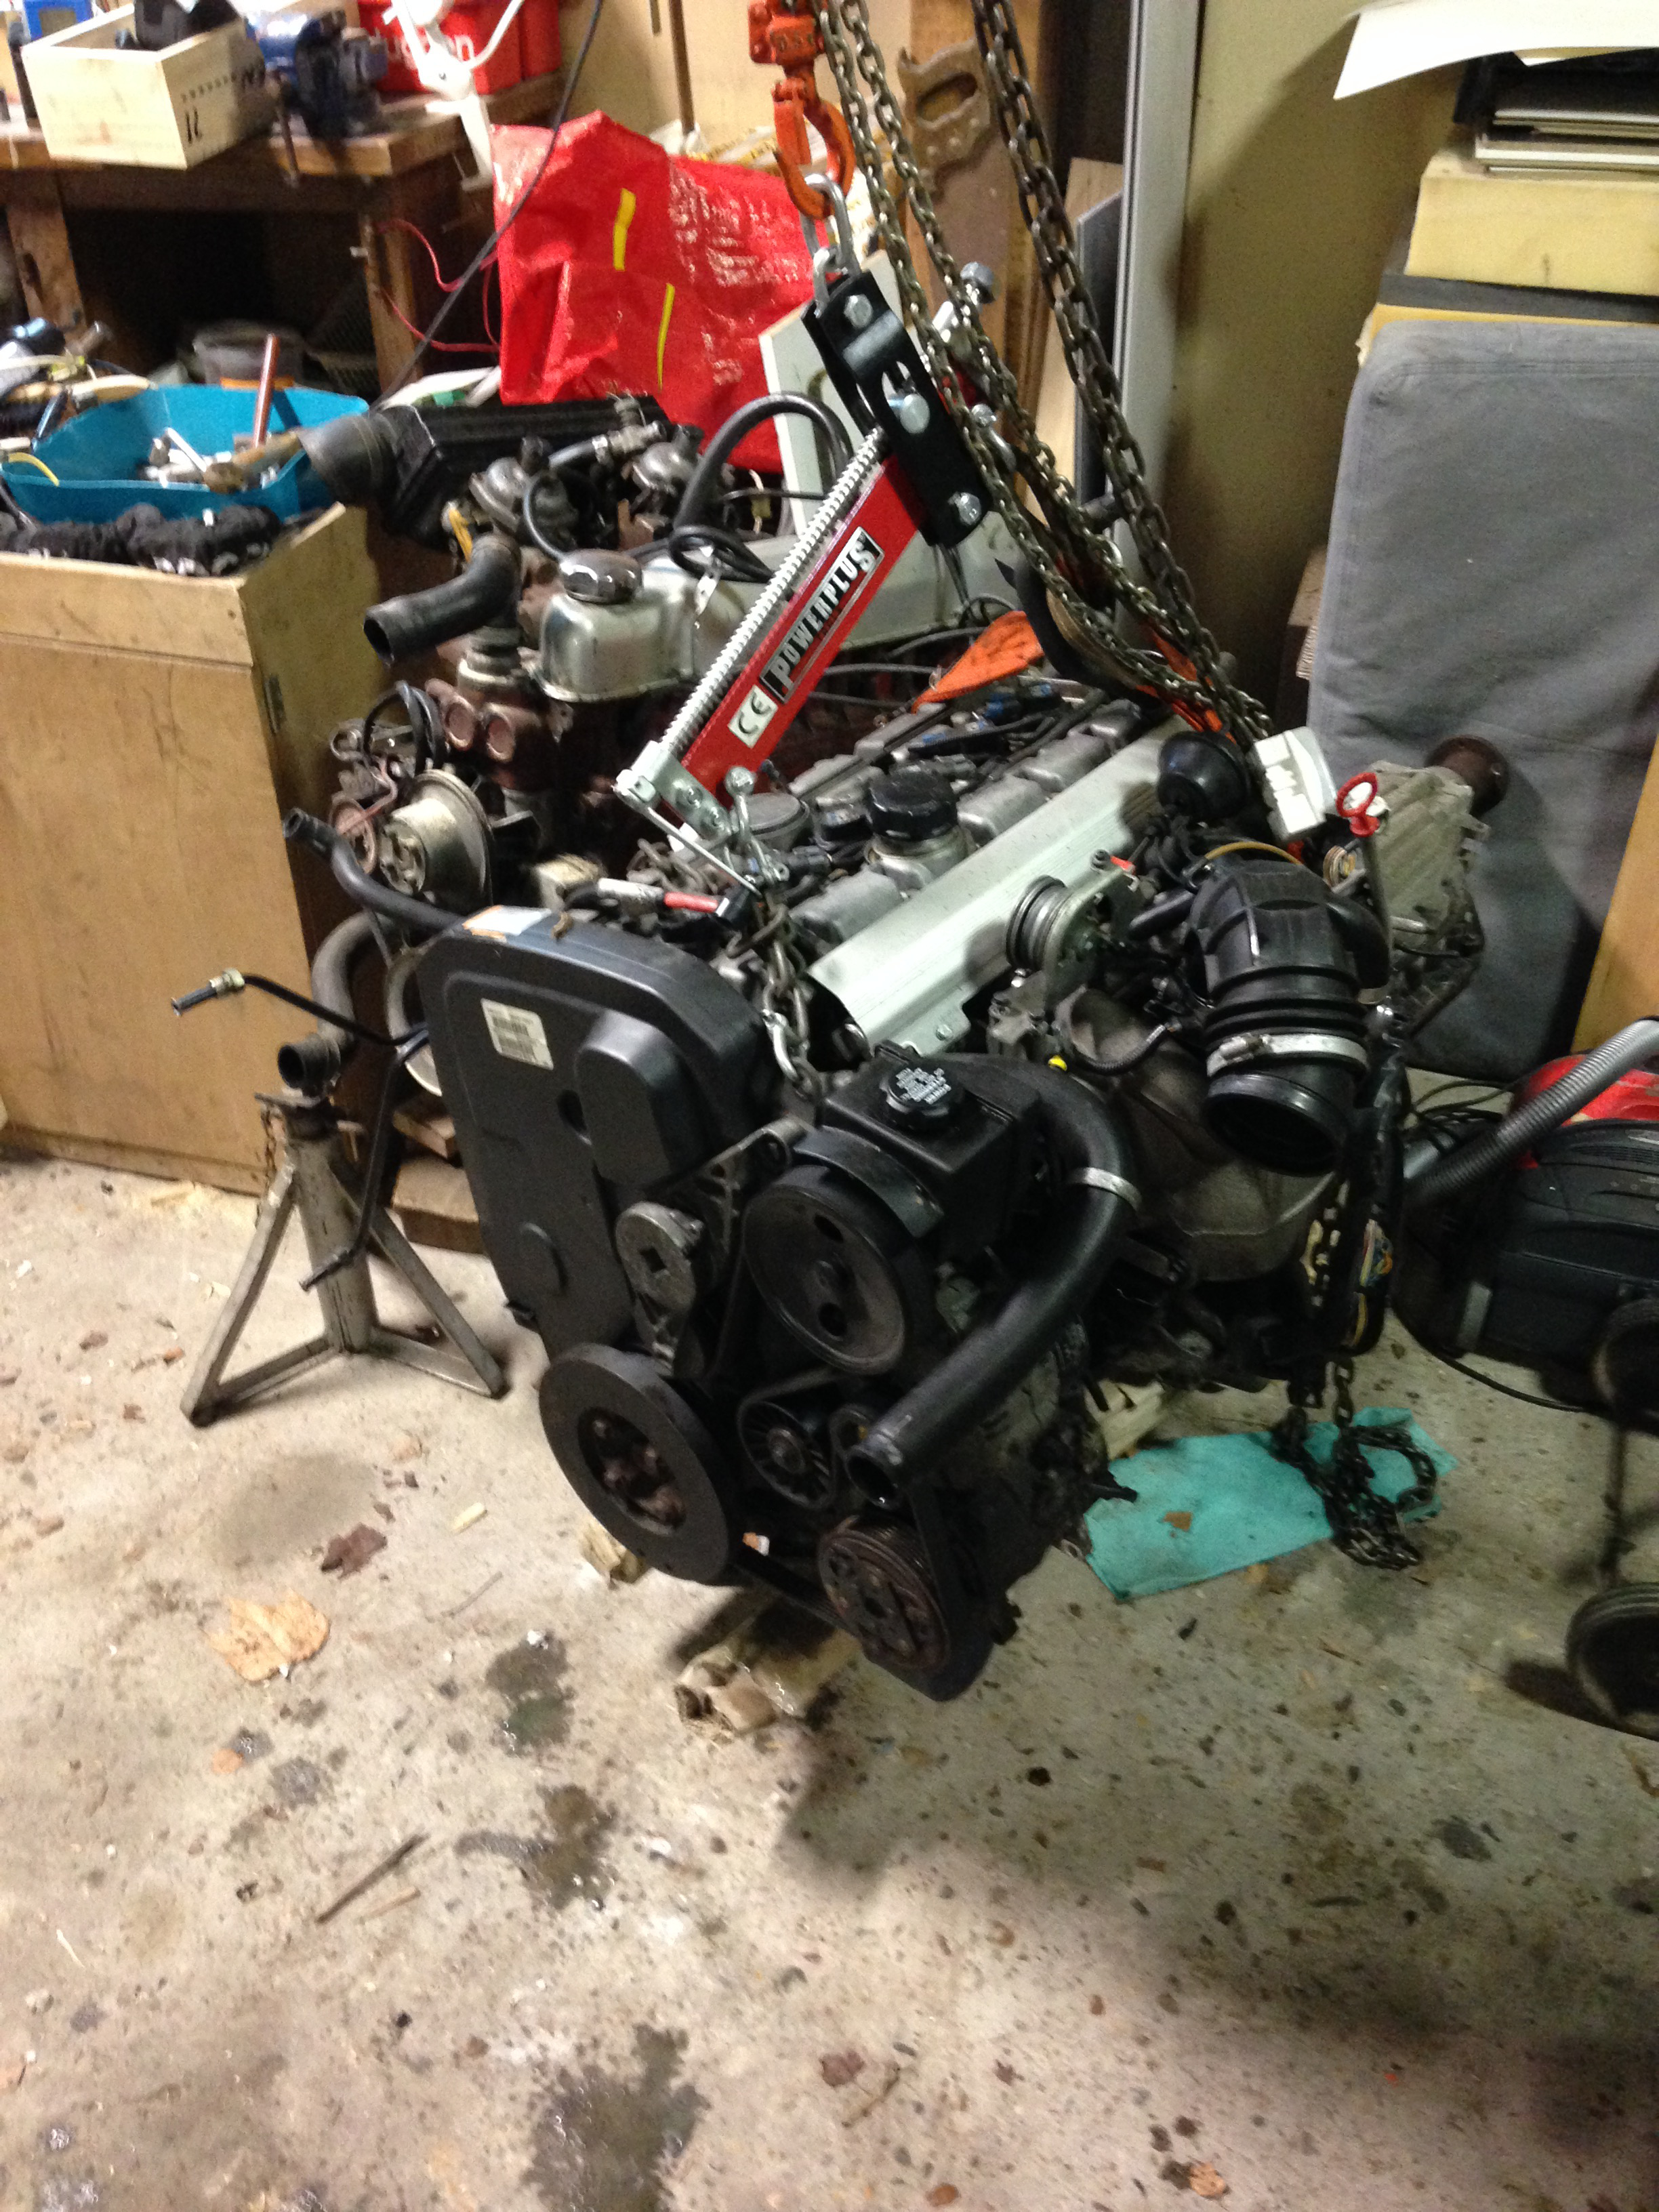
Bought myself a 3.0-24valve S90 from 1997 a couple of weeks ago, getting ready for same procedure :-)
And after some work the engine is.... out!
Got them tucked away, nicely side by side in a corner of my garage, only one for future use
March 2015
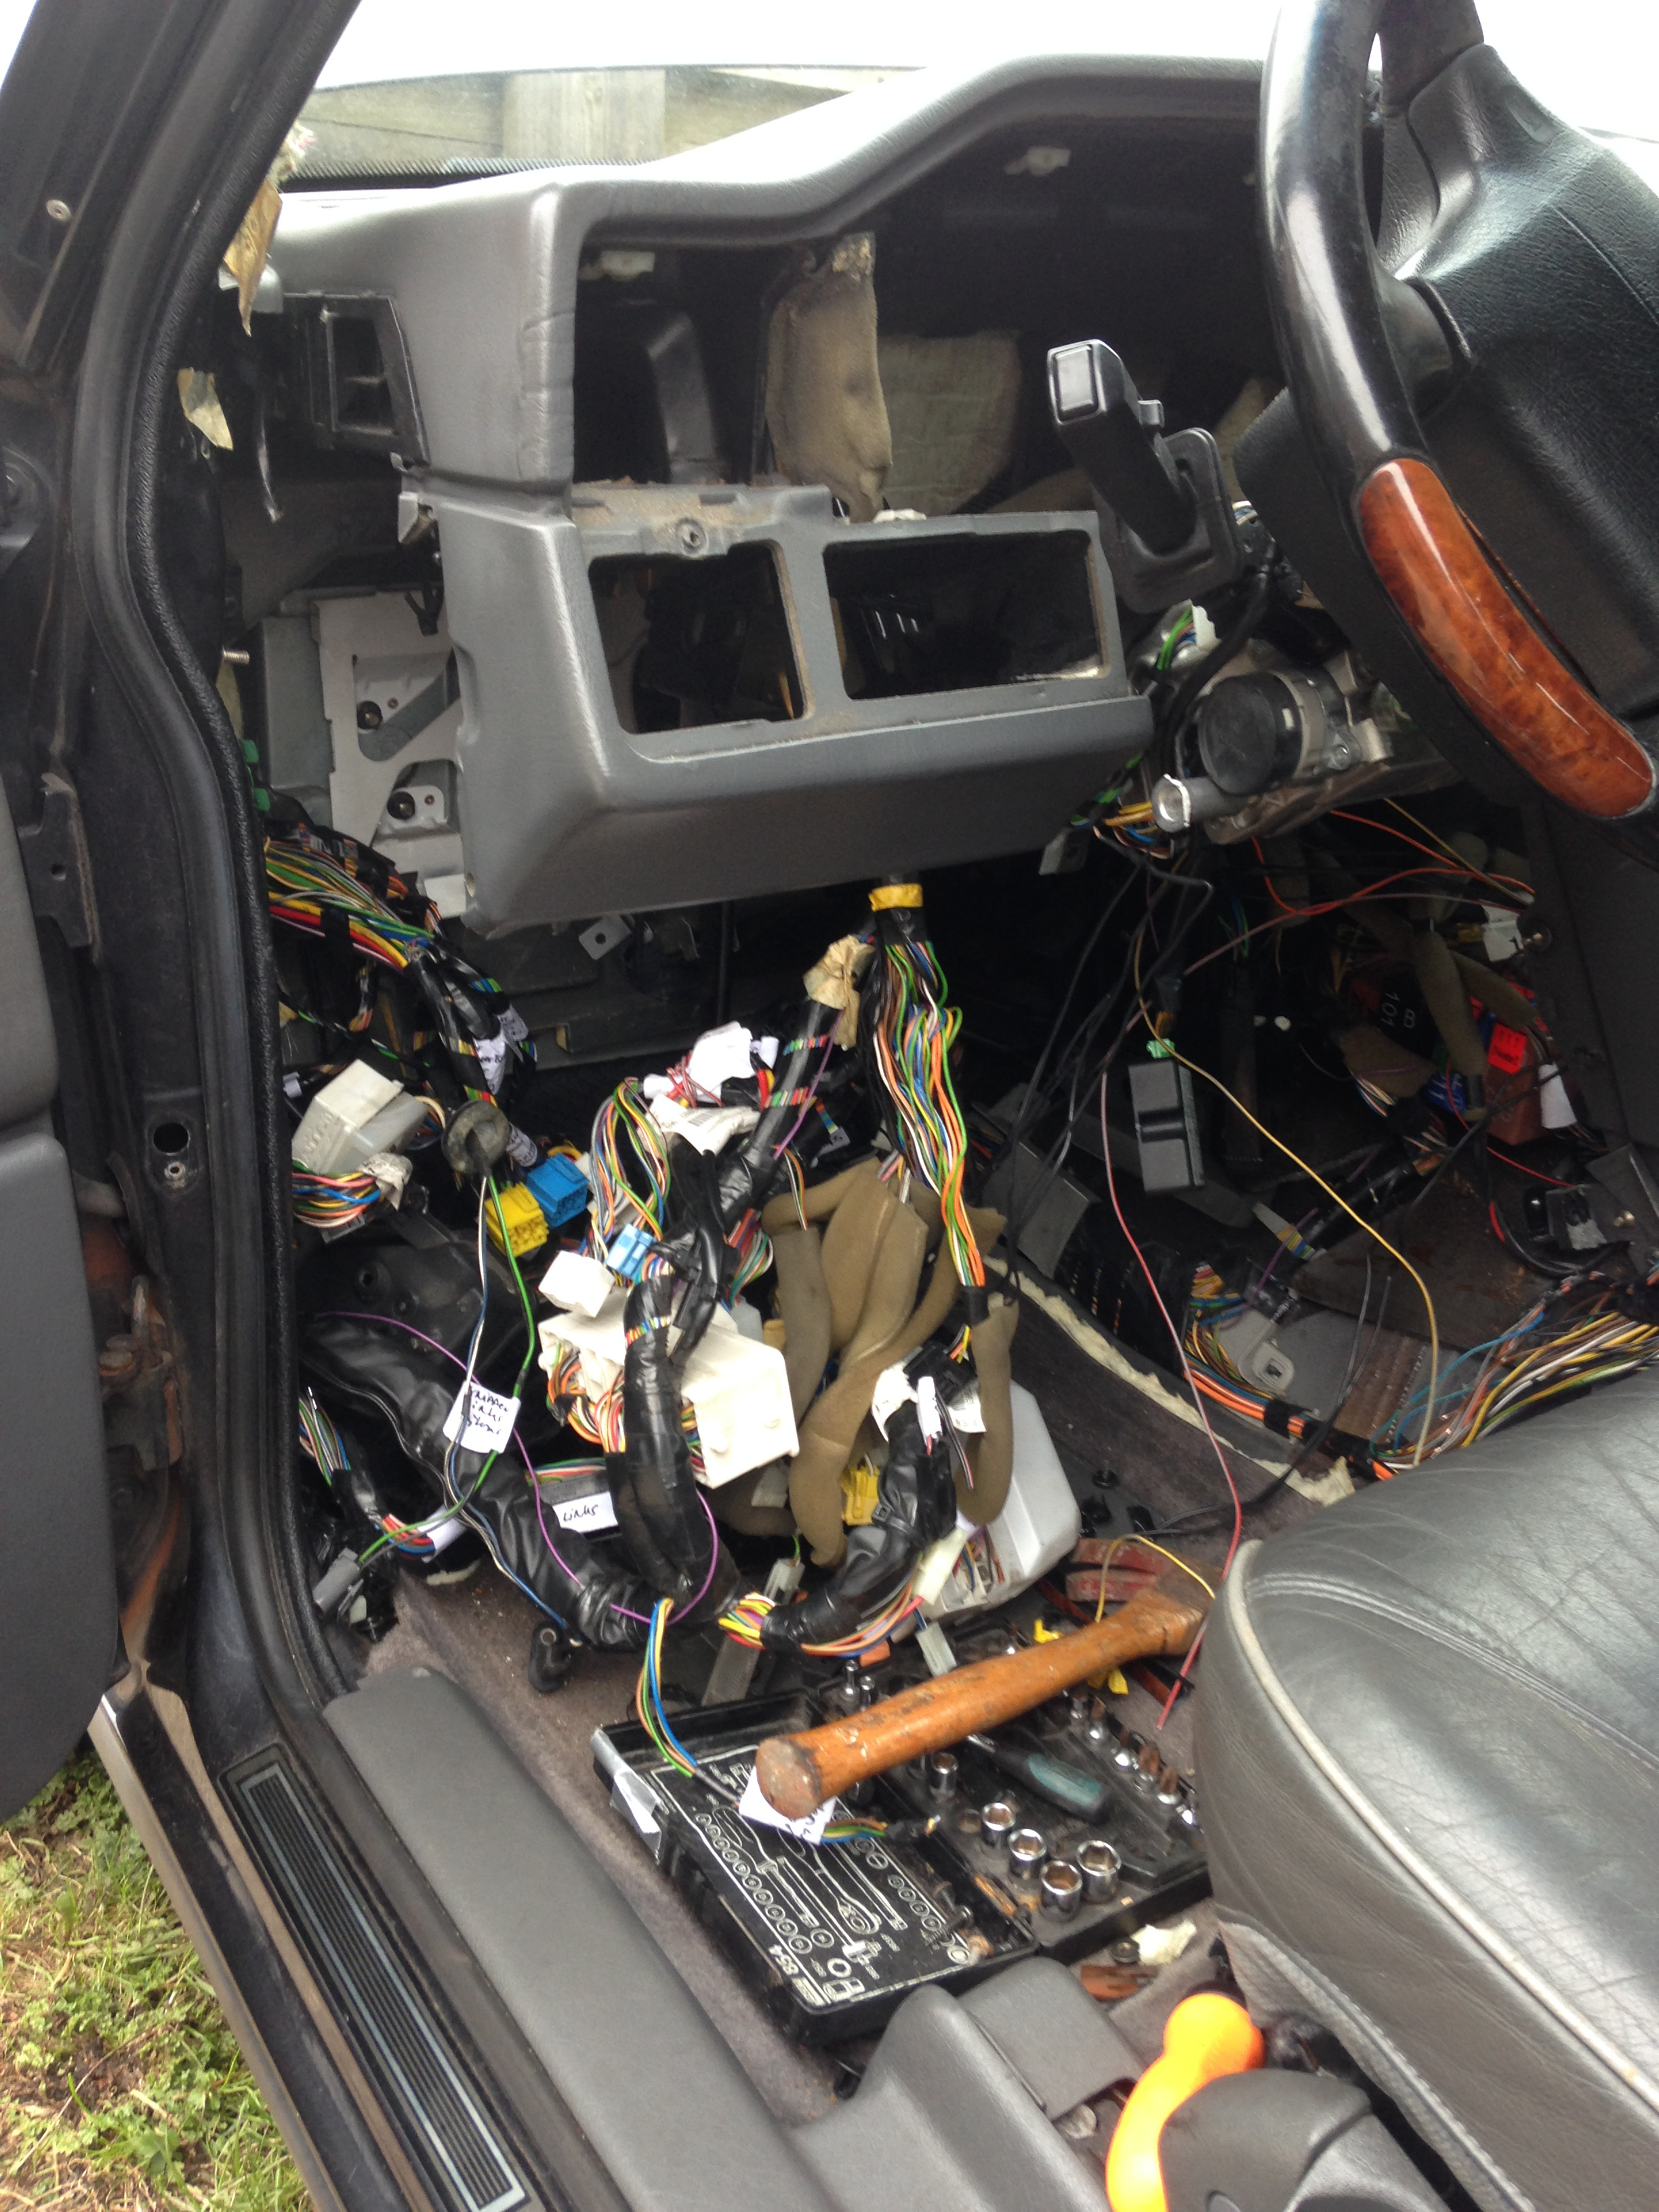
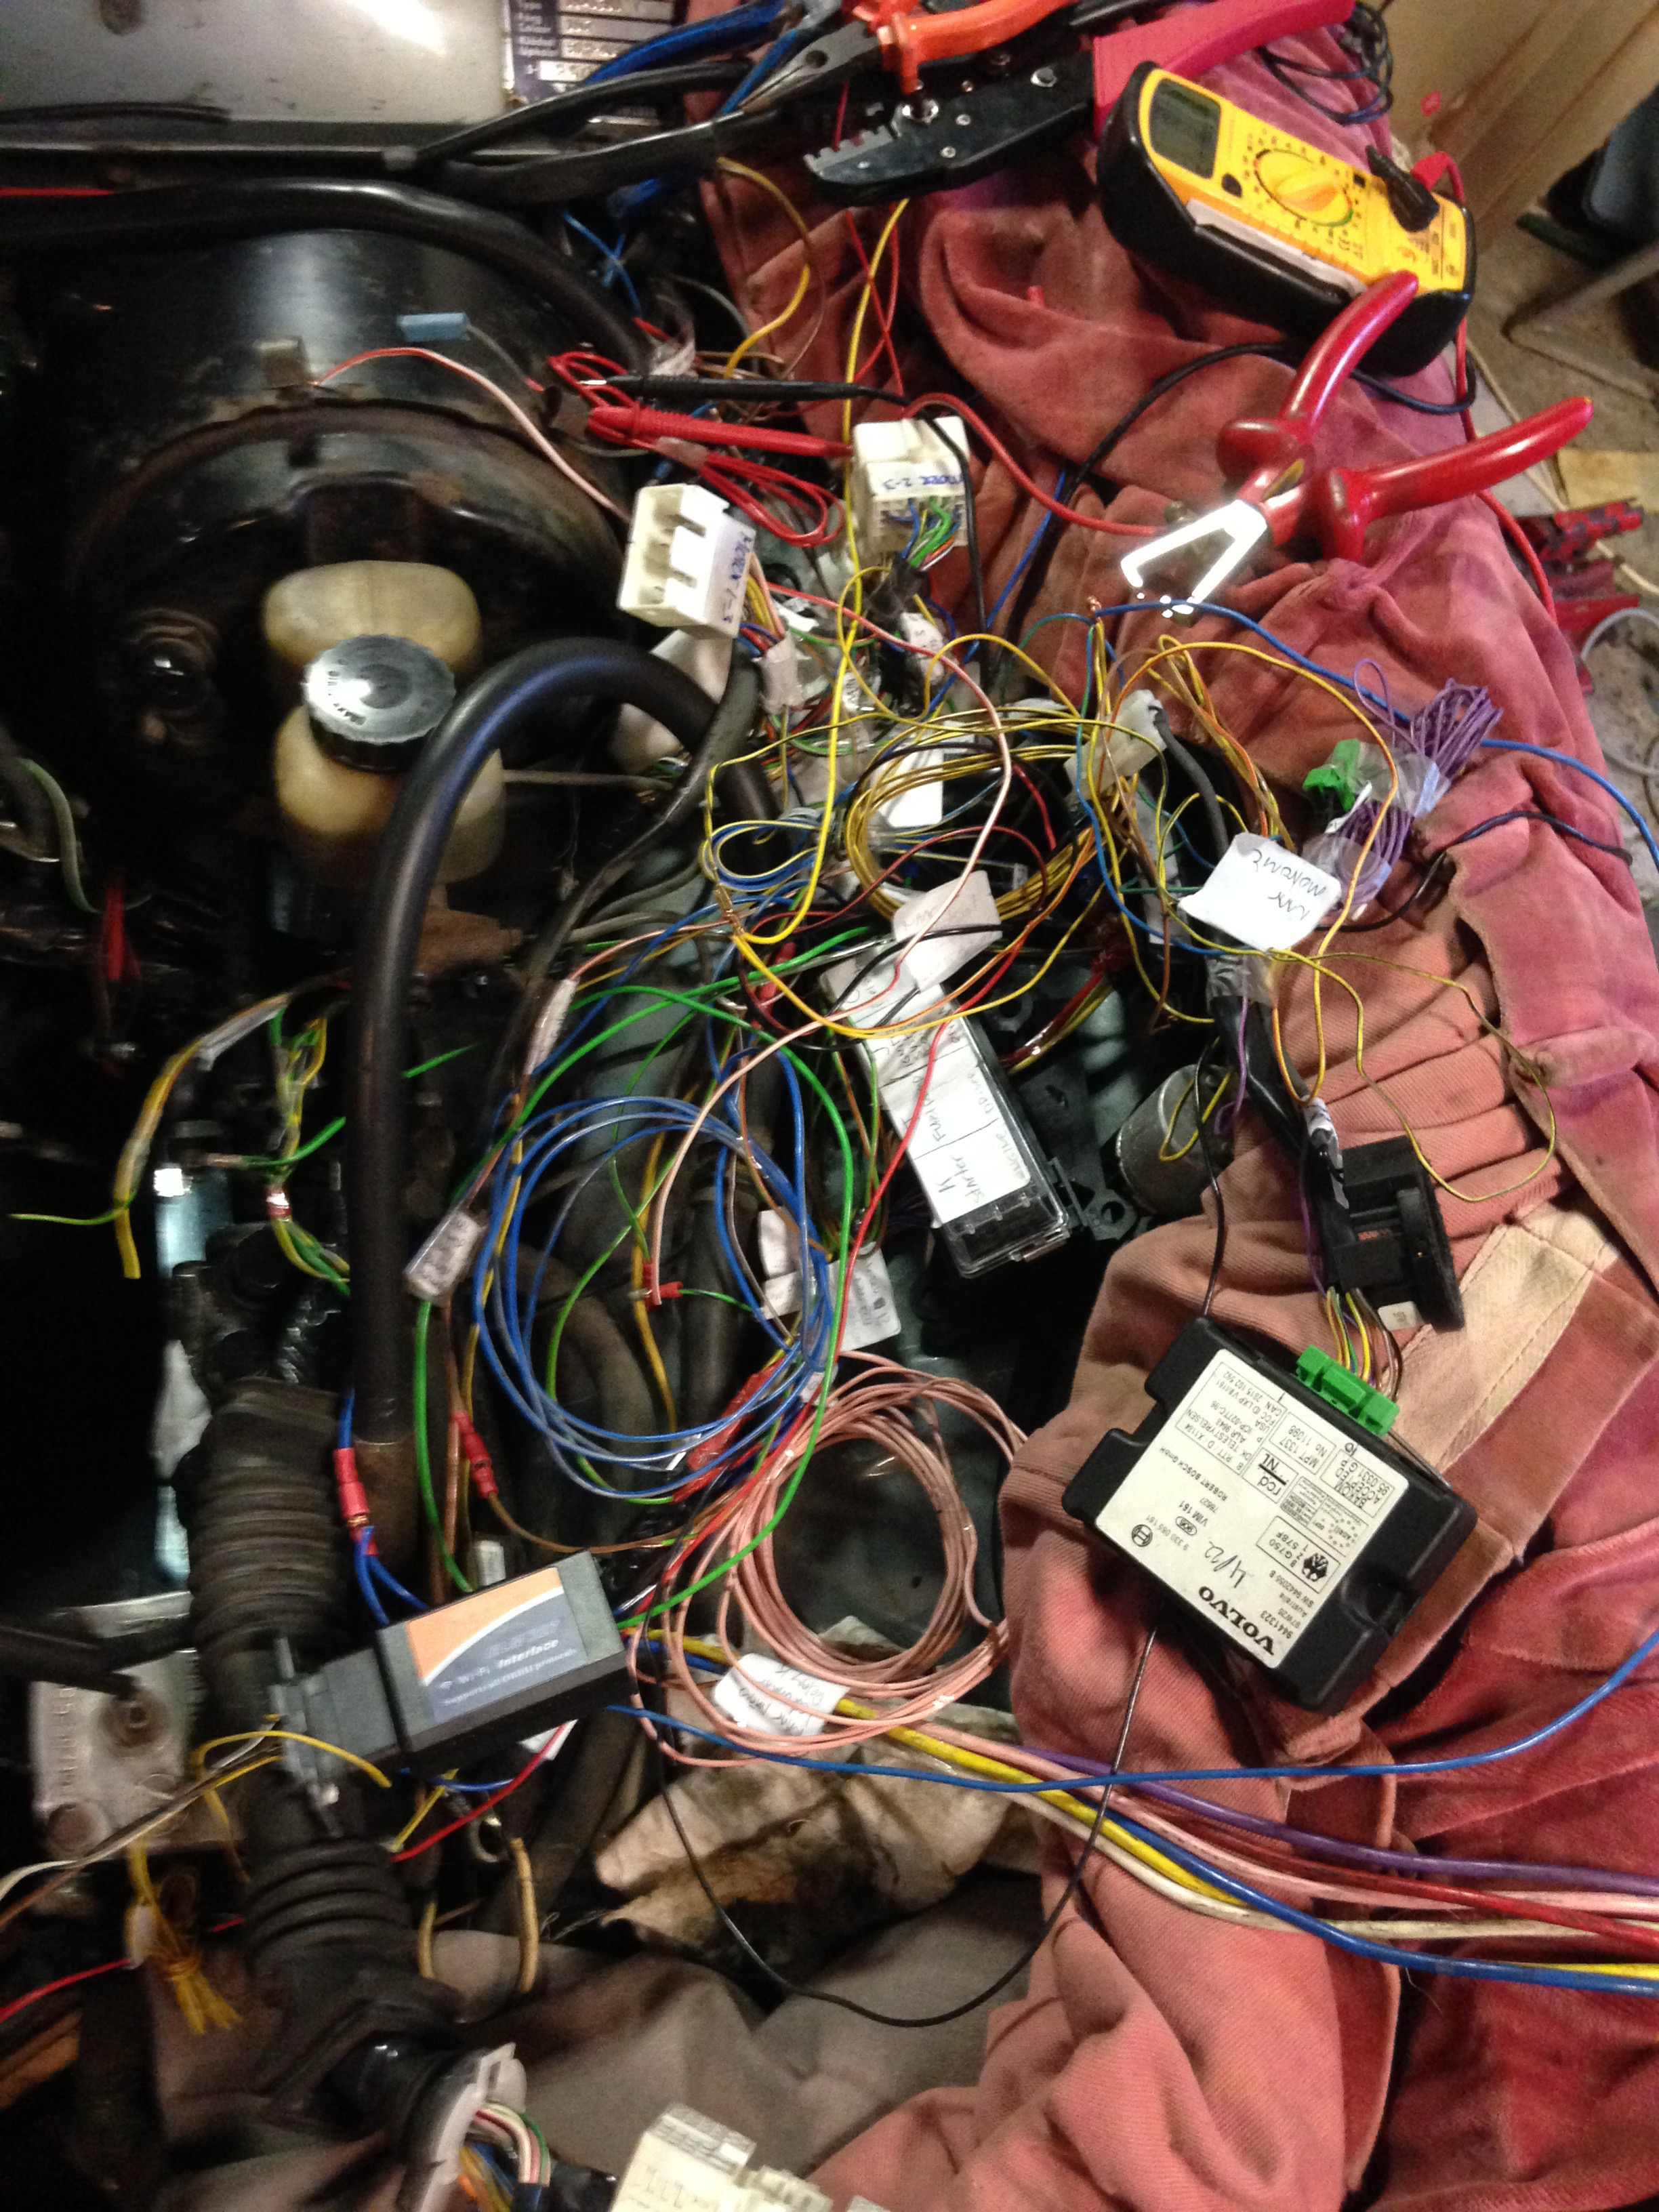
Removing the complete electrical wire harnasses from the S90 car, later I'll figure out what is needed to get the engine& gearbox working...
Notice the special volvo-tool :-) (one with wooden handle)
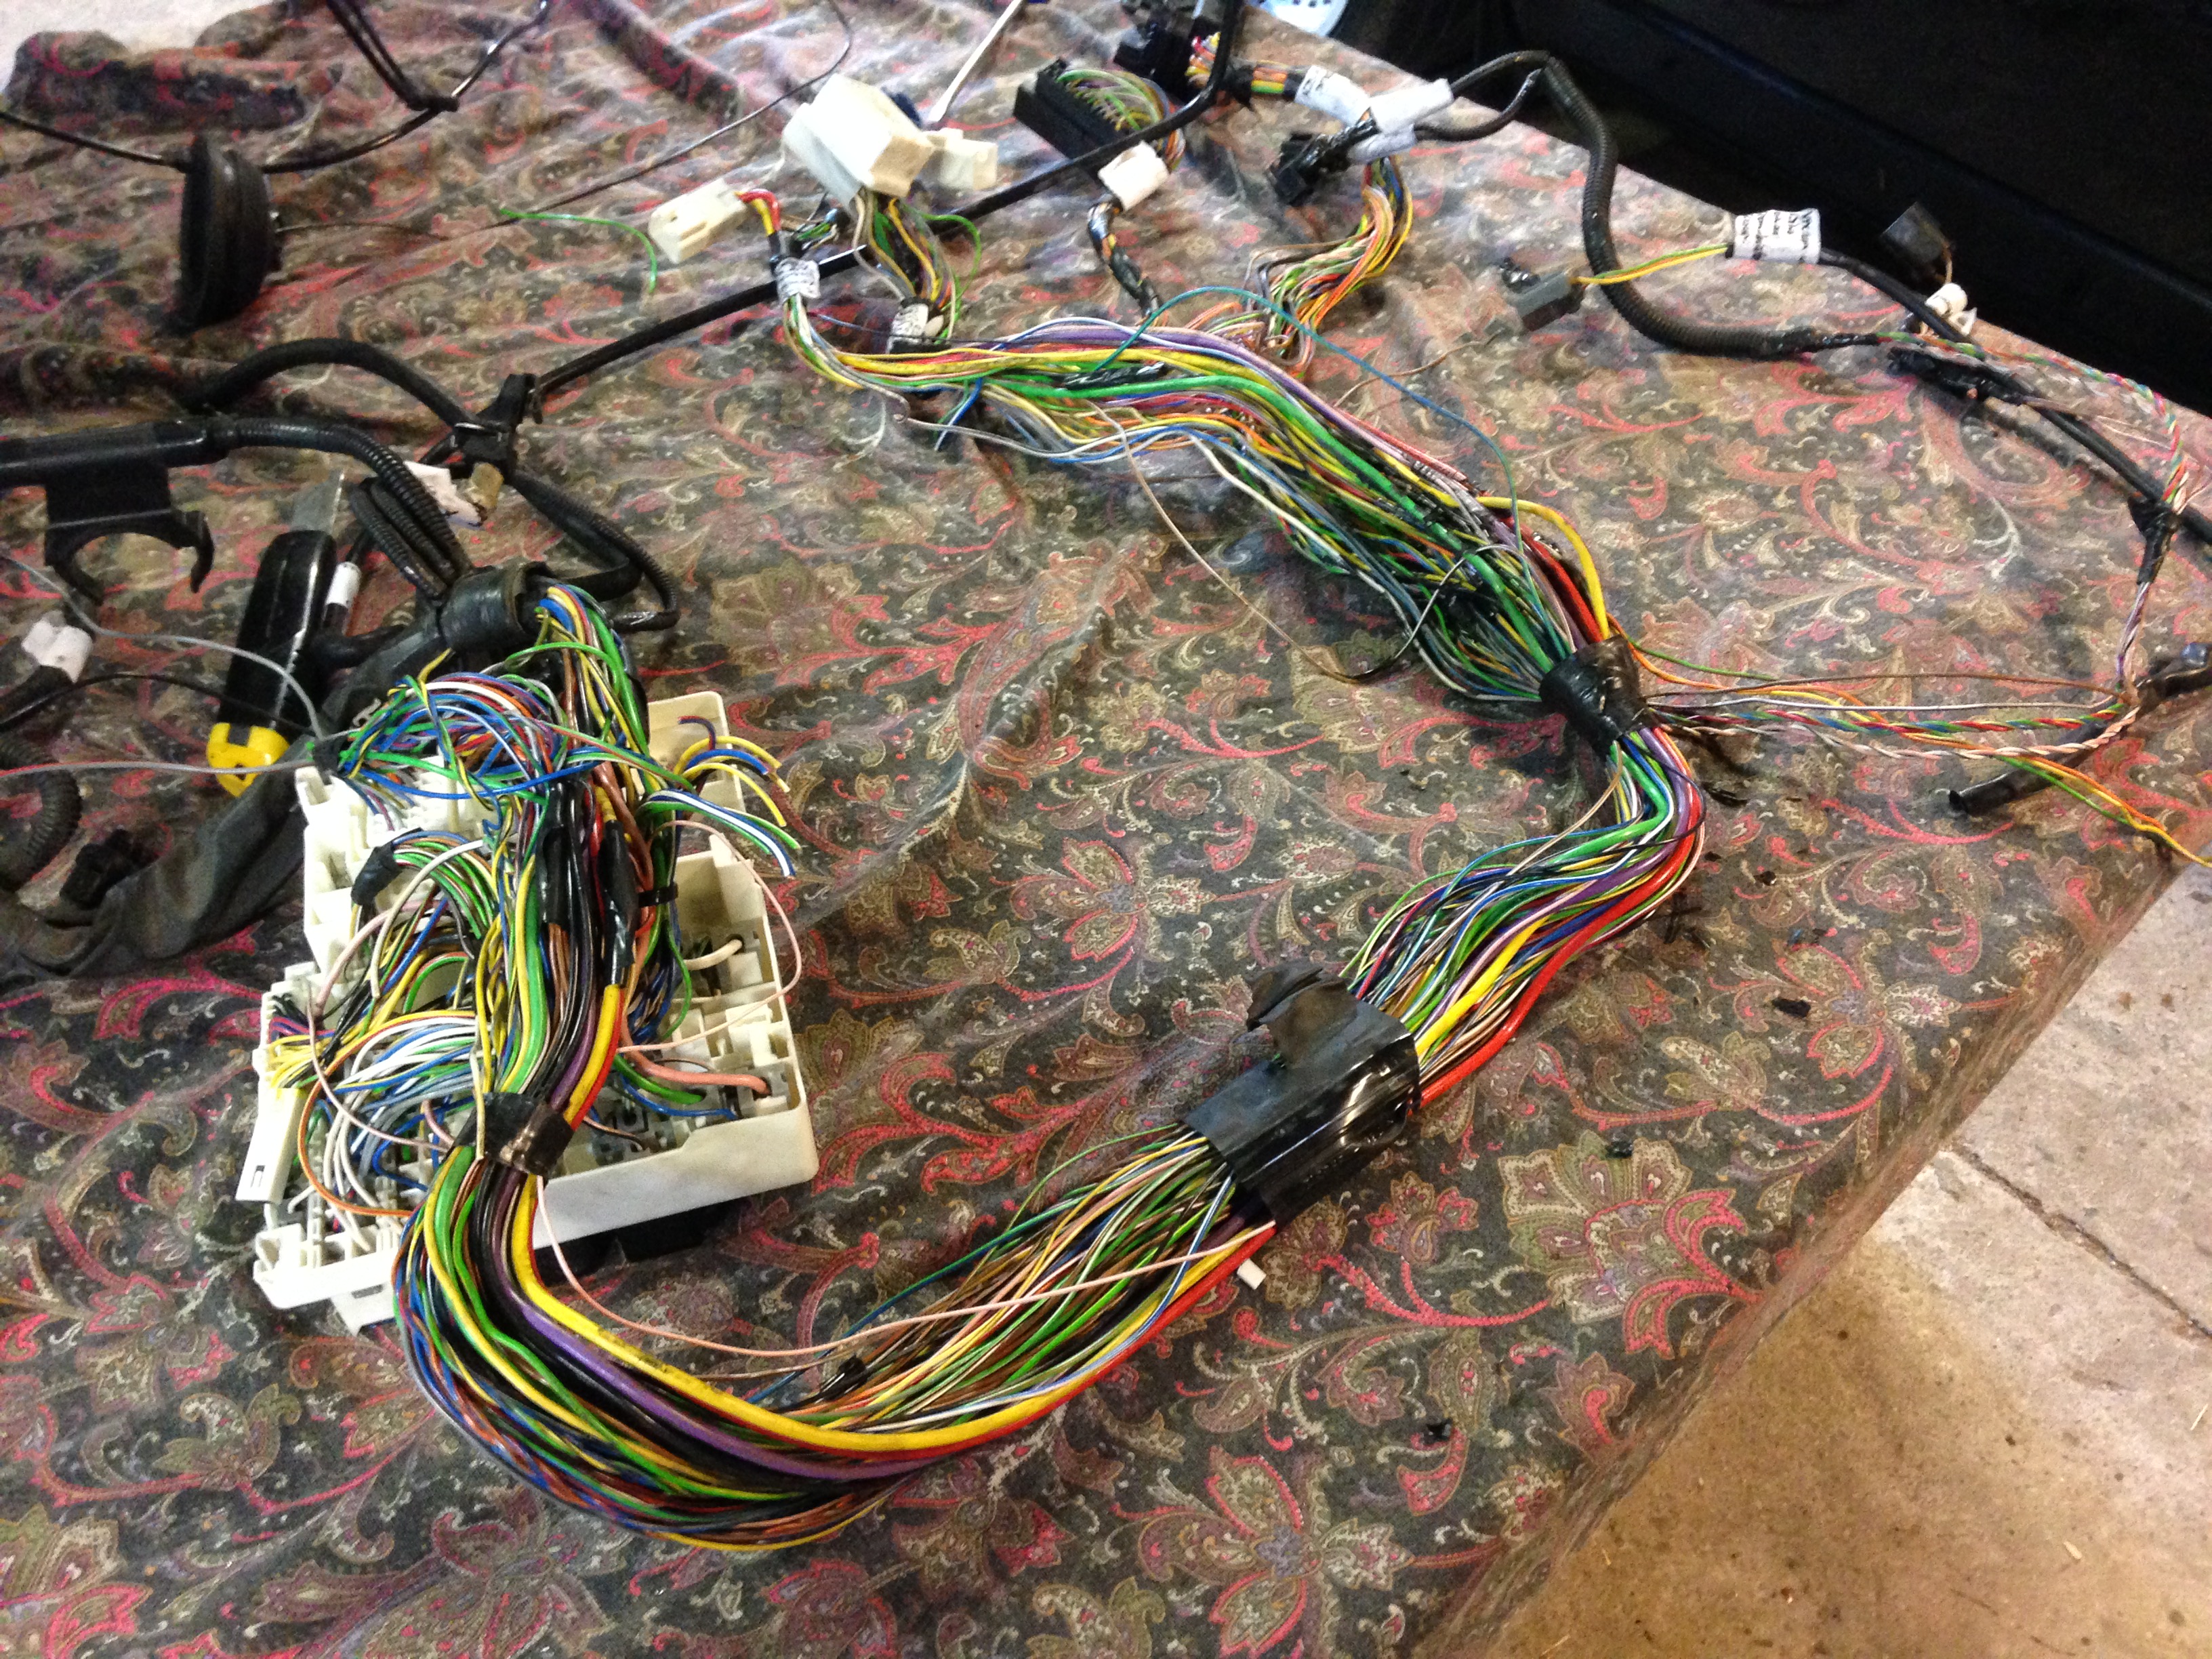
Wiring harnass on the operating table...
Hmm, let's see... cut the green wire or was it the blue?
6 April 2015
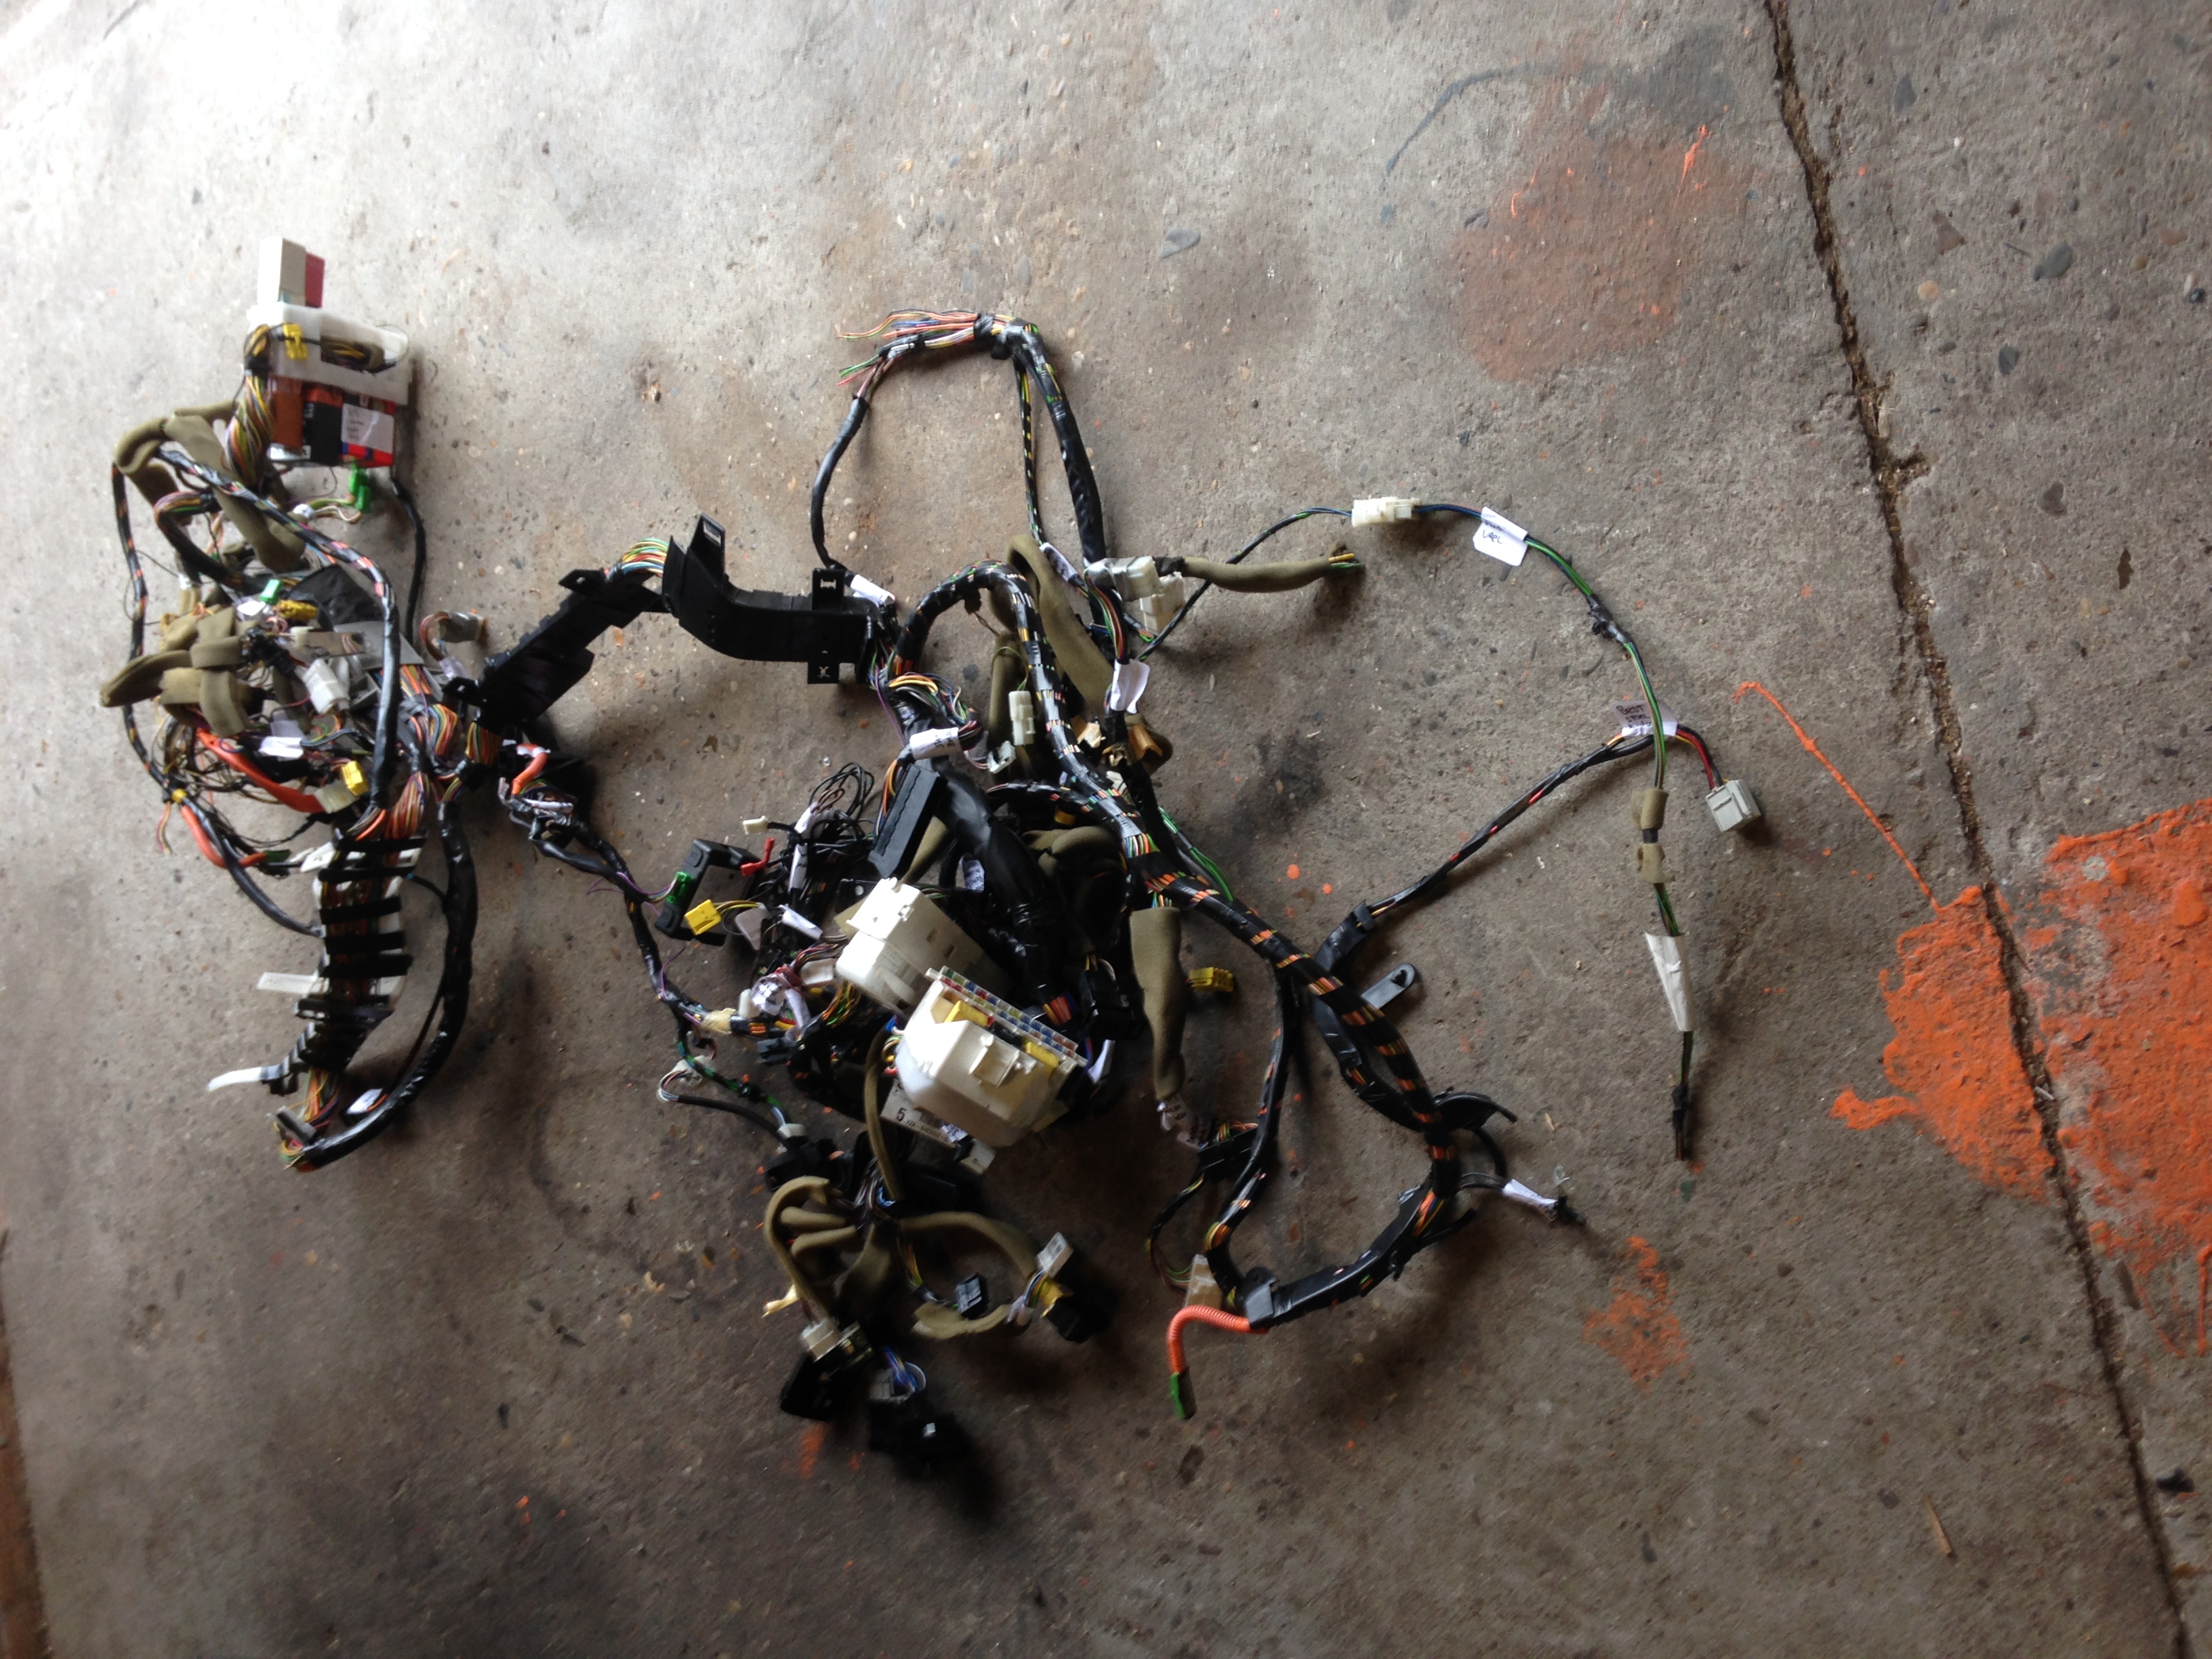
Today I completed getting all the wiring stuff out of the car, now figure out what goes where and what goes in the garbage...
8 April...
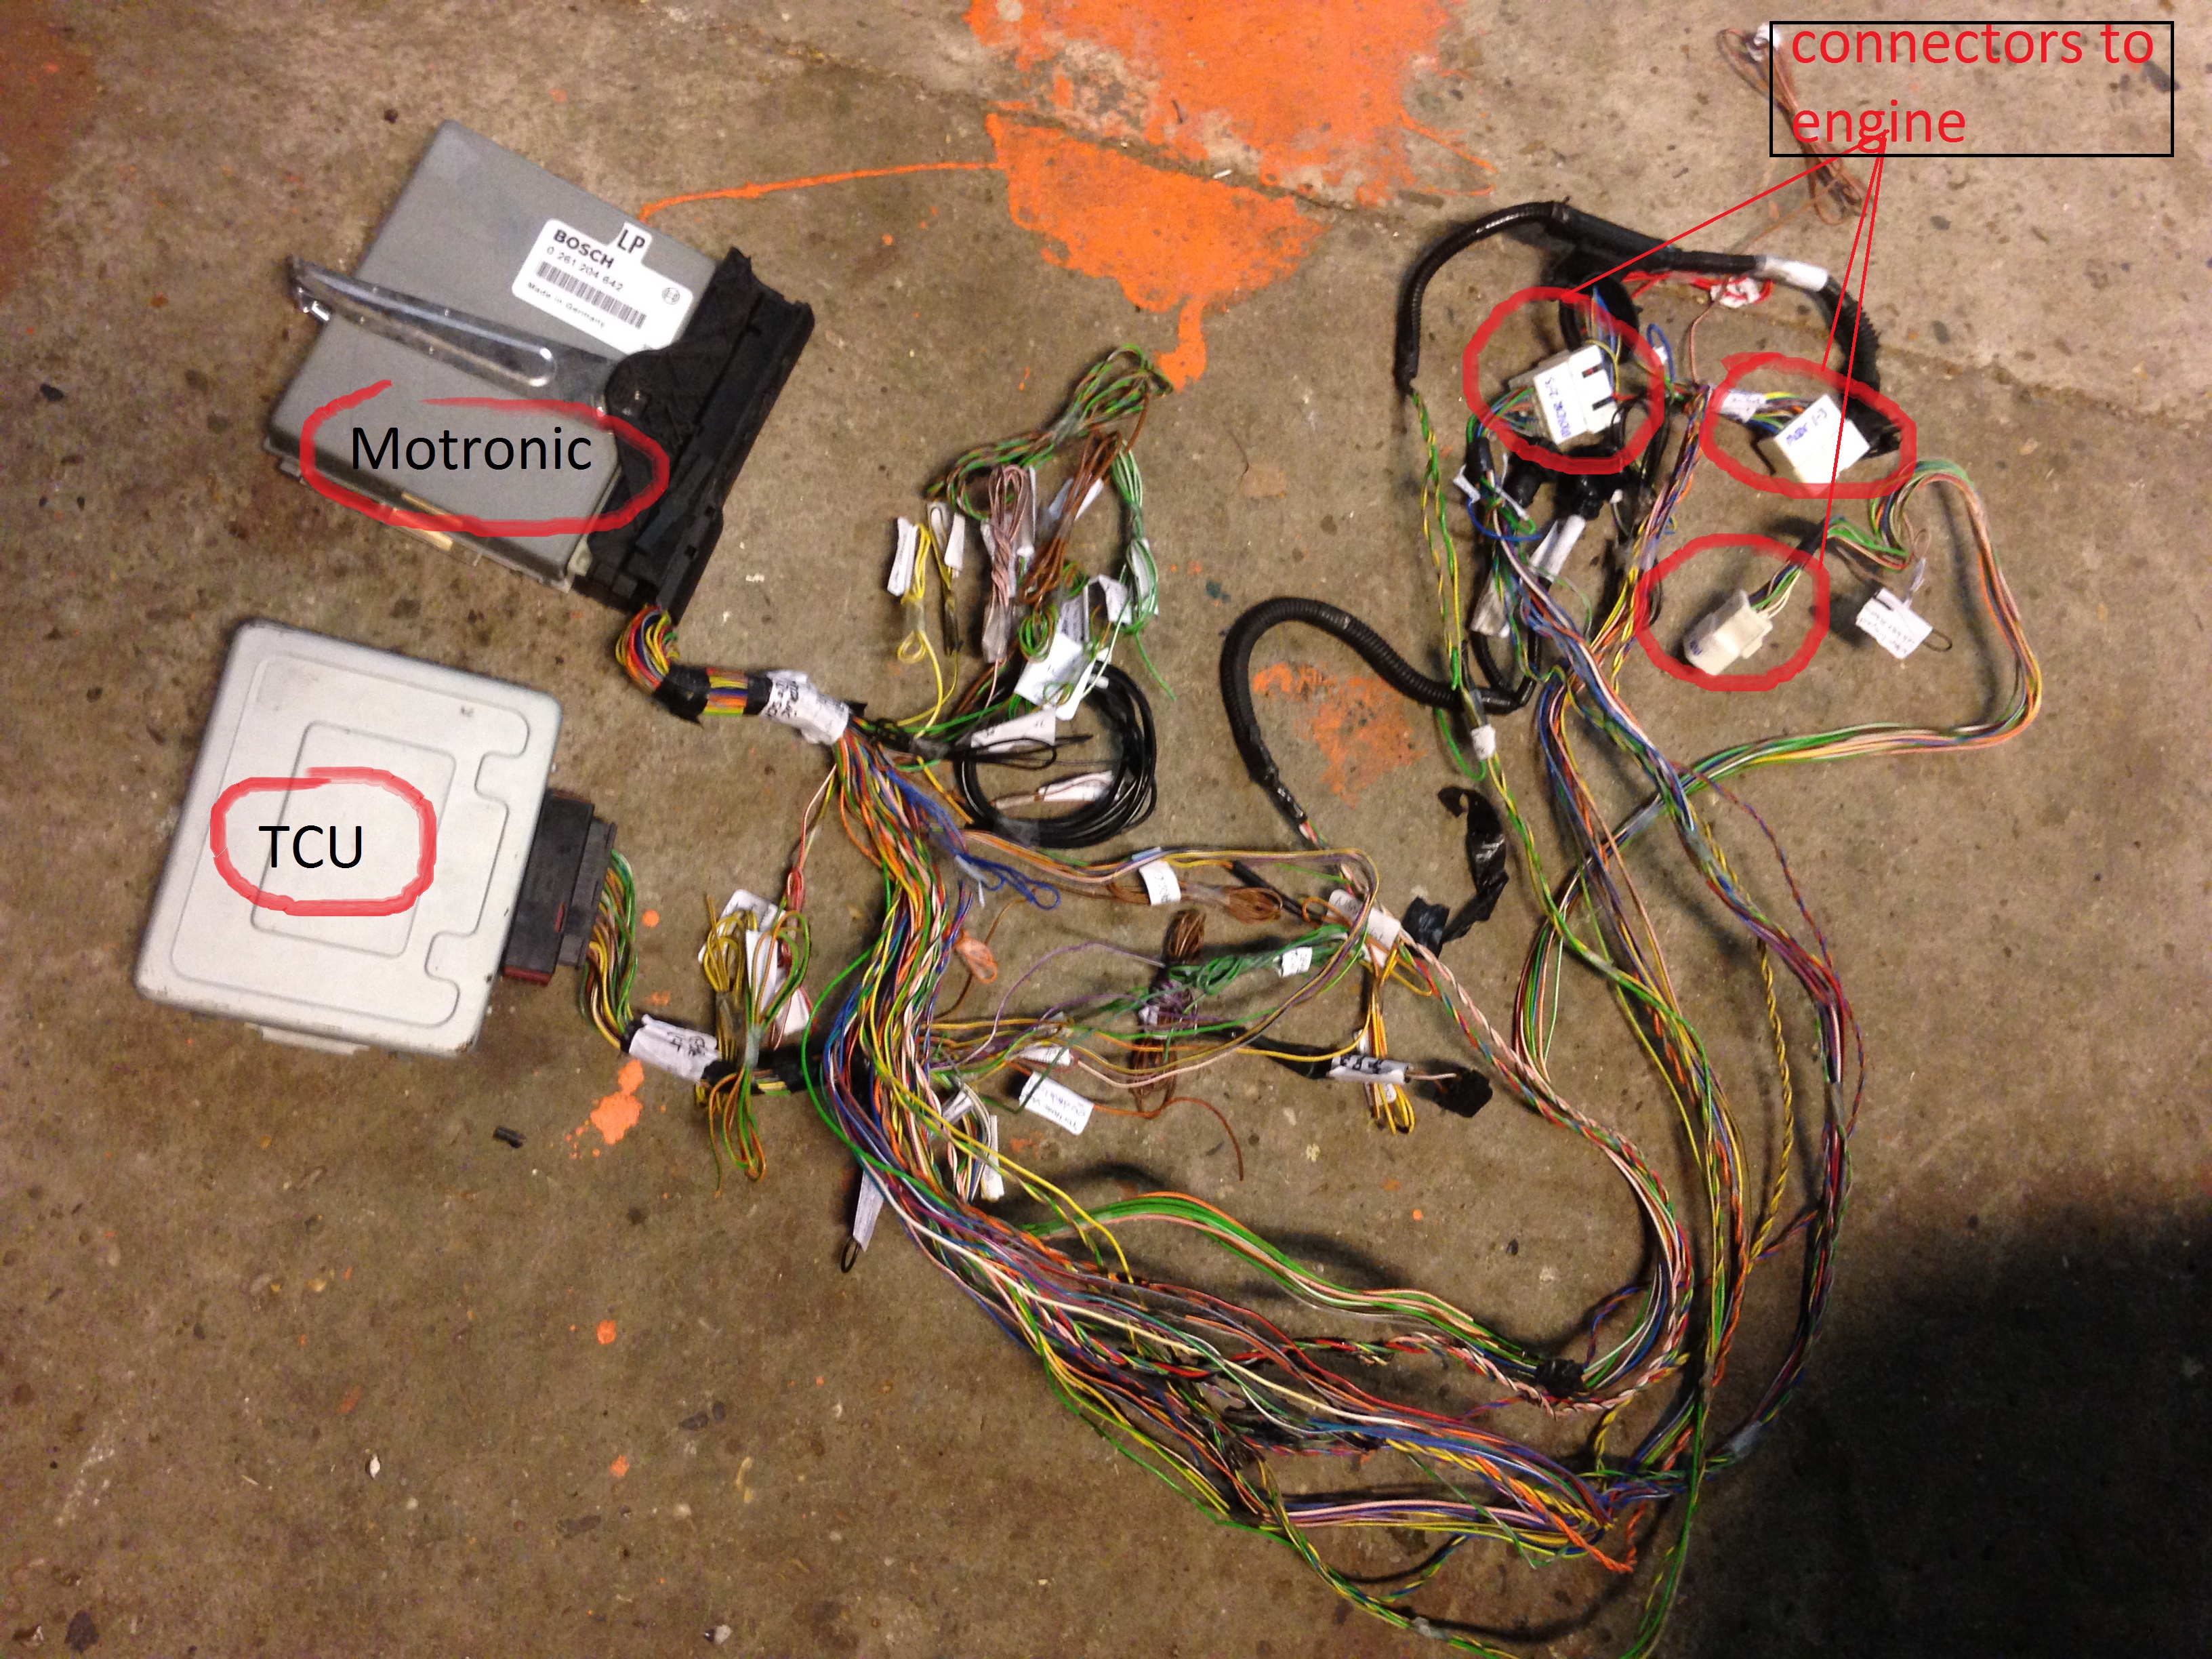
Finally, got the TCU and Motronic separated from the rest, took about 2 days, labeled all the wires I cut for future use :-)
This goes in the 164 somehow/somewhere with 3 plugs that connect all this to the electical stuff on the engine-connectors
Also got the tranny-mode selector (sport/eco/winter) nicely cut off and labeled, together with the auto-gearbox light position indicator so
just a few more bits to go!
(obd connector, probably some immobilizer stuff although I'd like to skip that and then some other stuff probably)
12 April
Last weekend was another 2 days for cutting off some more-stuff (wires for relays like starter-motor, iginition, fuelpumps etc.) and
figuring out how it all *was* and off-course going to be connected someday...
And also started drawing a new first verion of the new electrical schema during the weekend while cutting them wires :-), going to need some documentation after it's finished right ?
April 18
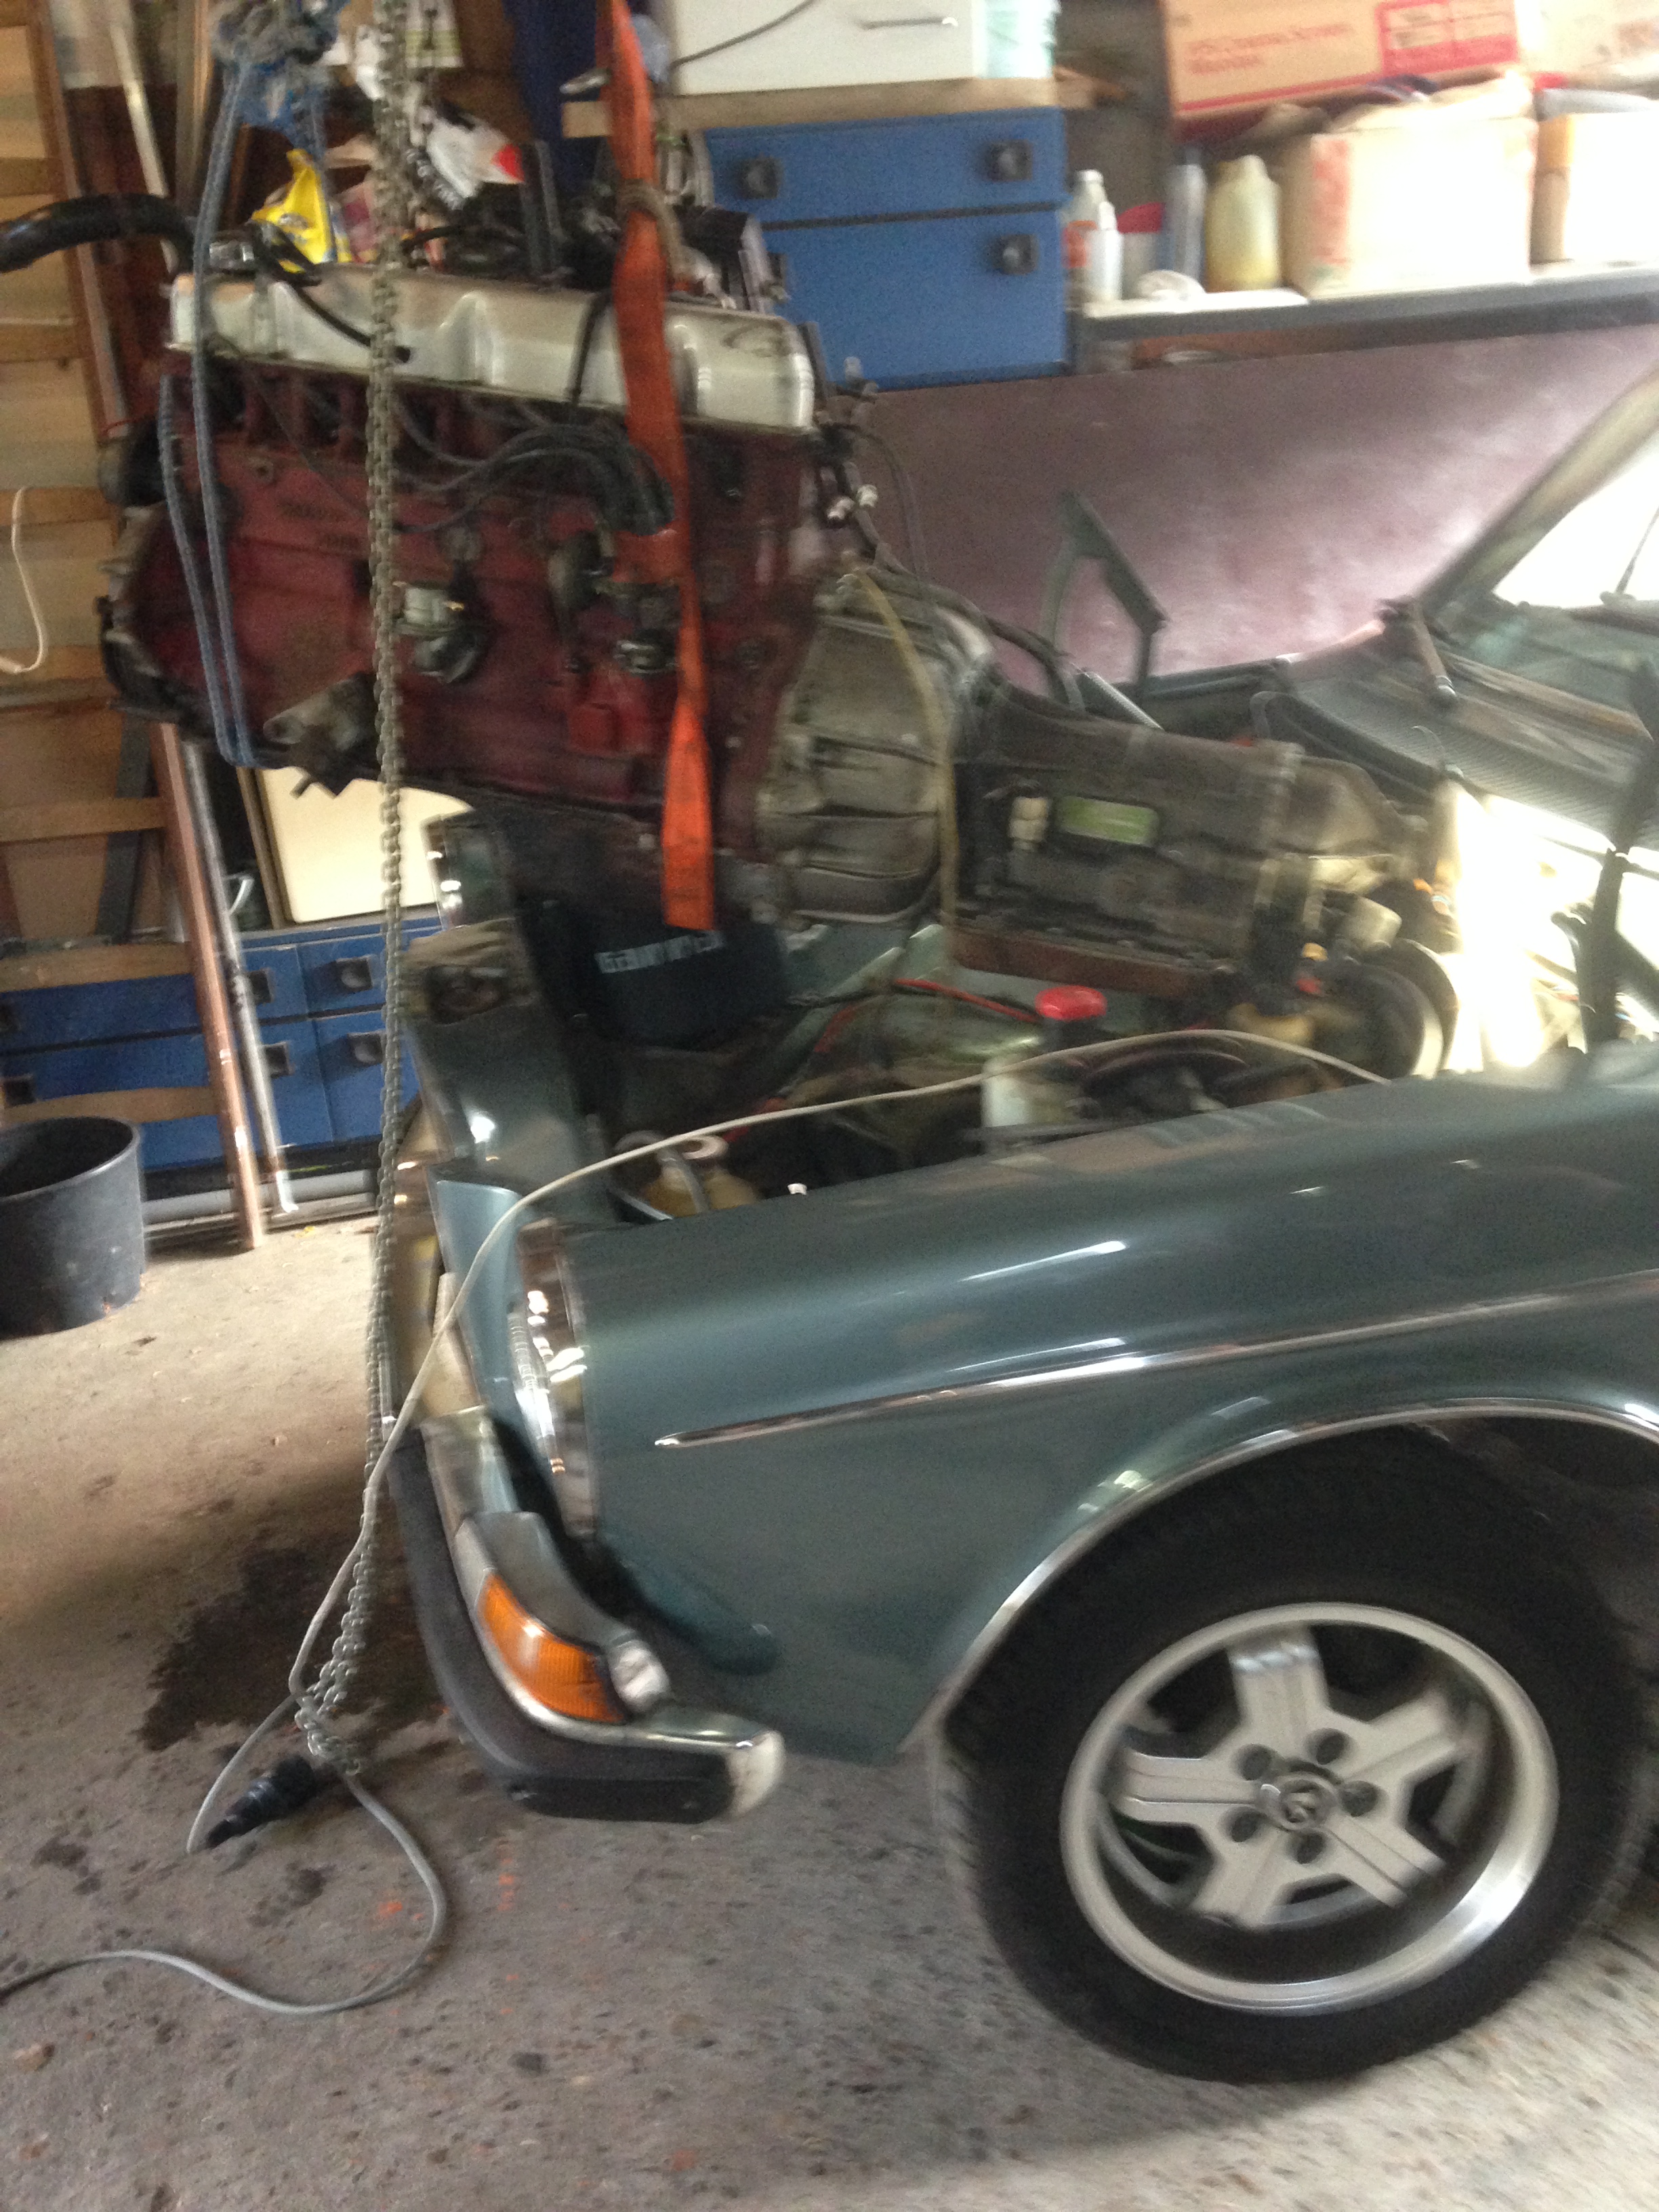
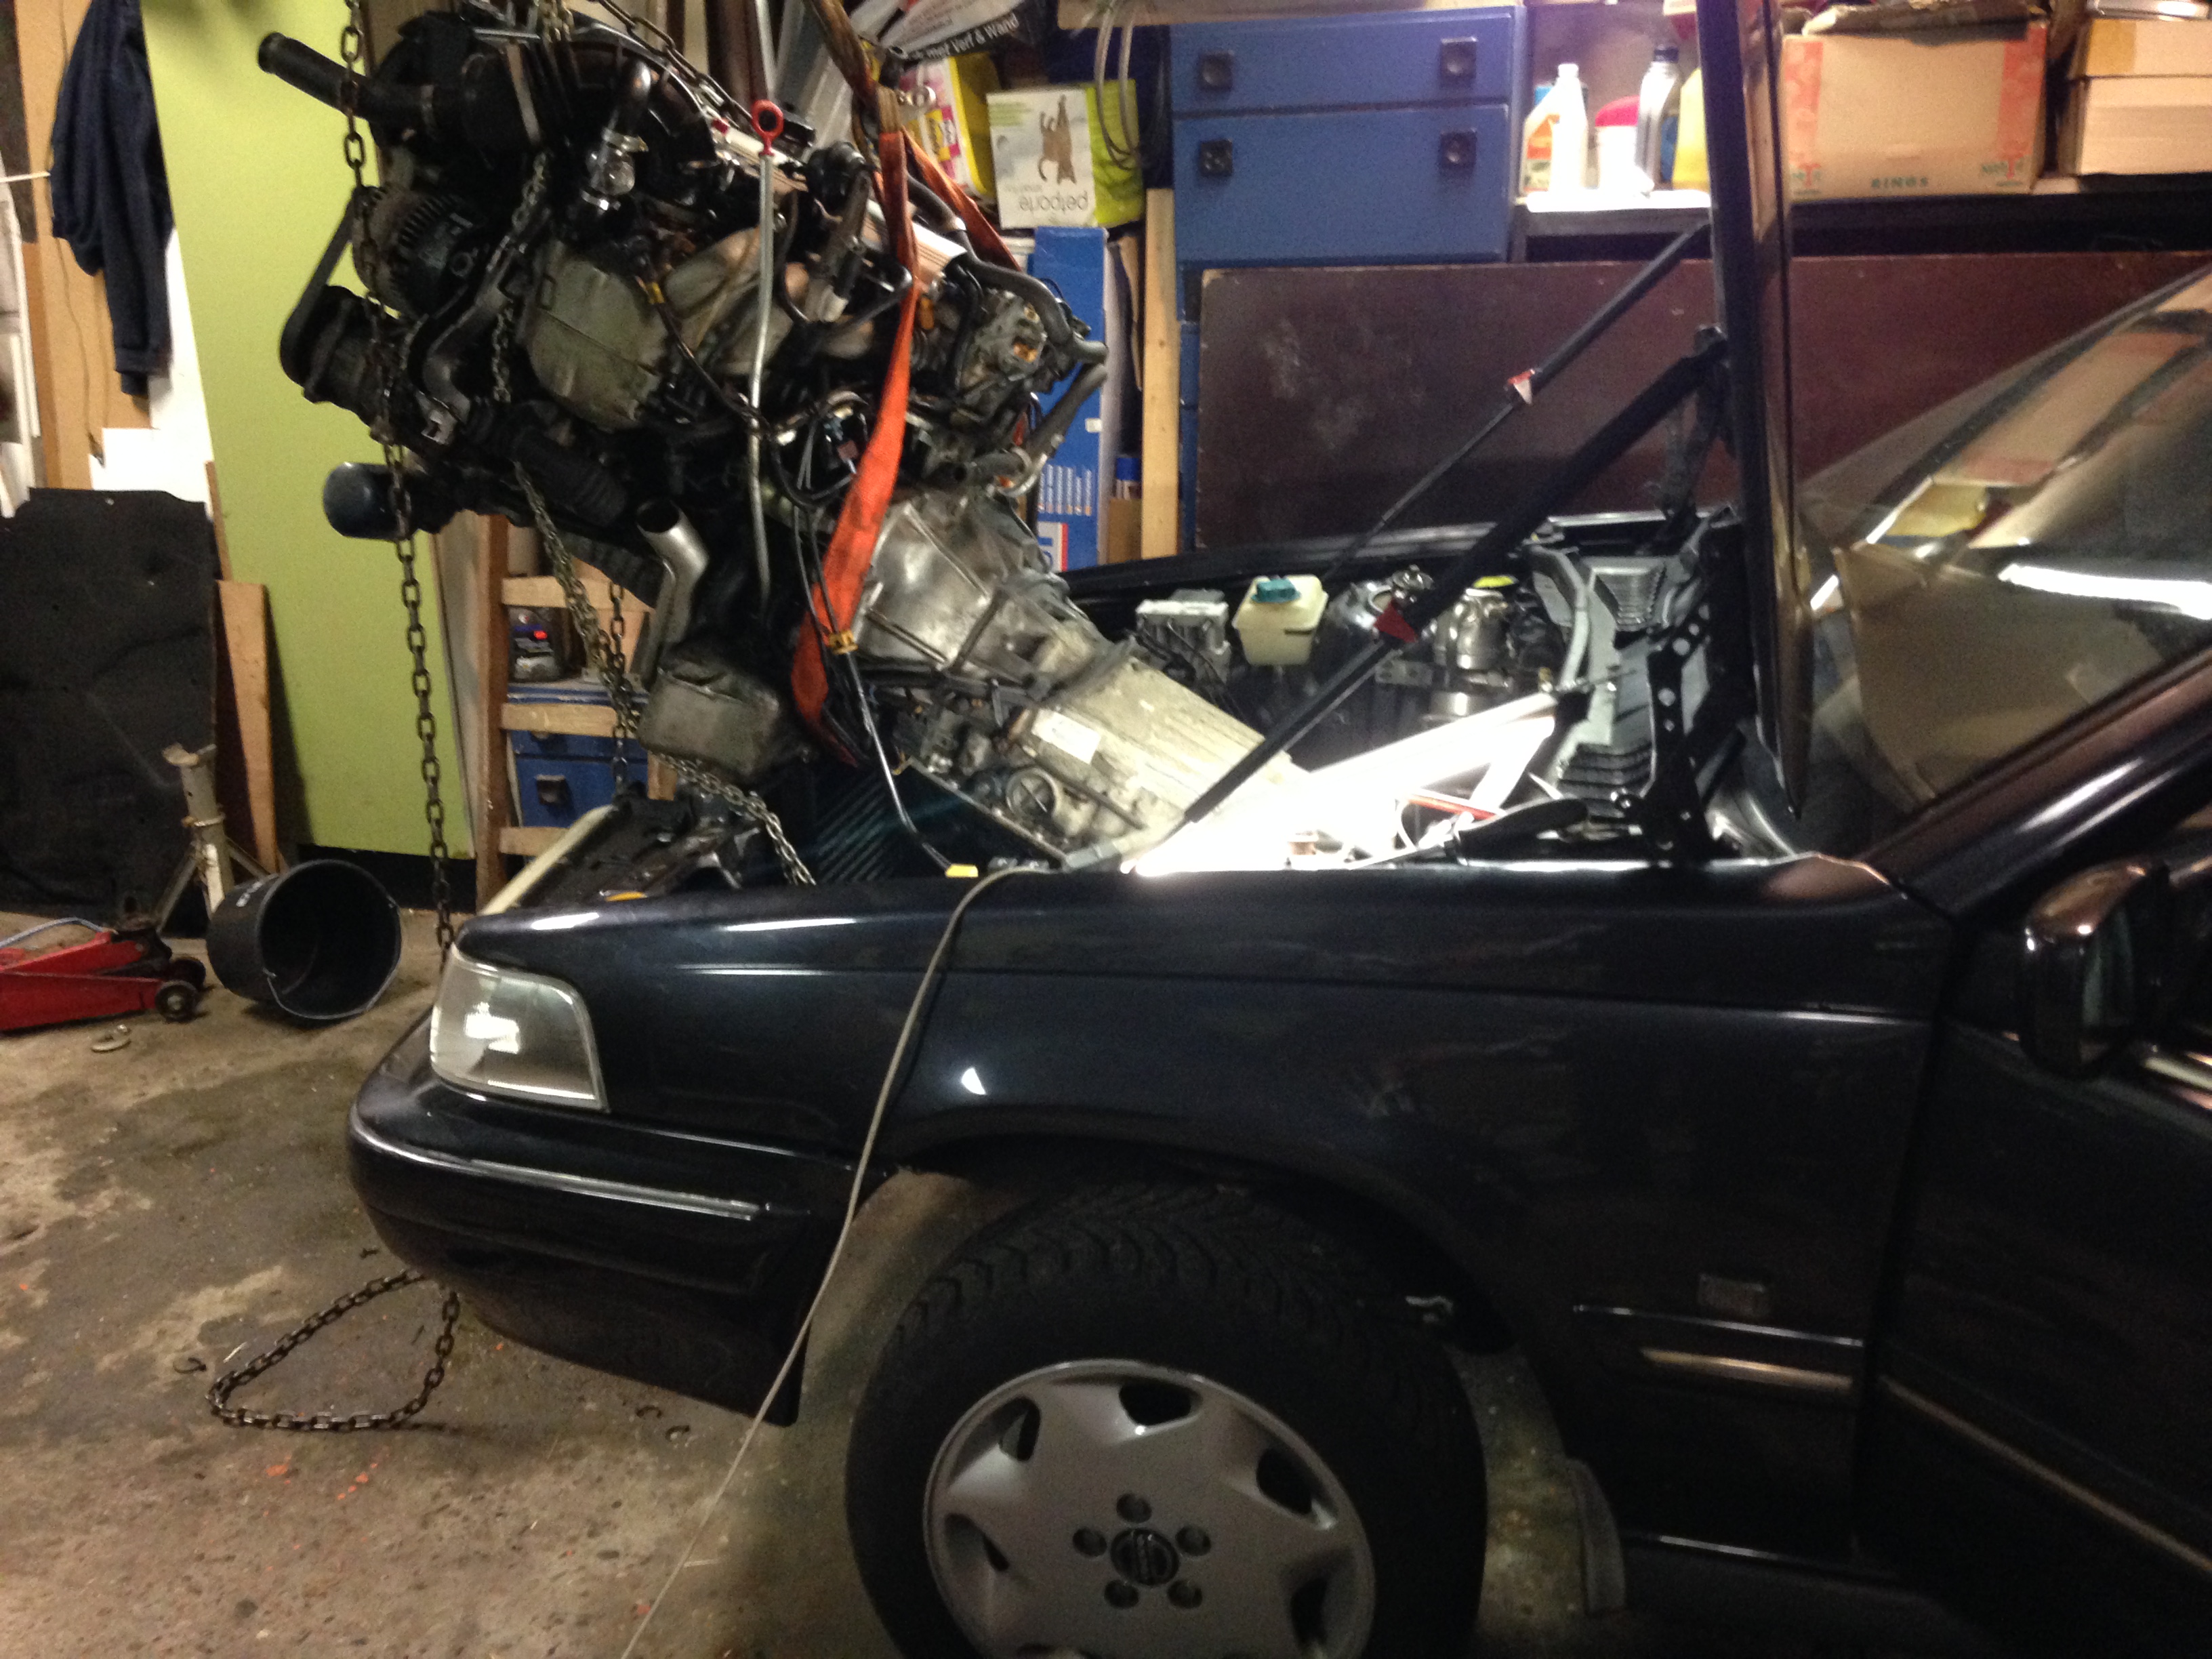
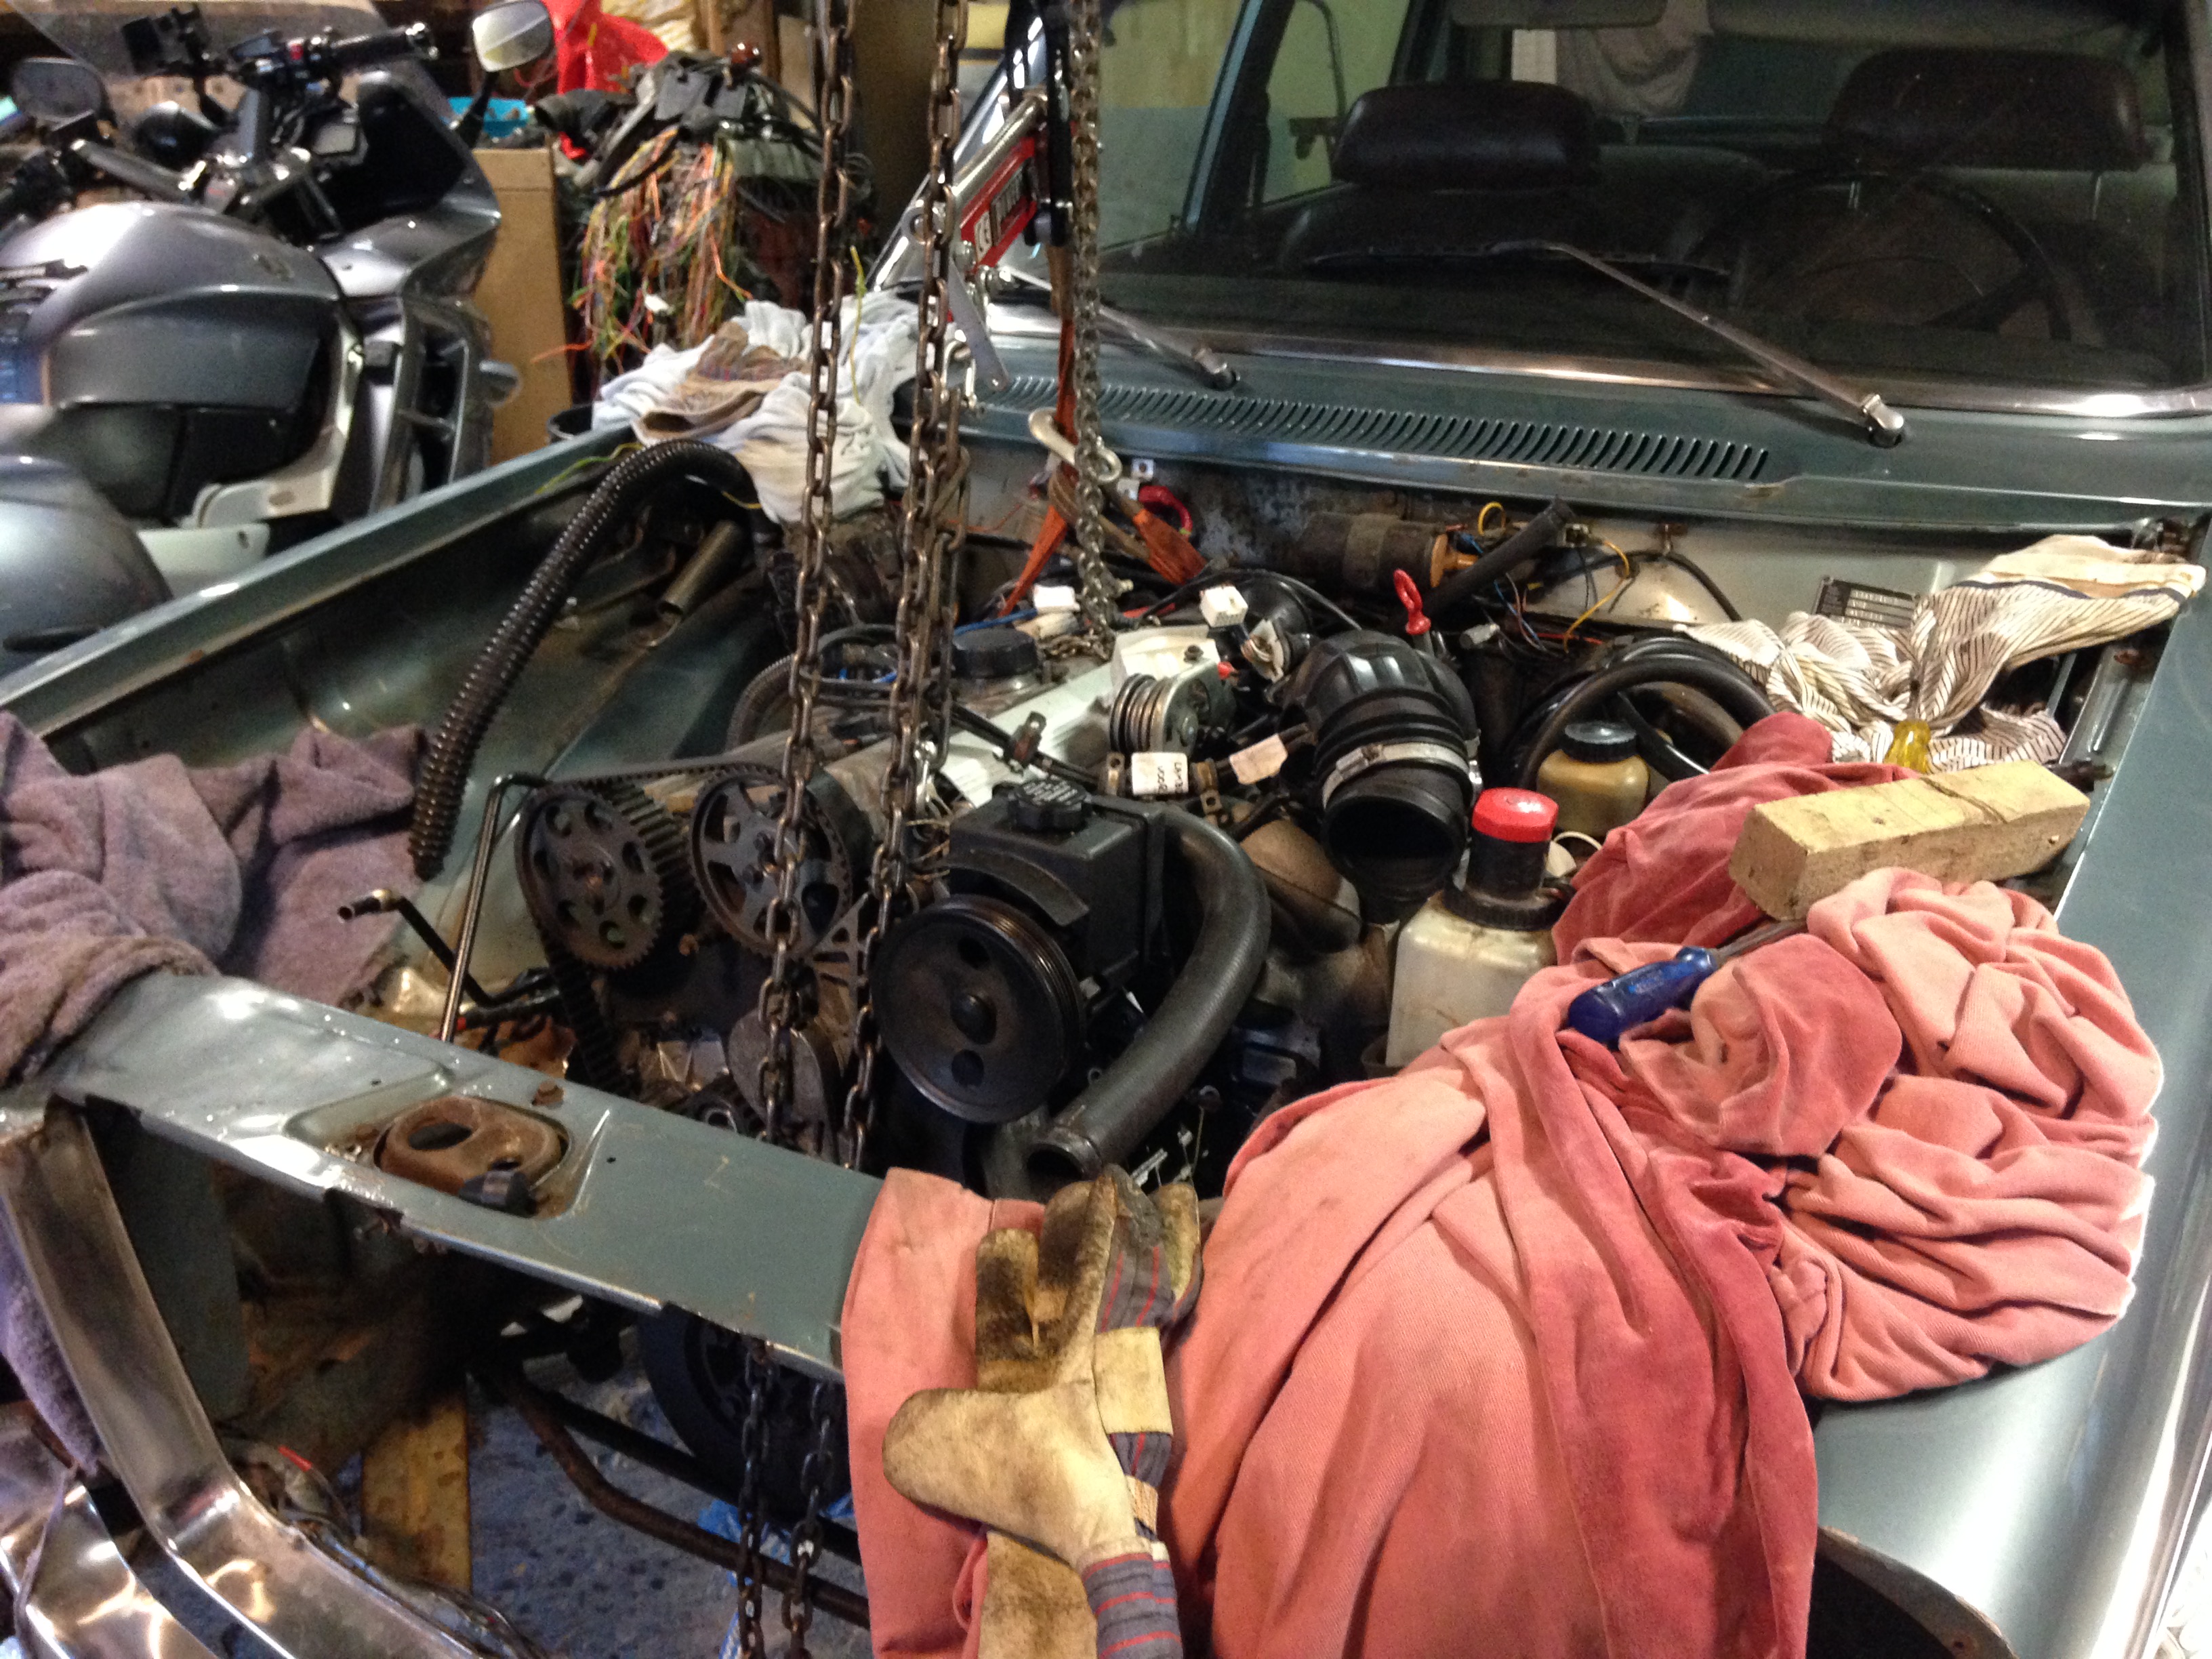
Finally! After about 2 days(!) messing around the engine is finally in place, what a b!tch getting it in place, just
no clearance anywhere, it's been a lousy job pulling the engine up/down, tilting it, rotate, back, forward, pivot the damn thing etc. but now it
is in place (supported & secured in place by pieces of wood).
Started last weekend but that really depressed me, could not get the engine oilpan over the lower front-arm axle of the driverside :-(
After realizing there really is no stretching Iron (arm) or aluminum (oilpan) I decided to unbolt the front-axle to make some room.
I hoped that the bolts holding front-axle to the chassis would still move after 45 years and... they did after a bit of persuation!
After that I could jack up the car wich finally created the room between the chassis and engine that I needed to get that mother in!
April 25
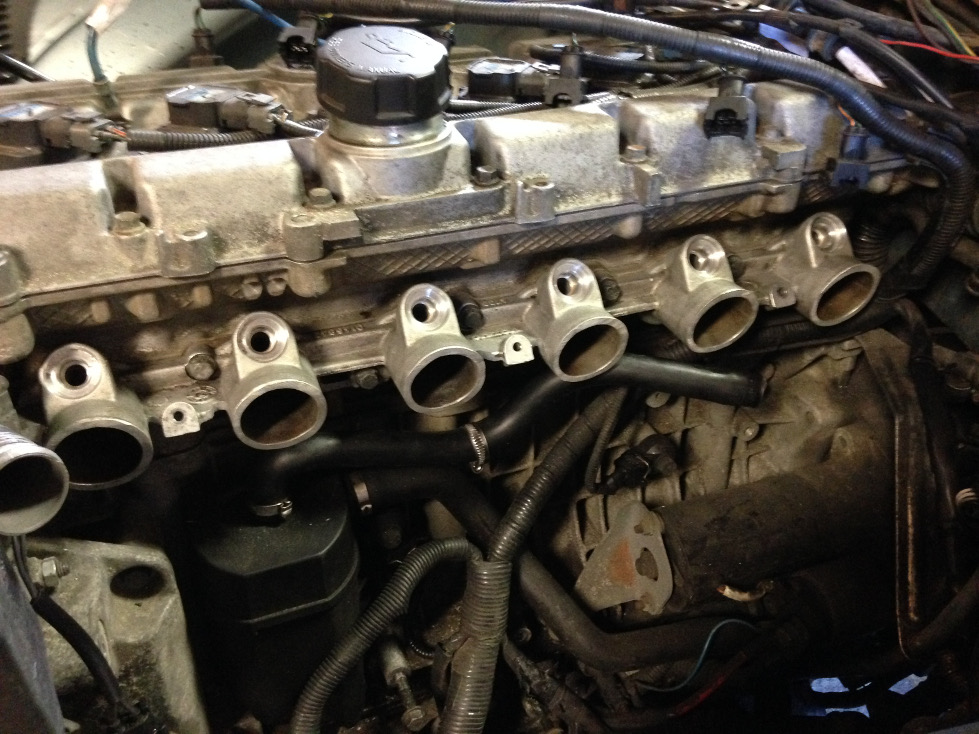
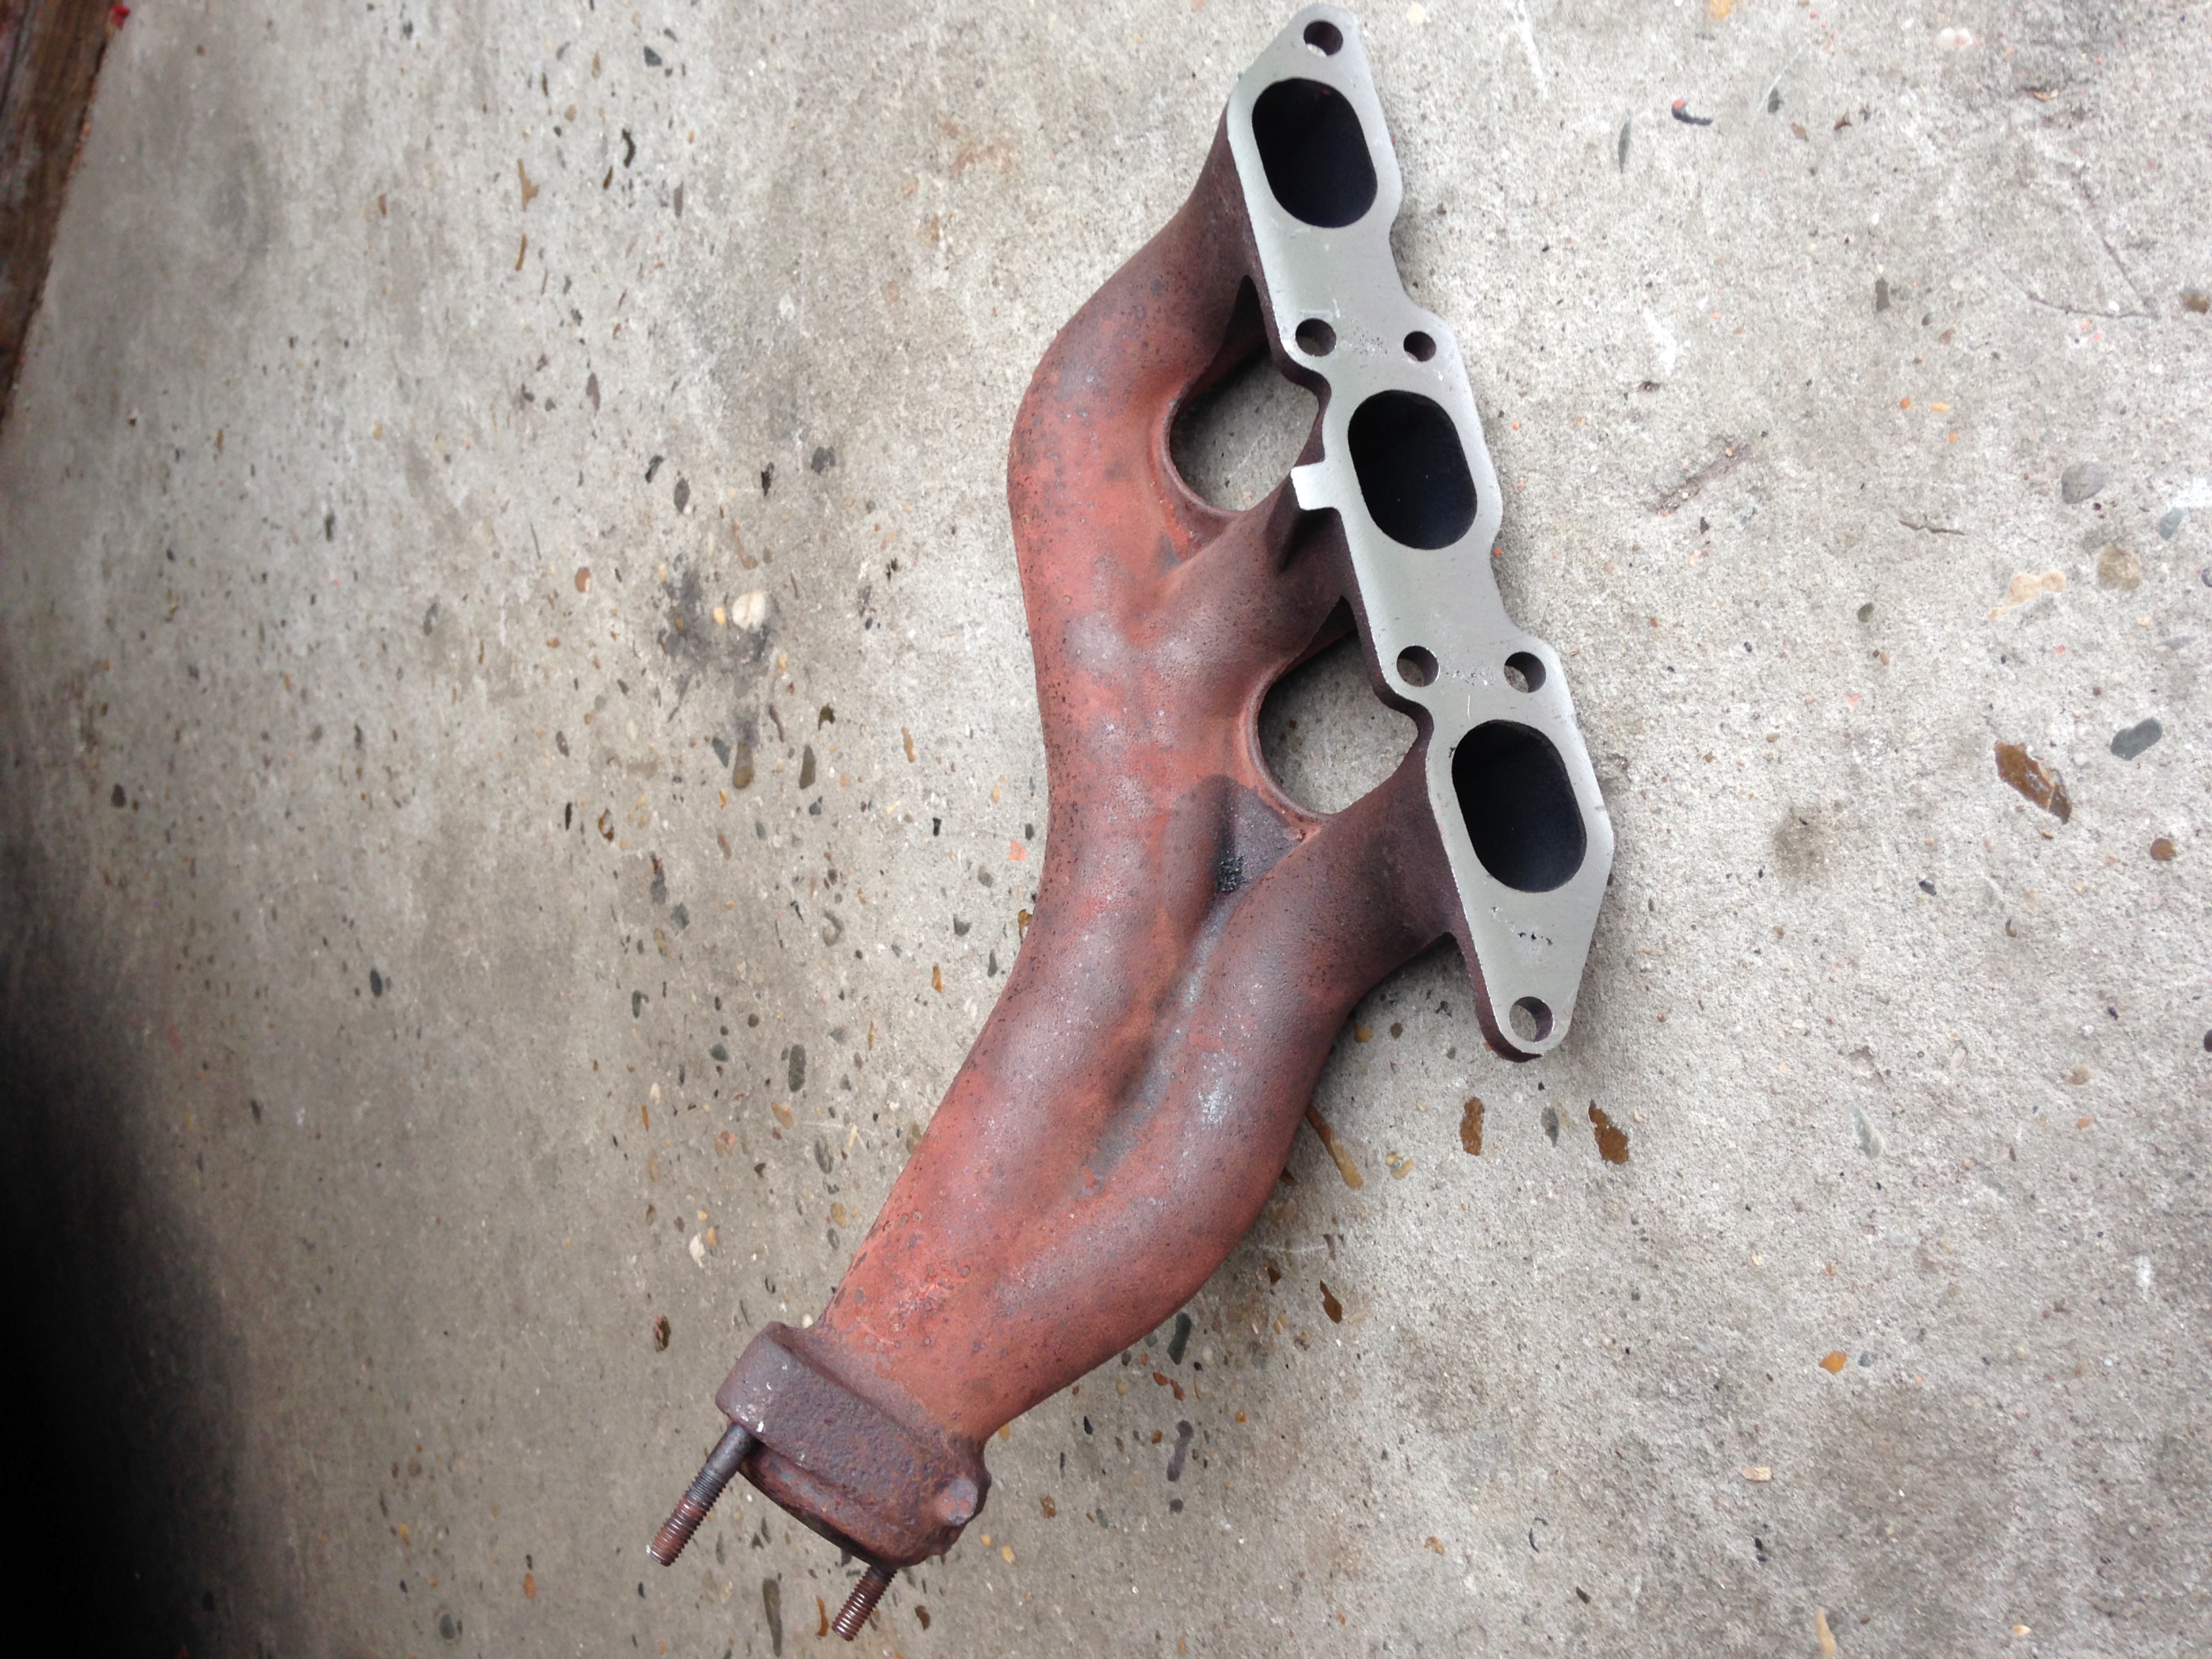
Started again this weekend with fiddling around and since clearance @intake side is minimal I had to take the intakemanifold off before it drove
me crazy, gave me some room to work. In the first pic it is still on but the second picture it's off.
Once the engine is in place it looks good/easy, but getting it there...pfff what misery
For those of you wondering what colourfull mess is in the back of the picture :-) , left is my motorbike, to the right stacked on top and around the B30 there are
bits of the engine (exhaust headers, gearlever, engine mounts, alternater and god nows what other bits) and a lot of the electric wiring I cut
from the S90 that will come in handy when making a new fuse/relay/ecu/tcu box for all that electric stuff
Good news is that (apart from the brakelines that are in the way, wich need rerouting ) now finally I can start making some those engine mounts!
Since you can't do that if the engine isn't is place that was the first thing I wanted to do.
Also a new tranny mount @the back has to be made, that's probably easy just, no cutting involved perhaps just getting a thin rubber mount that will fit.
So when that is done I will take the engine out again and start some refurbishing of the engine bay, but first I'll have to remove the old gas-pedal thing
since that is also in the way and will change from weird connected rods to a cable, remove some unneeded brackets & small pieces, reroute the brake lines and put in a fuell return line (and reroute the old fuel supply line). Also a bit of cutting
and welding has to be done to give me the last few millimeters of desperate needed room for that funky intake manifold.
Sounds easy right?
Boyoboyoboy what did I get into, I'm *still* looking for a few mm clearance @intake side, there's just no room :-(
I thought there was just enough room but no cigar, engine is stuck on the intake side to the steering-pump and steering-rod rubber/cross-coupling
It's slowly starting to piss me off....
That airbox is definetely stuck against the steering-rod/axle/rubber coming from the dashboard/steering wheel
Cant move that steering-rod anywhere so that airbox thing needs major rethinking
So before I can start on the engine mounts I'll have to make a bit more room @intake side because that airbox is stuck to the steering-axle
I can't *just* move the engine off to the other side, that would cause the exhaust not to fit, also the engine would be out of the centre
and the engine would get stuck on that exhaust-side. Getting the exhaust to fit on the other side will also be a very tight fit, we'll see about that in a few weeks
but i've had a test fitting there so that should be ok, so sadly I can't win the needed room on that side .
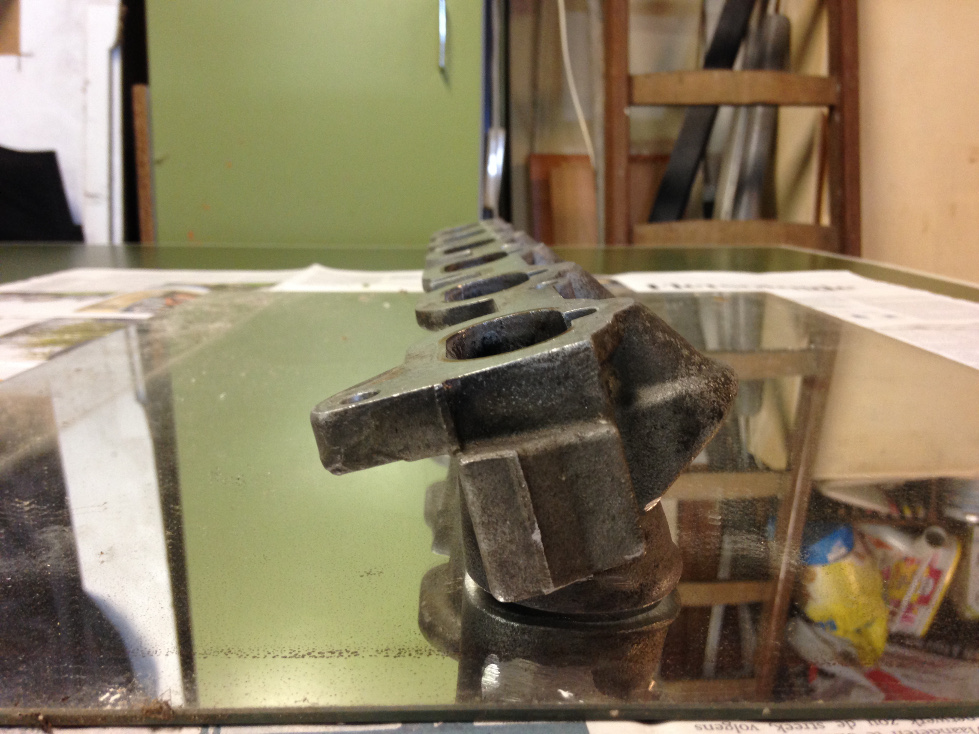
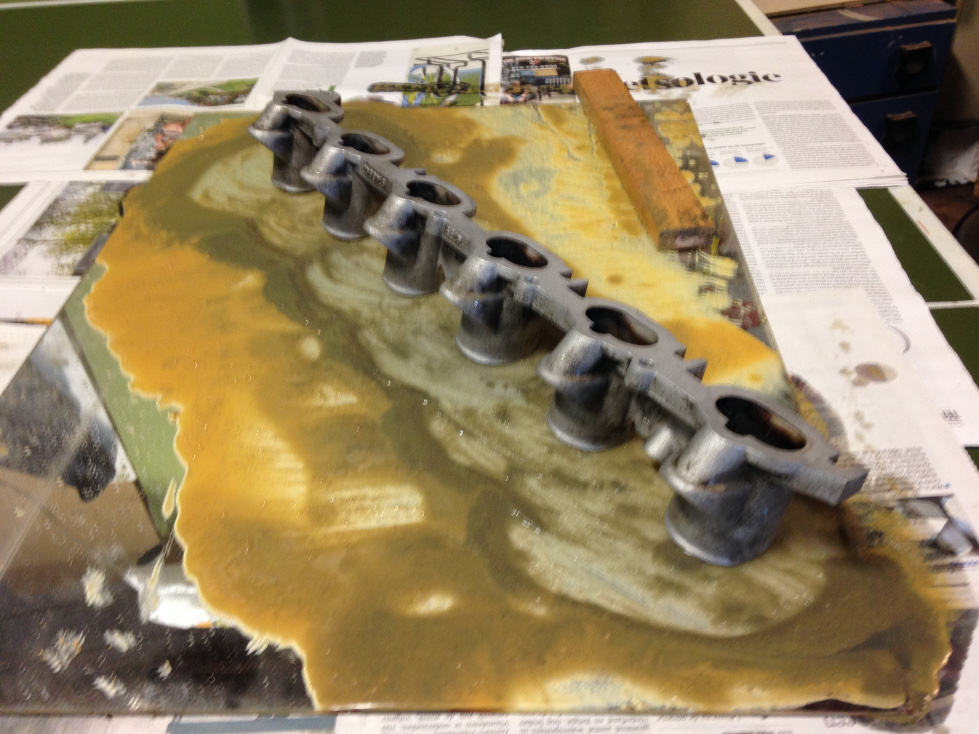
So I decided to take off a few mm from the bottom part of the intake manifold so that will create an angle downwards for that weird airbox.
For every mm I take off there it will create a mm of needed space
First was the fairly quick removal of material with a grinder (sorry, can't have all the tools...)
Here you can see it tilted downwards, original is horizontally!
Ready for basic fitting to see if that will give enough room, bolted it back on with a few bolts and then installed the airbox
and yep finally, that's more like it pfffff
And Yes, in the success pic above, that cracked 45 year old rubber connection between steering-rod and steering-house will be replaced with a new one :-)
So now I can do some finishing touches, sanding it down nice & flat on a glass plate using sand and polisher! (like I said, can't have all the tools you wish for :-) )
Next Friday i'll make a first attempt to create the new engine mounts from cardboard, only one day to do some work then, because we're taking the bike to Belgium for a nice relaxing motorbike-weekend, gotta have a life as well right :-)
Maybe in the evening this week I'll do the engine mounts, we'll see...
May 20
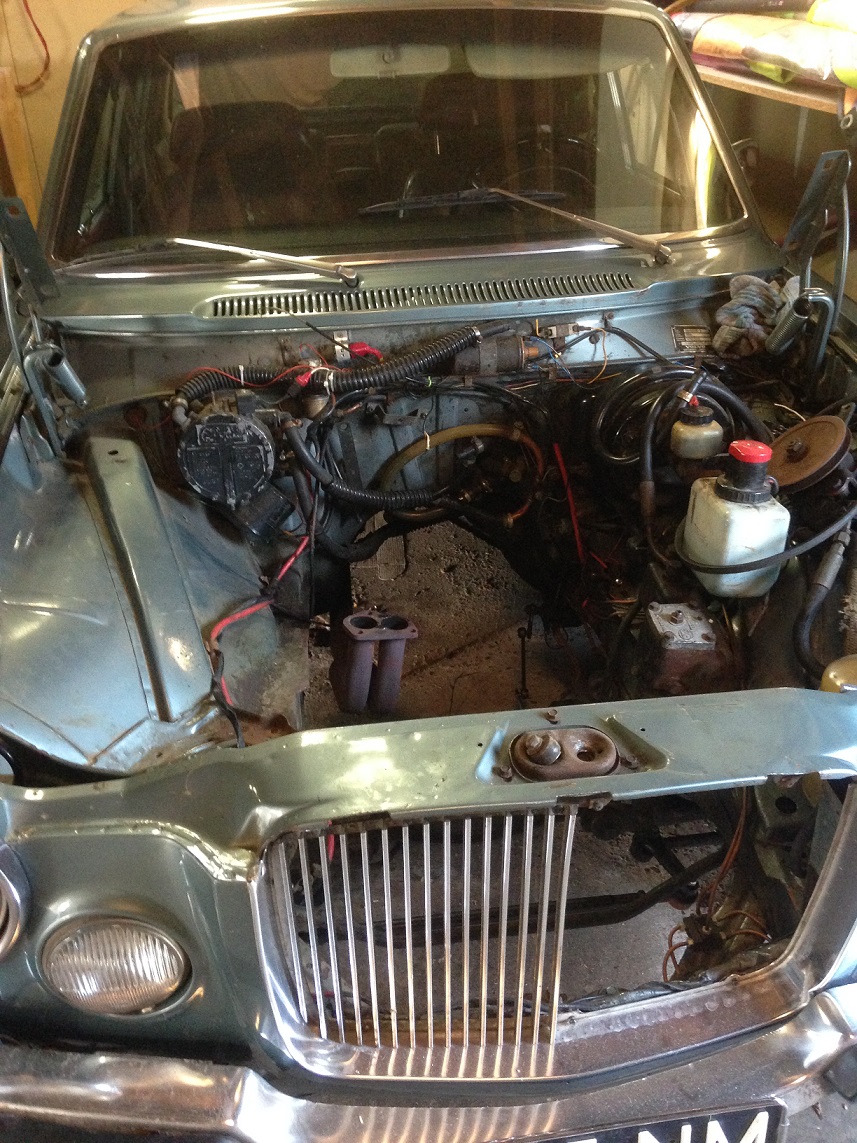
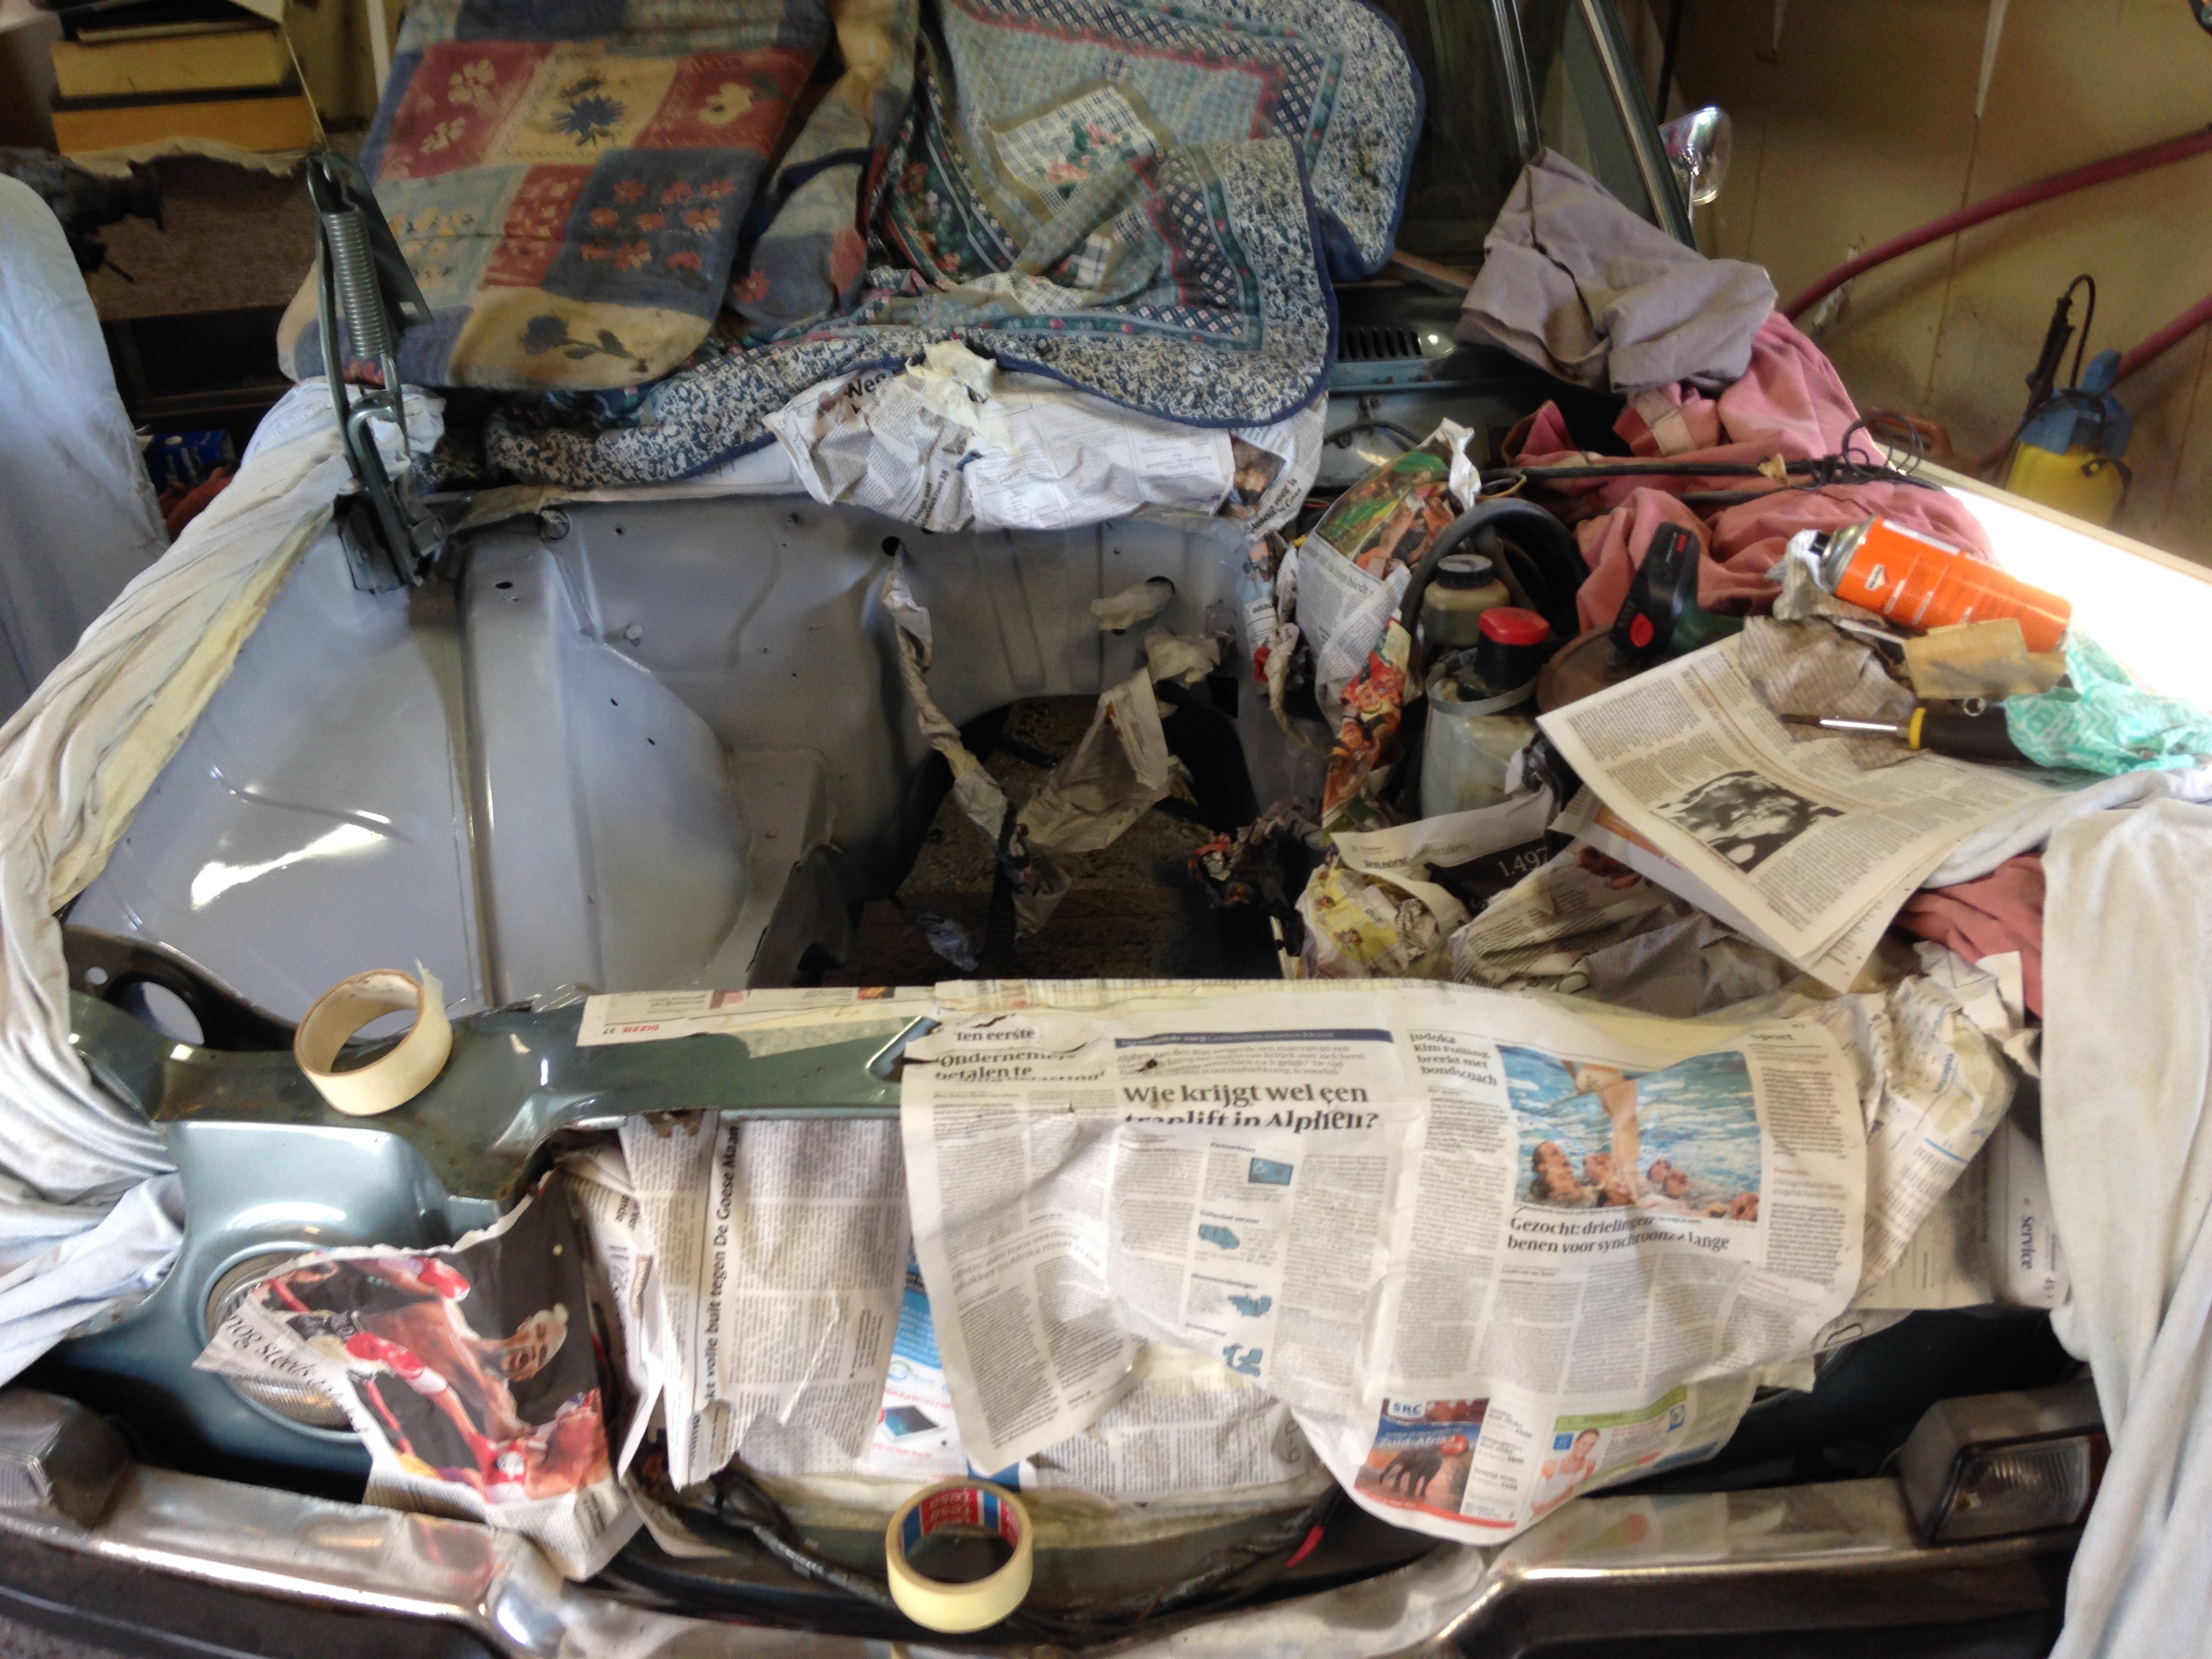
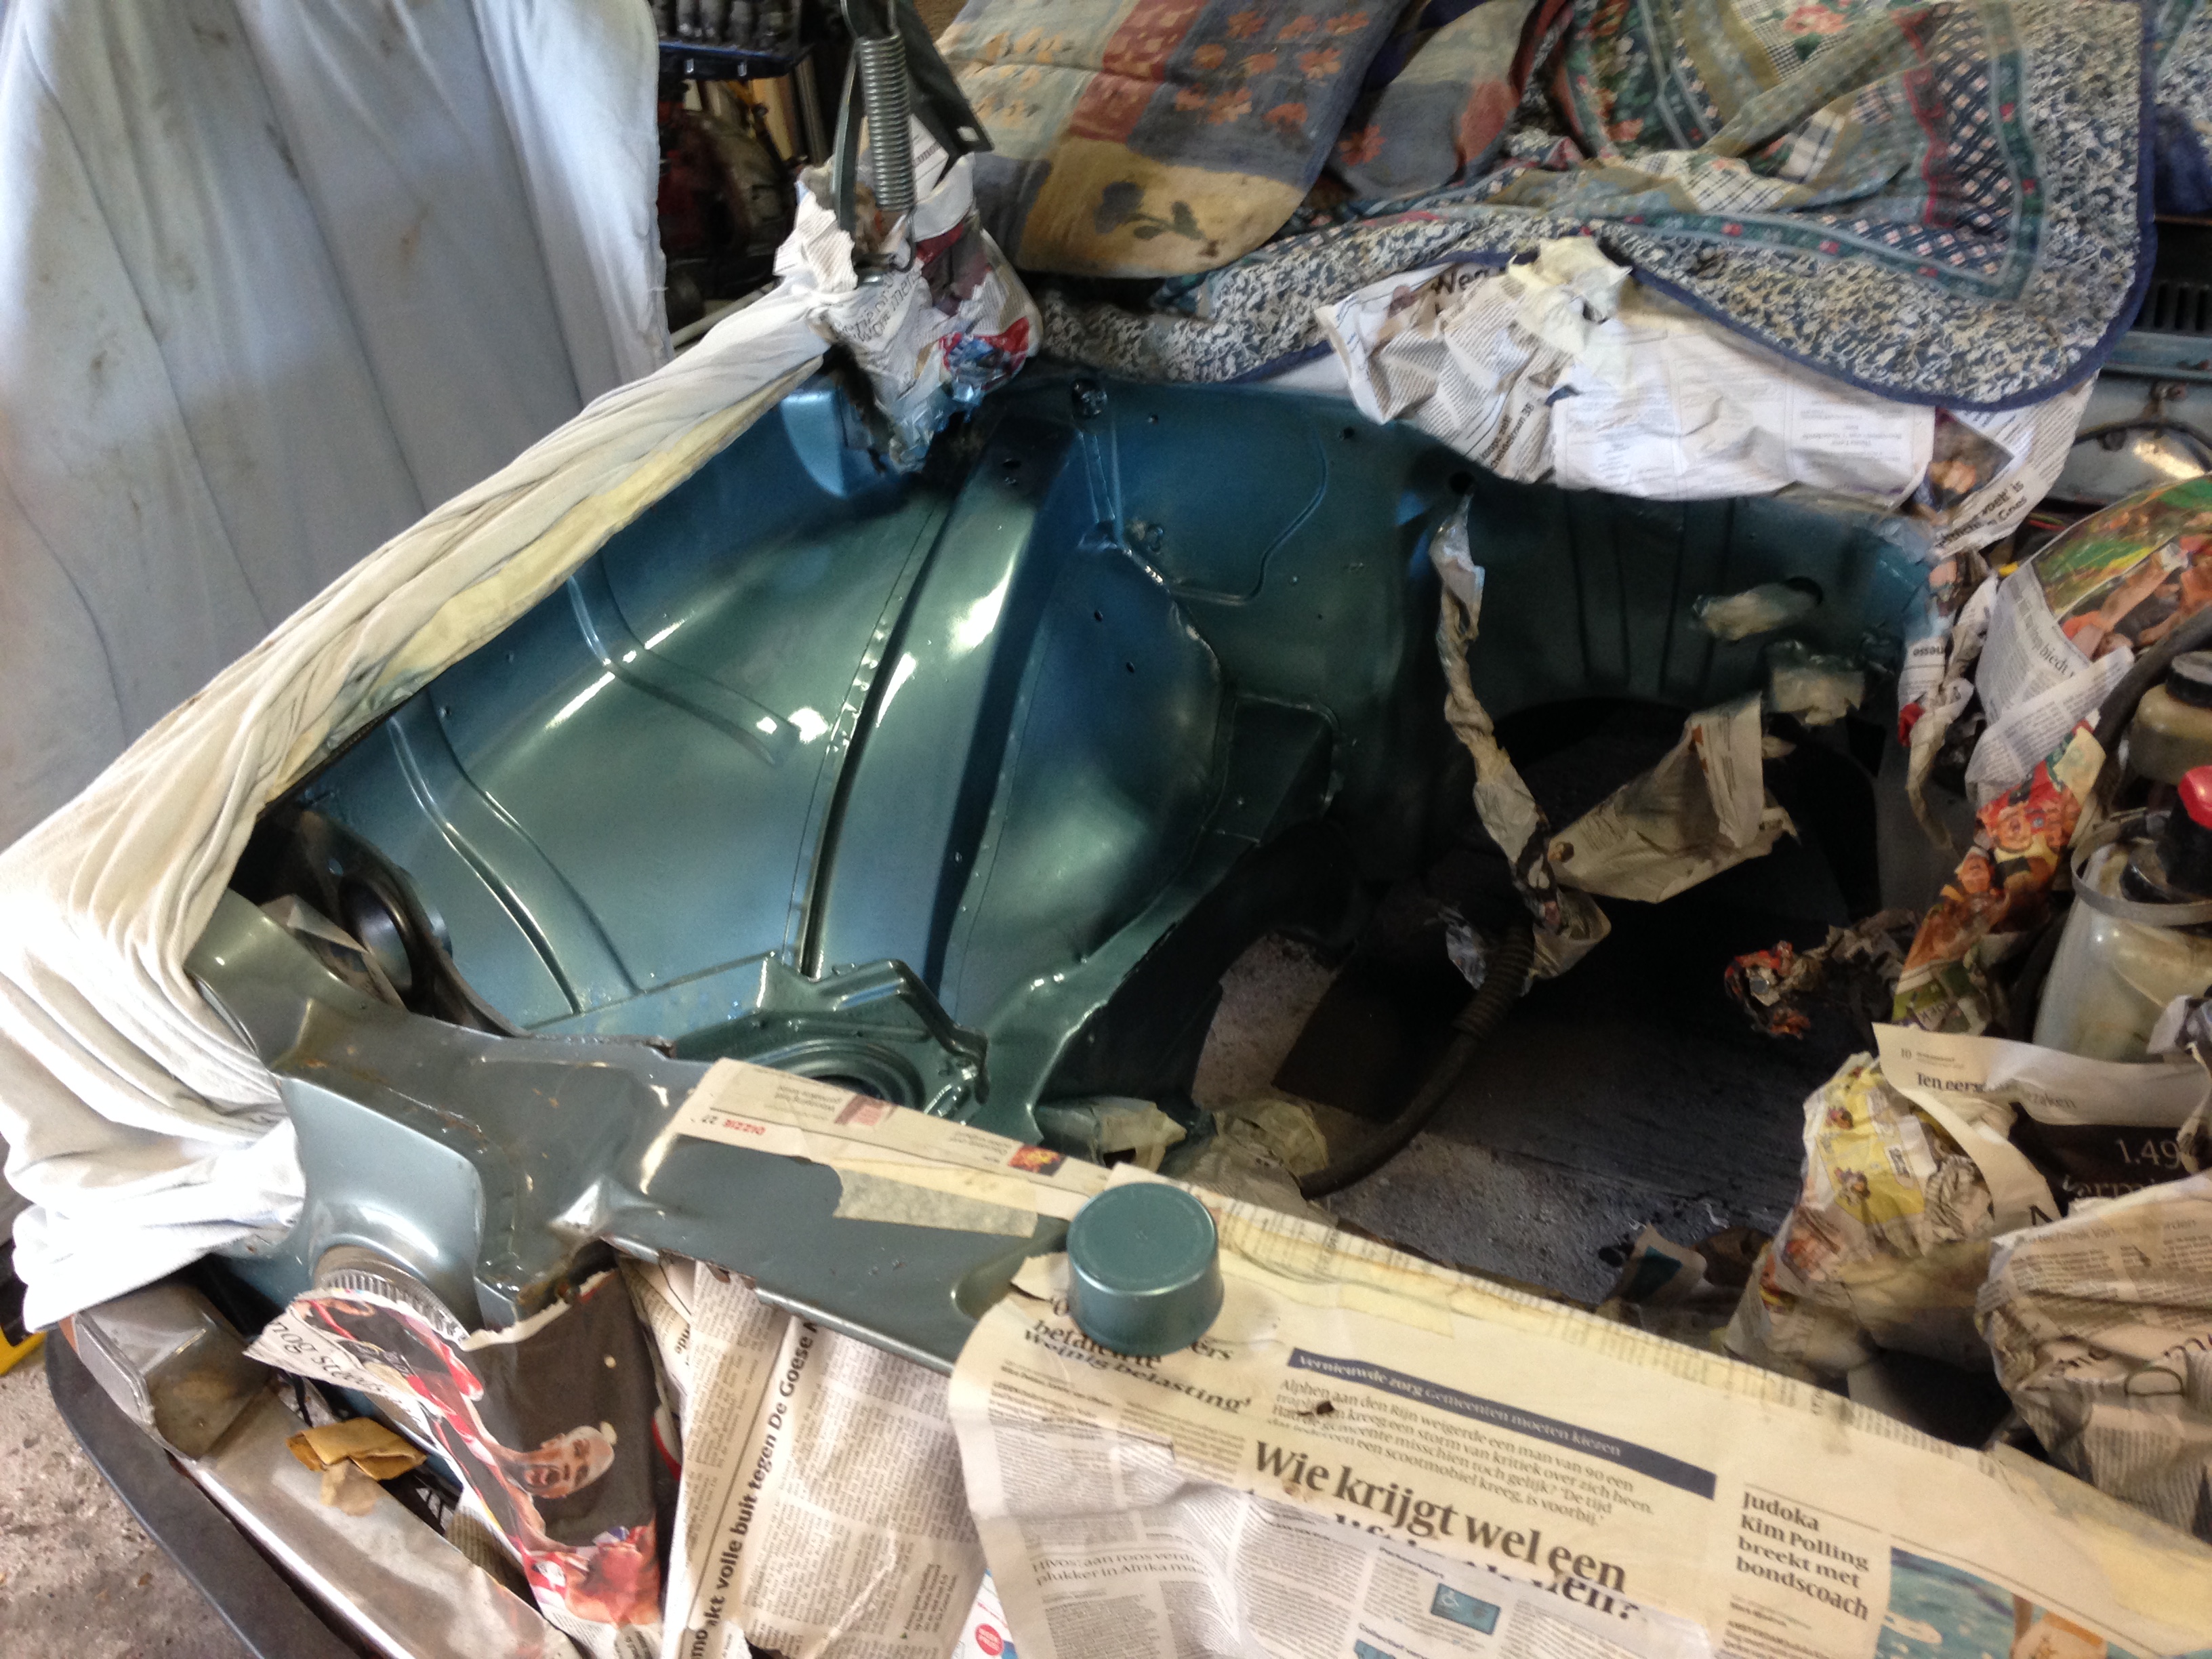
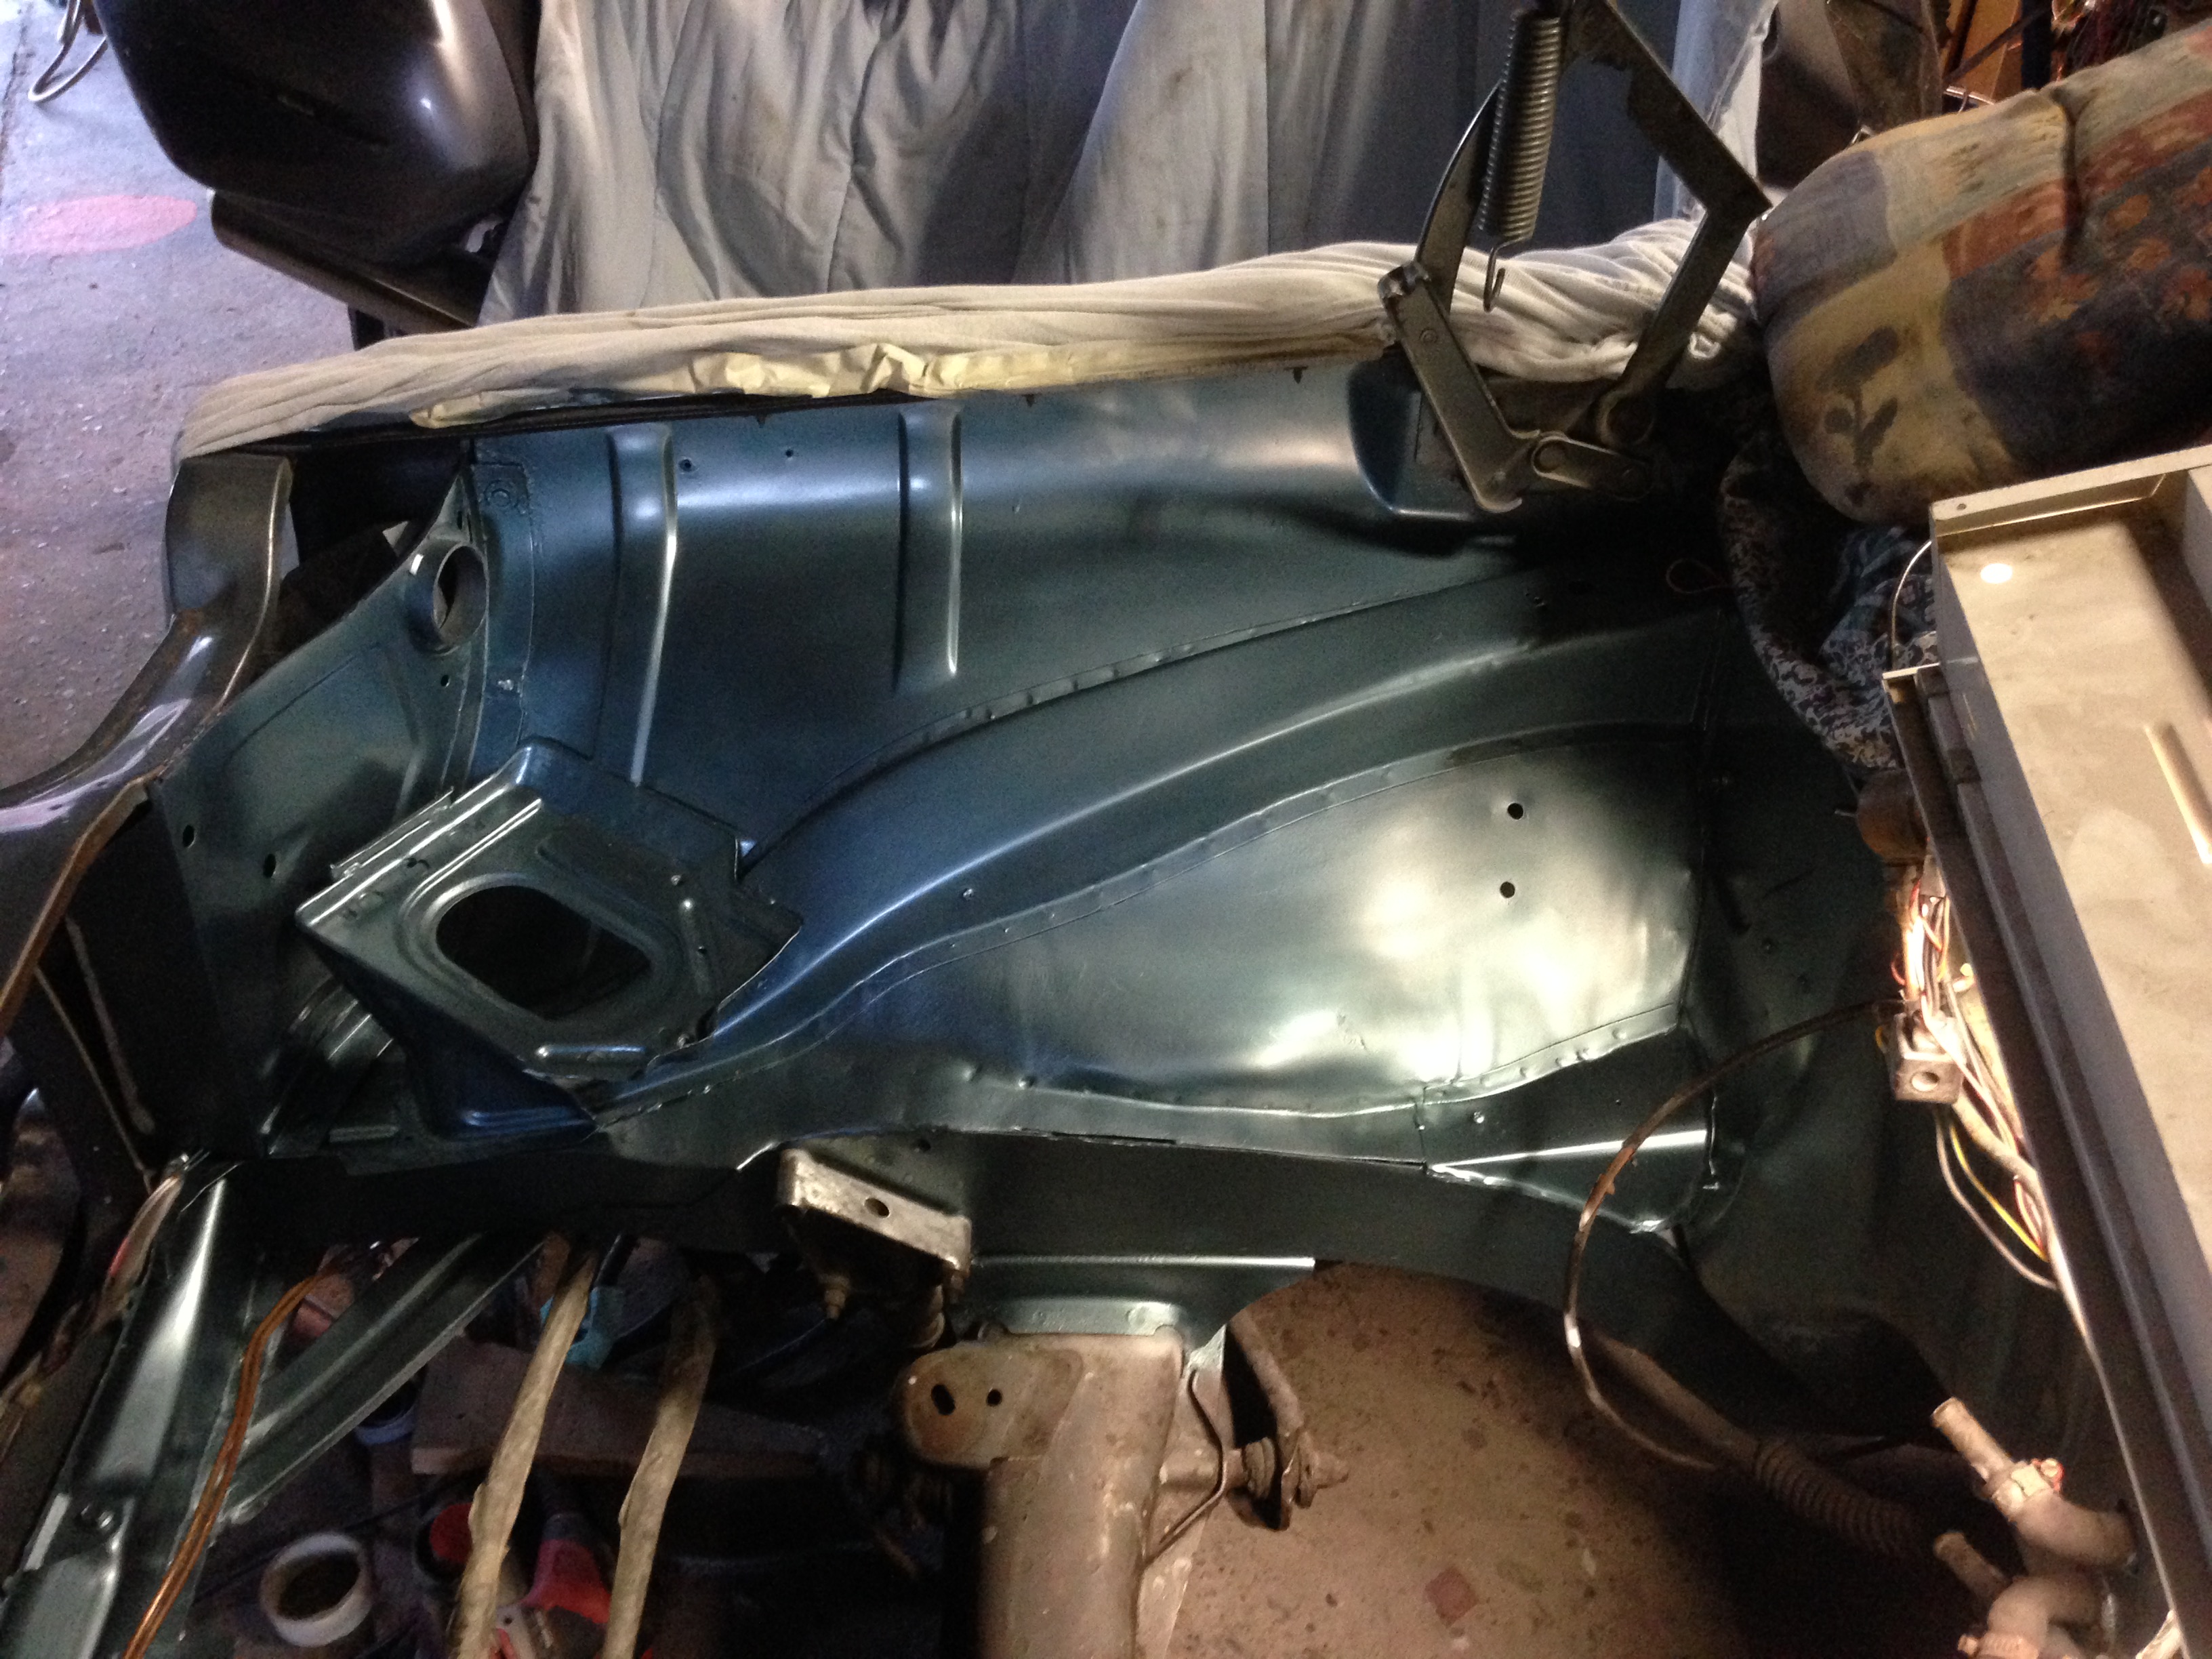
Decided to cleanup the engine bay last couple of weeks, while it's out...
After 45 years this needed some TLC as well :-)
And yes, it's a mess all over the garage&. car, I know!
June has arrived now, time flies & spring is in the air :-)
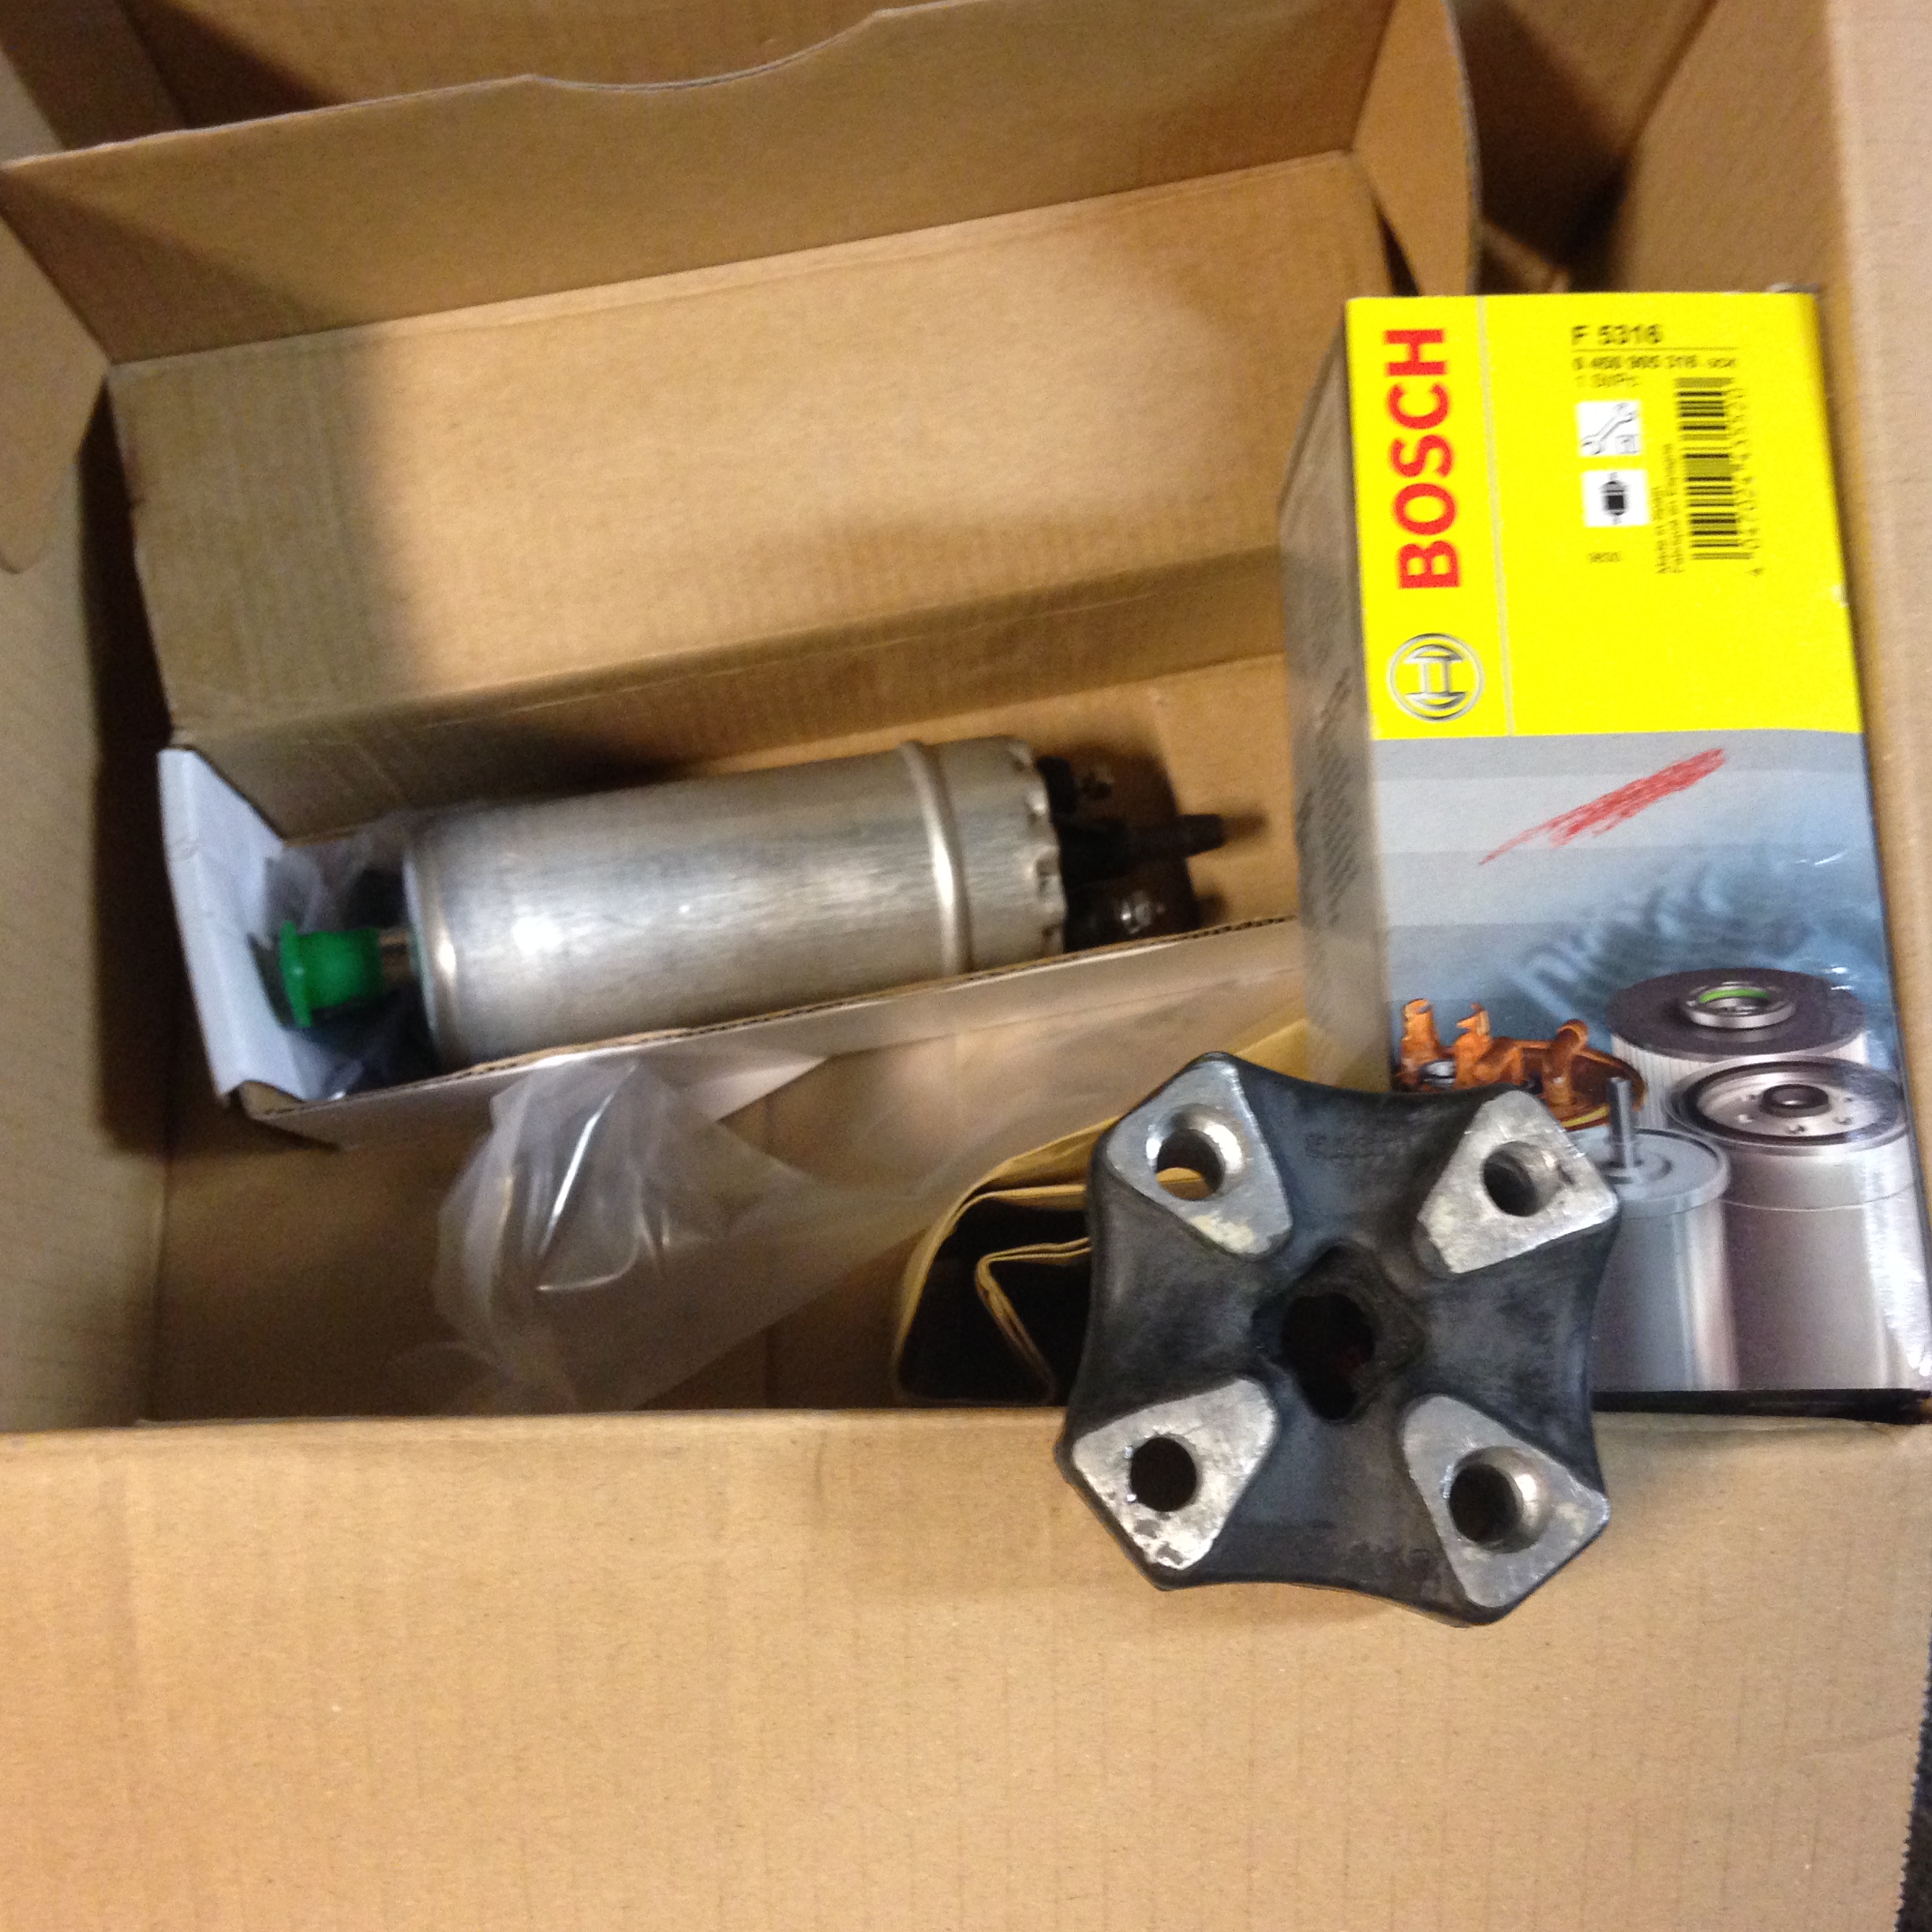
Got a box with some new parts I ordered!
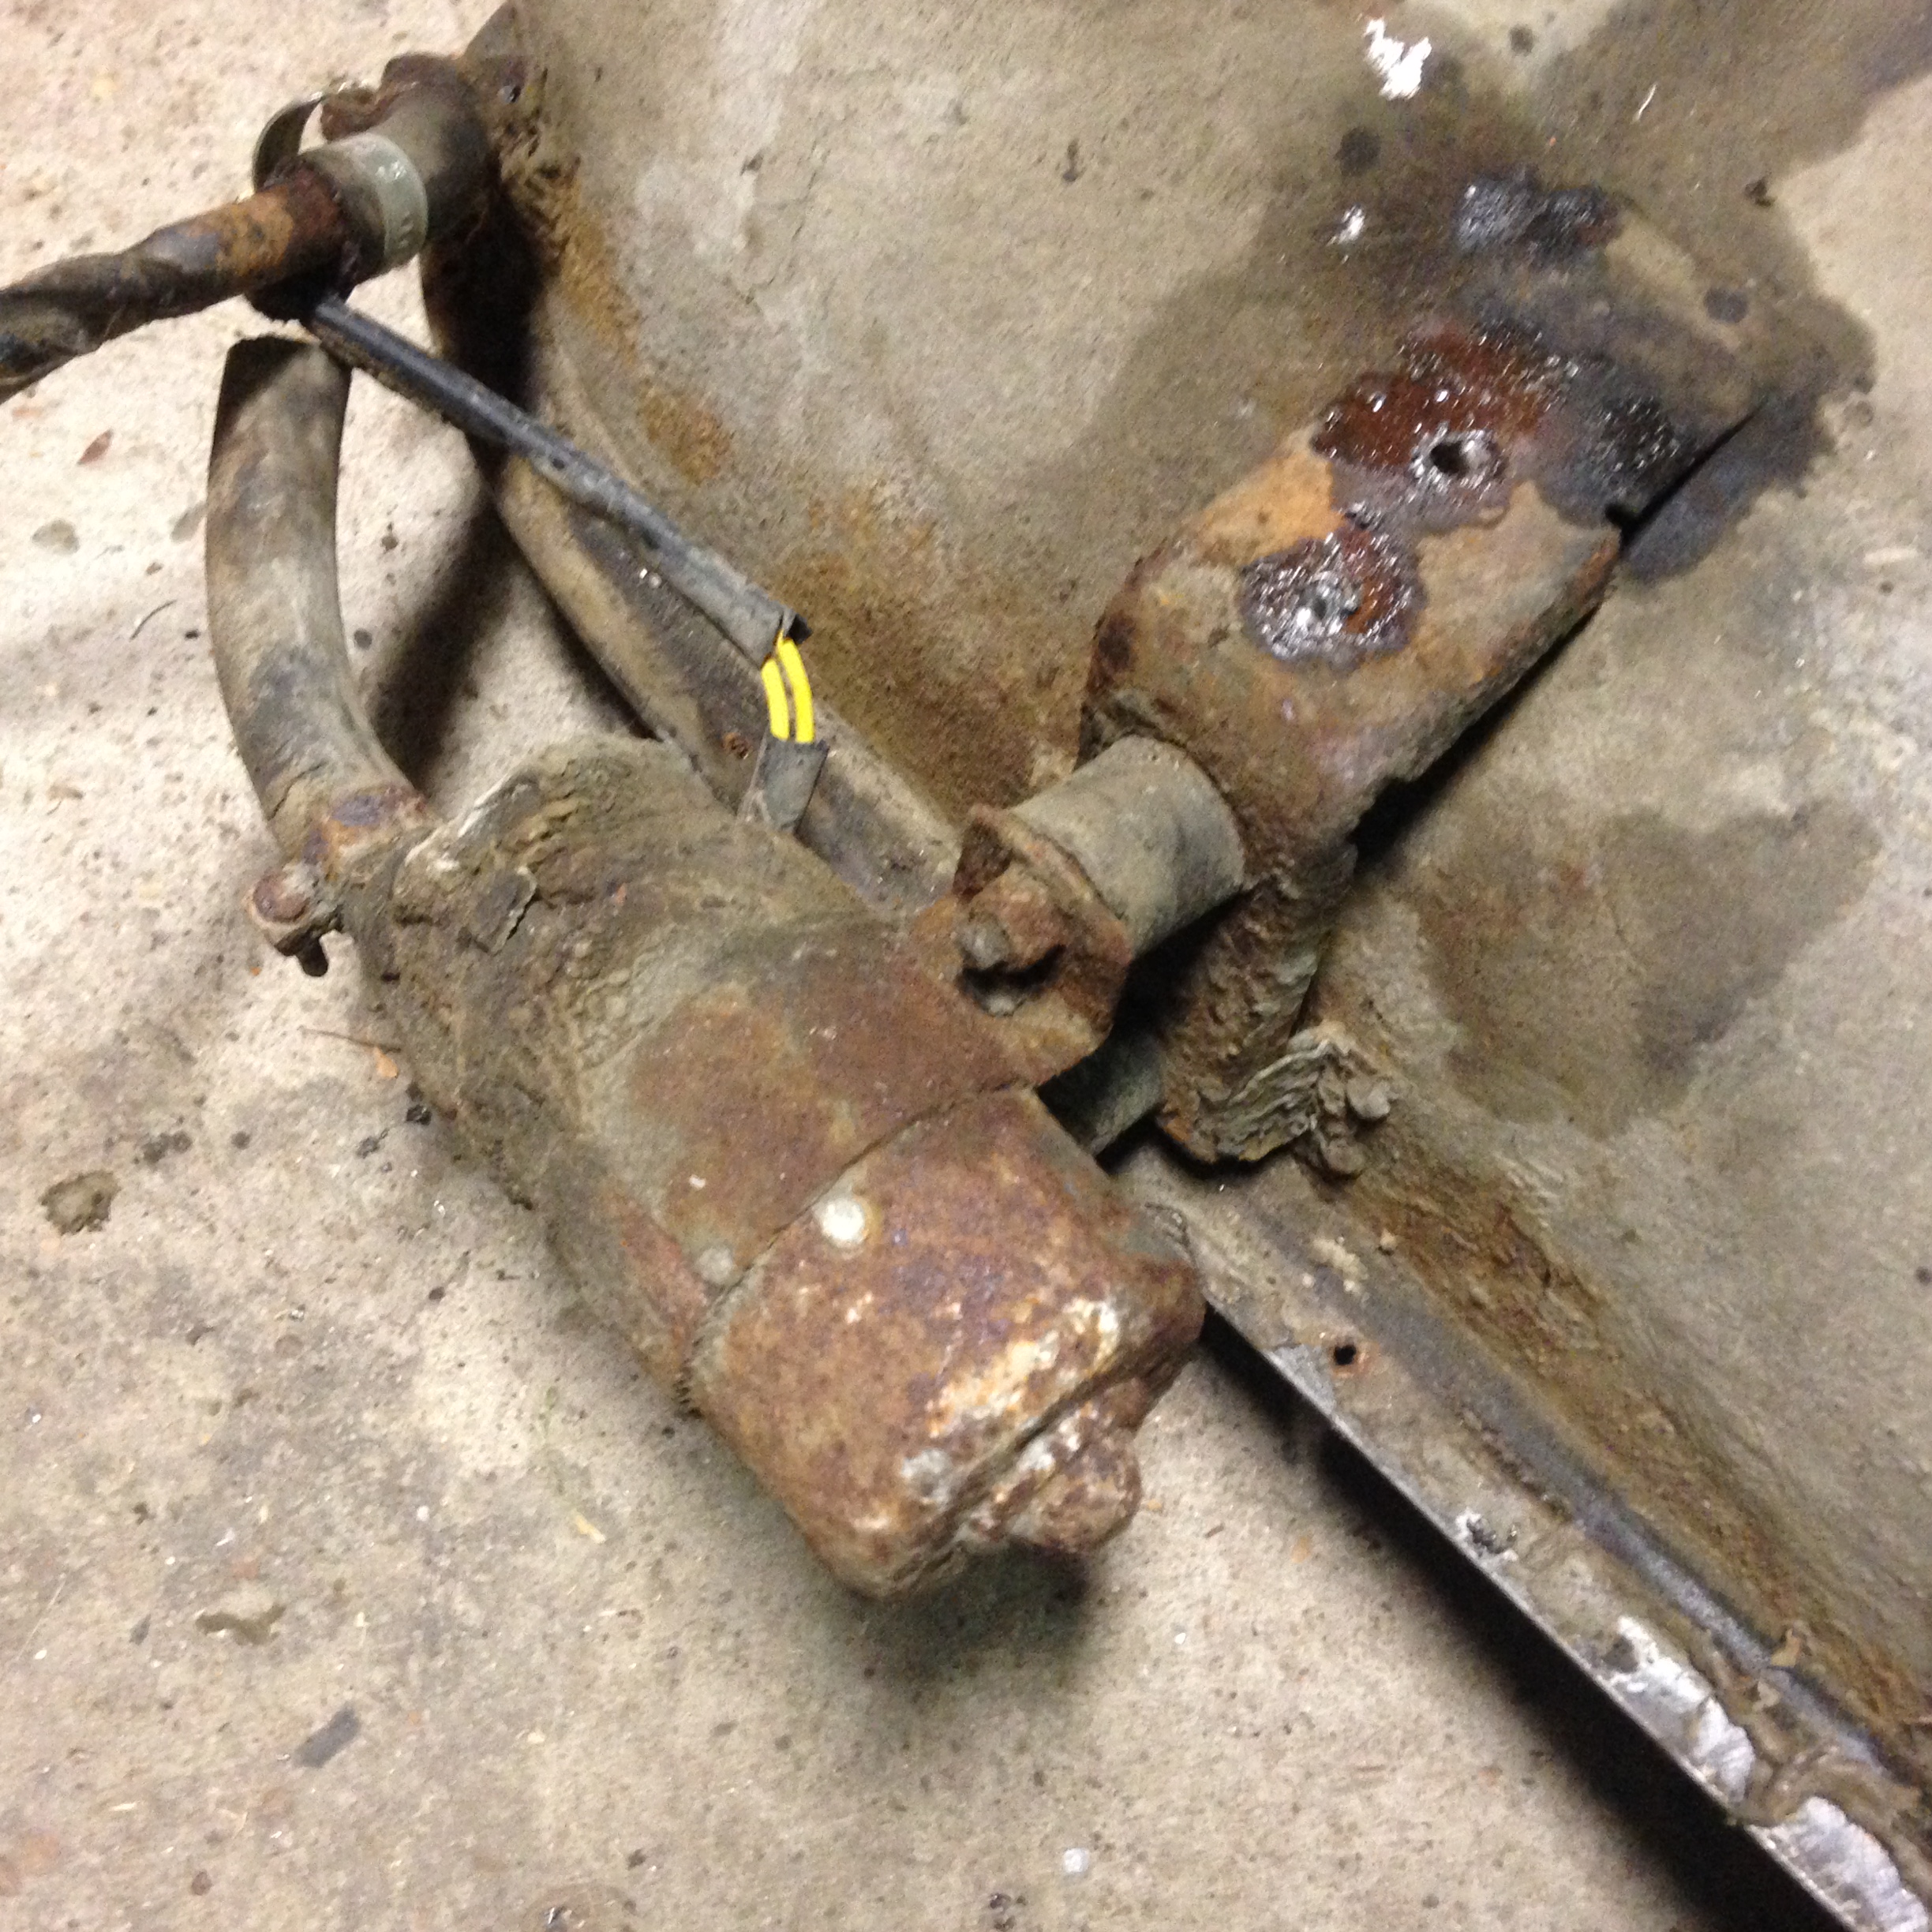
Replacement fueltank (has the needed return fuel-line connection mine did not have) with a bad and hopelessly stuck fuelpump, but hey it's about 40 years old...
OLD....
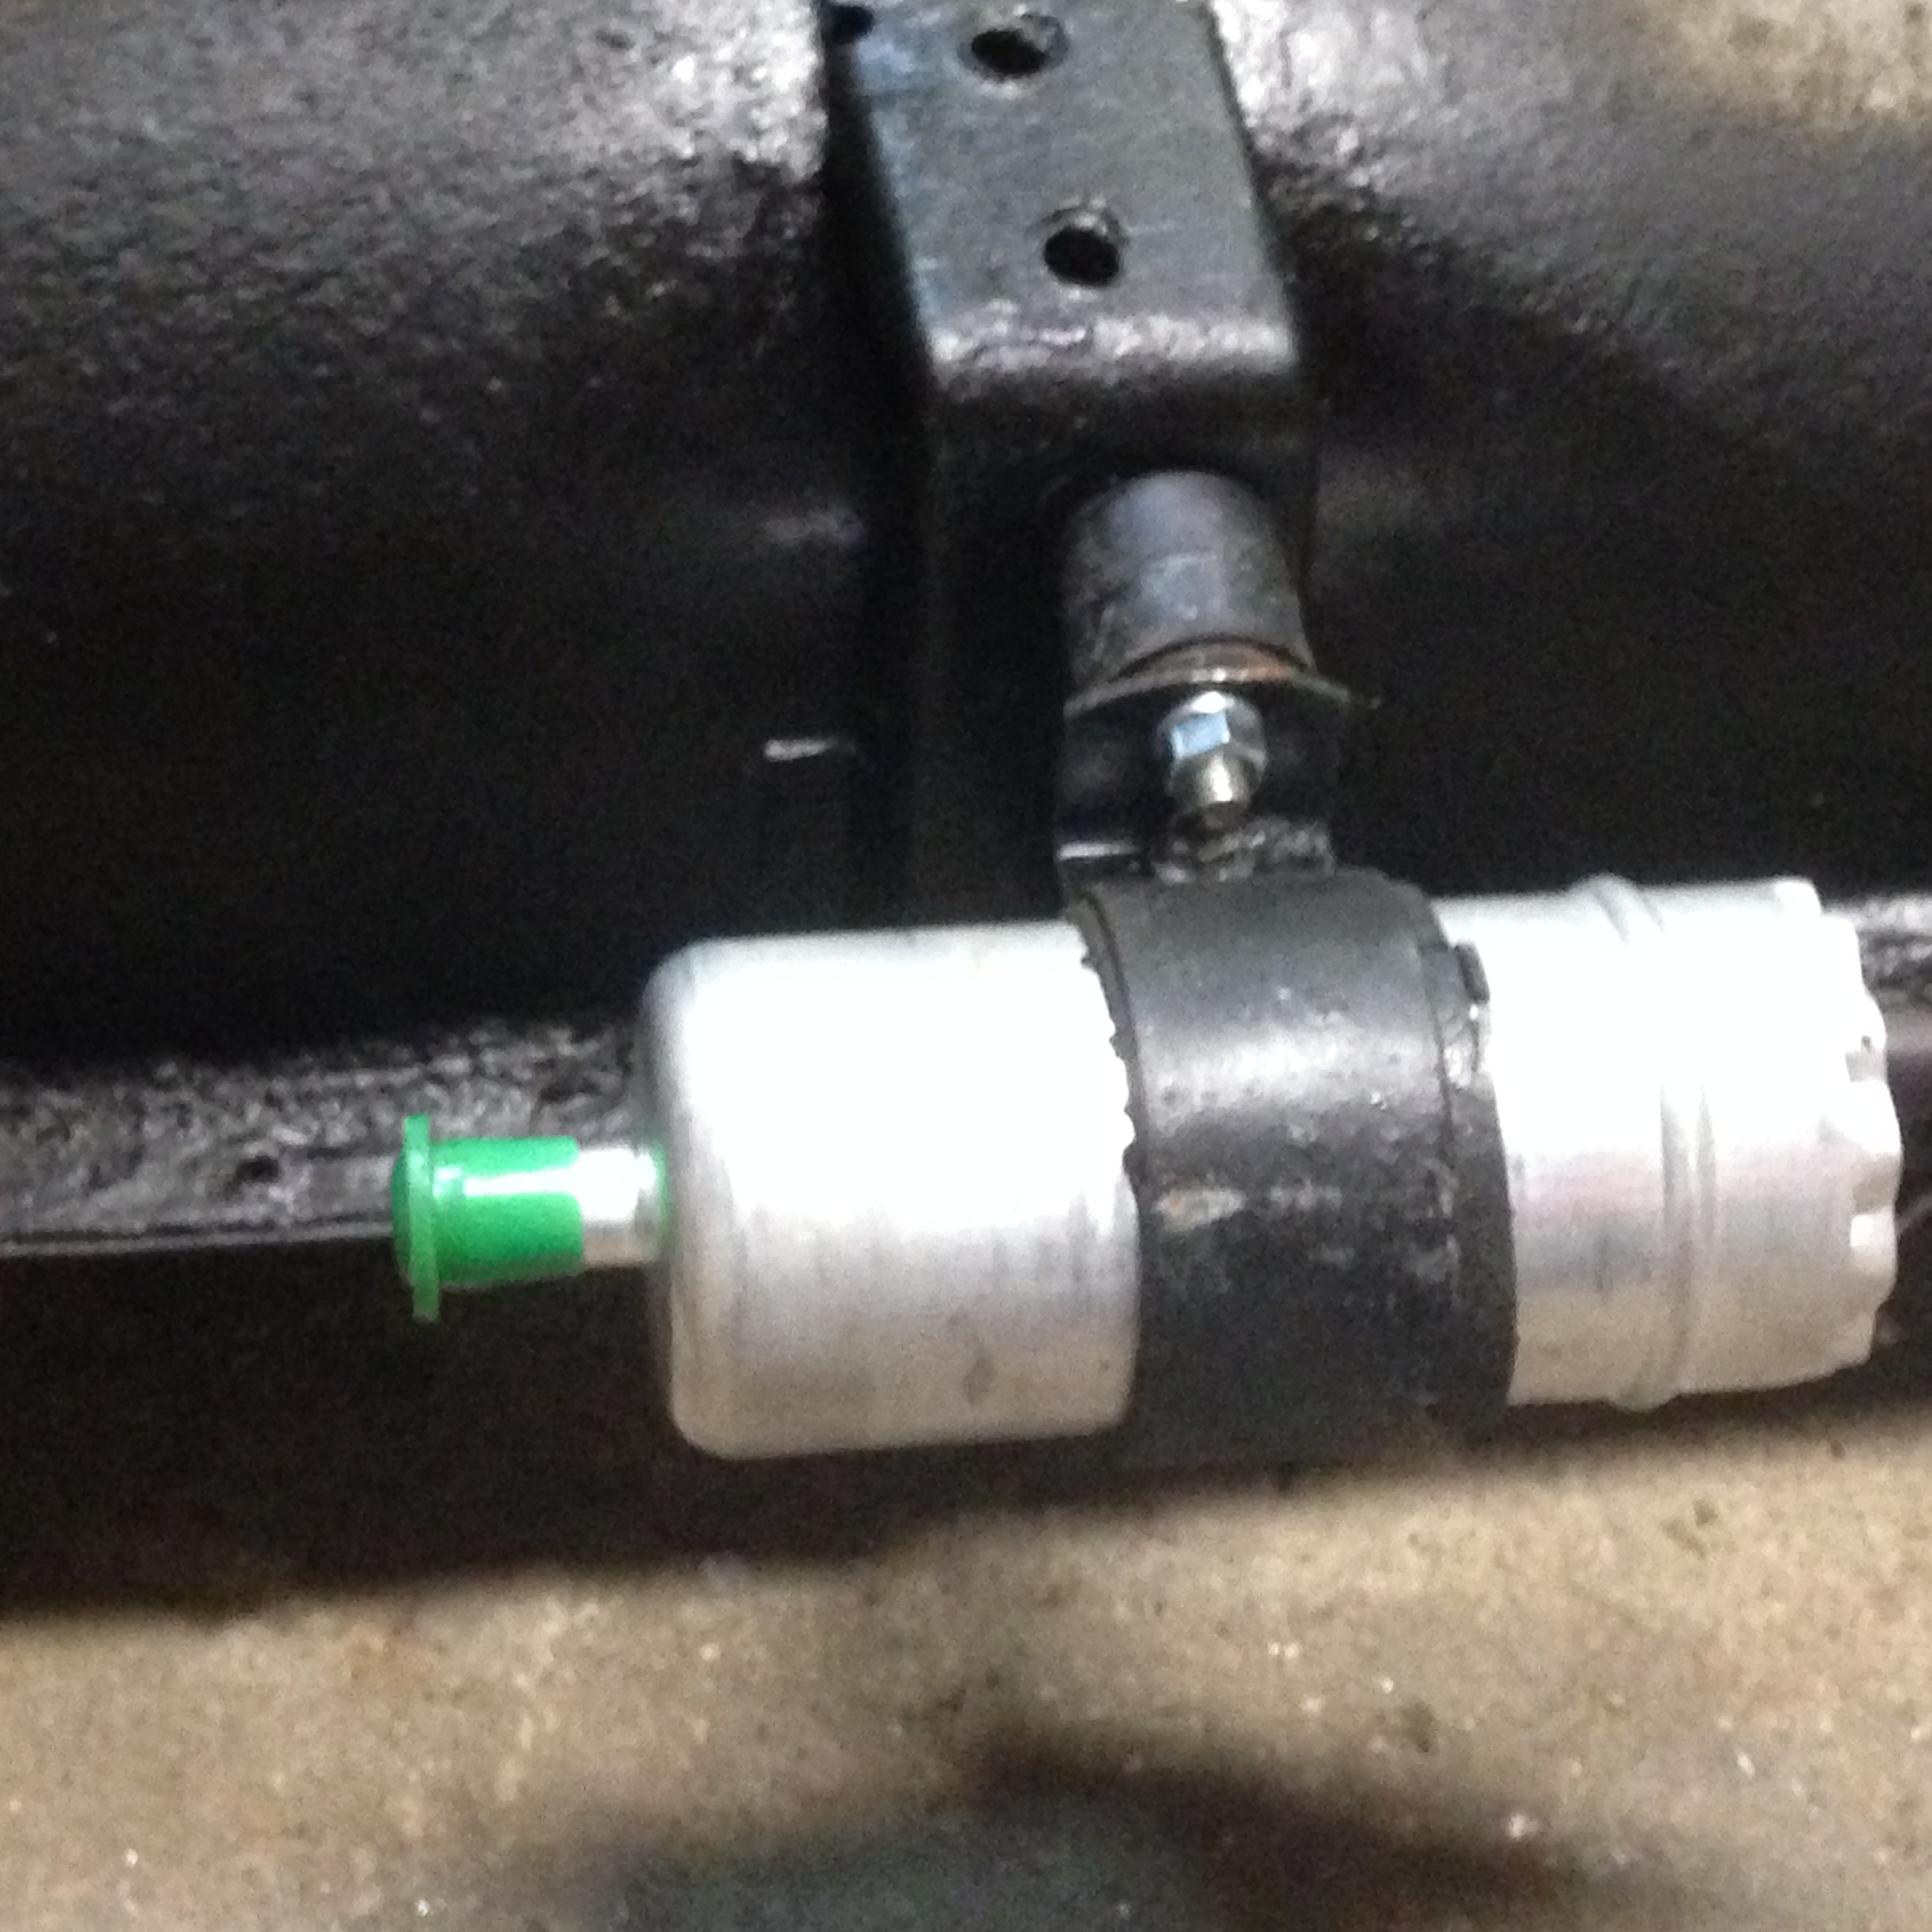
And after some work, the new one is back on!
NEW
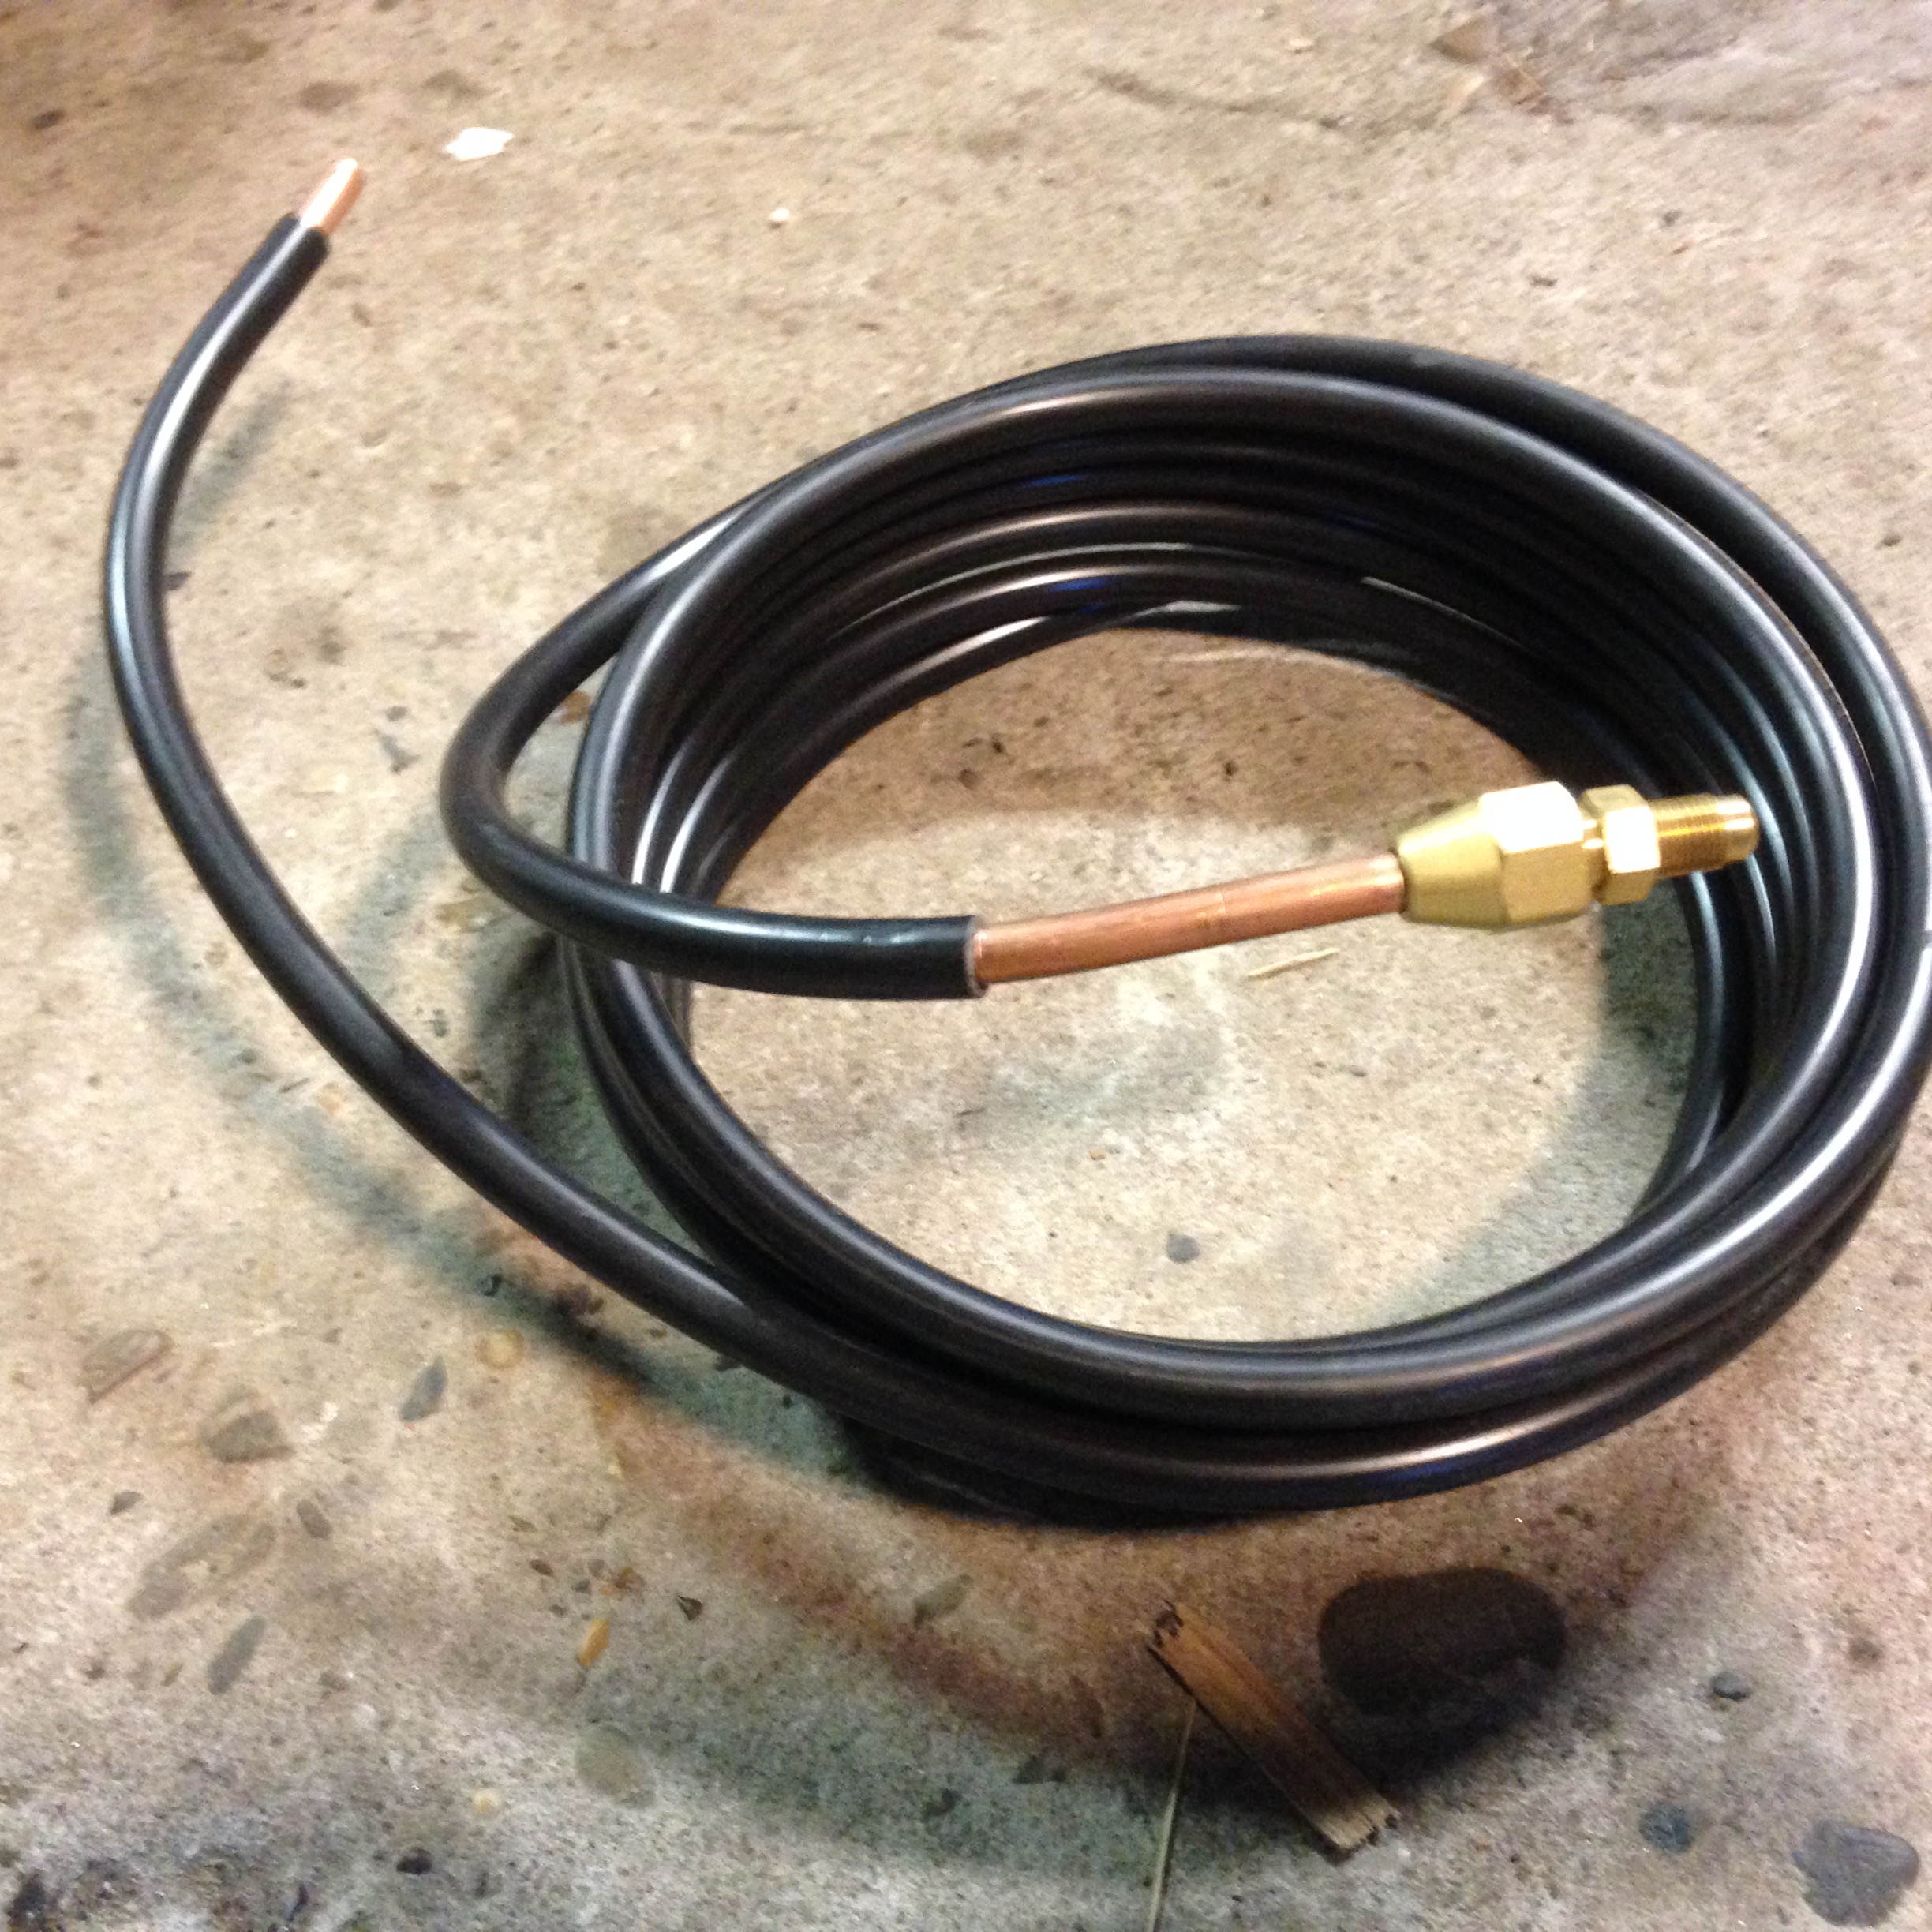
Received the new fuel-line today! Getting ready for installment...
June 25
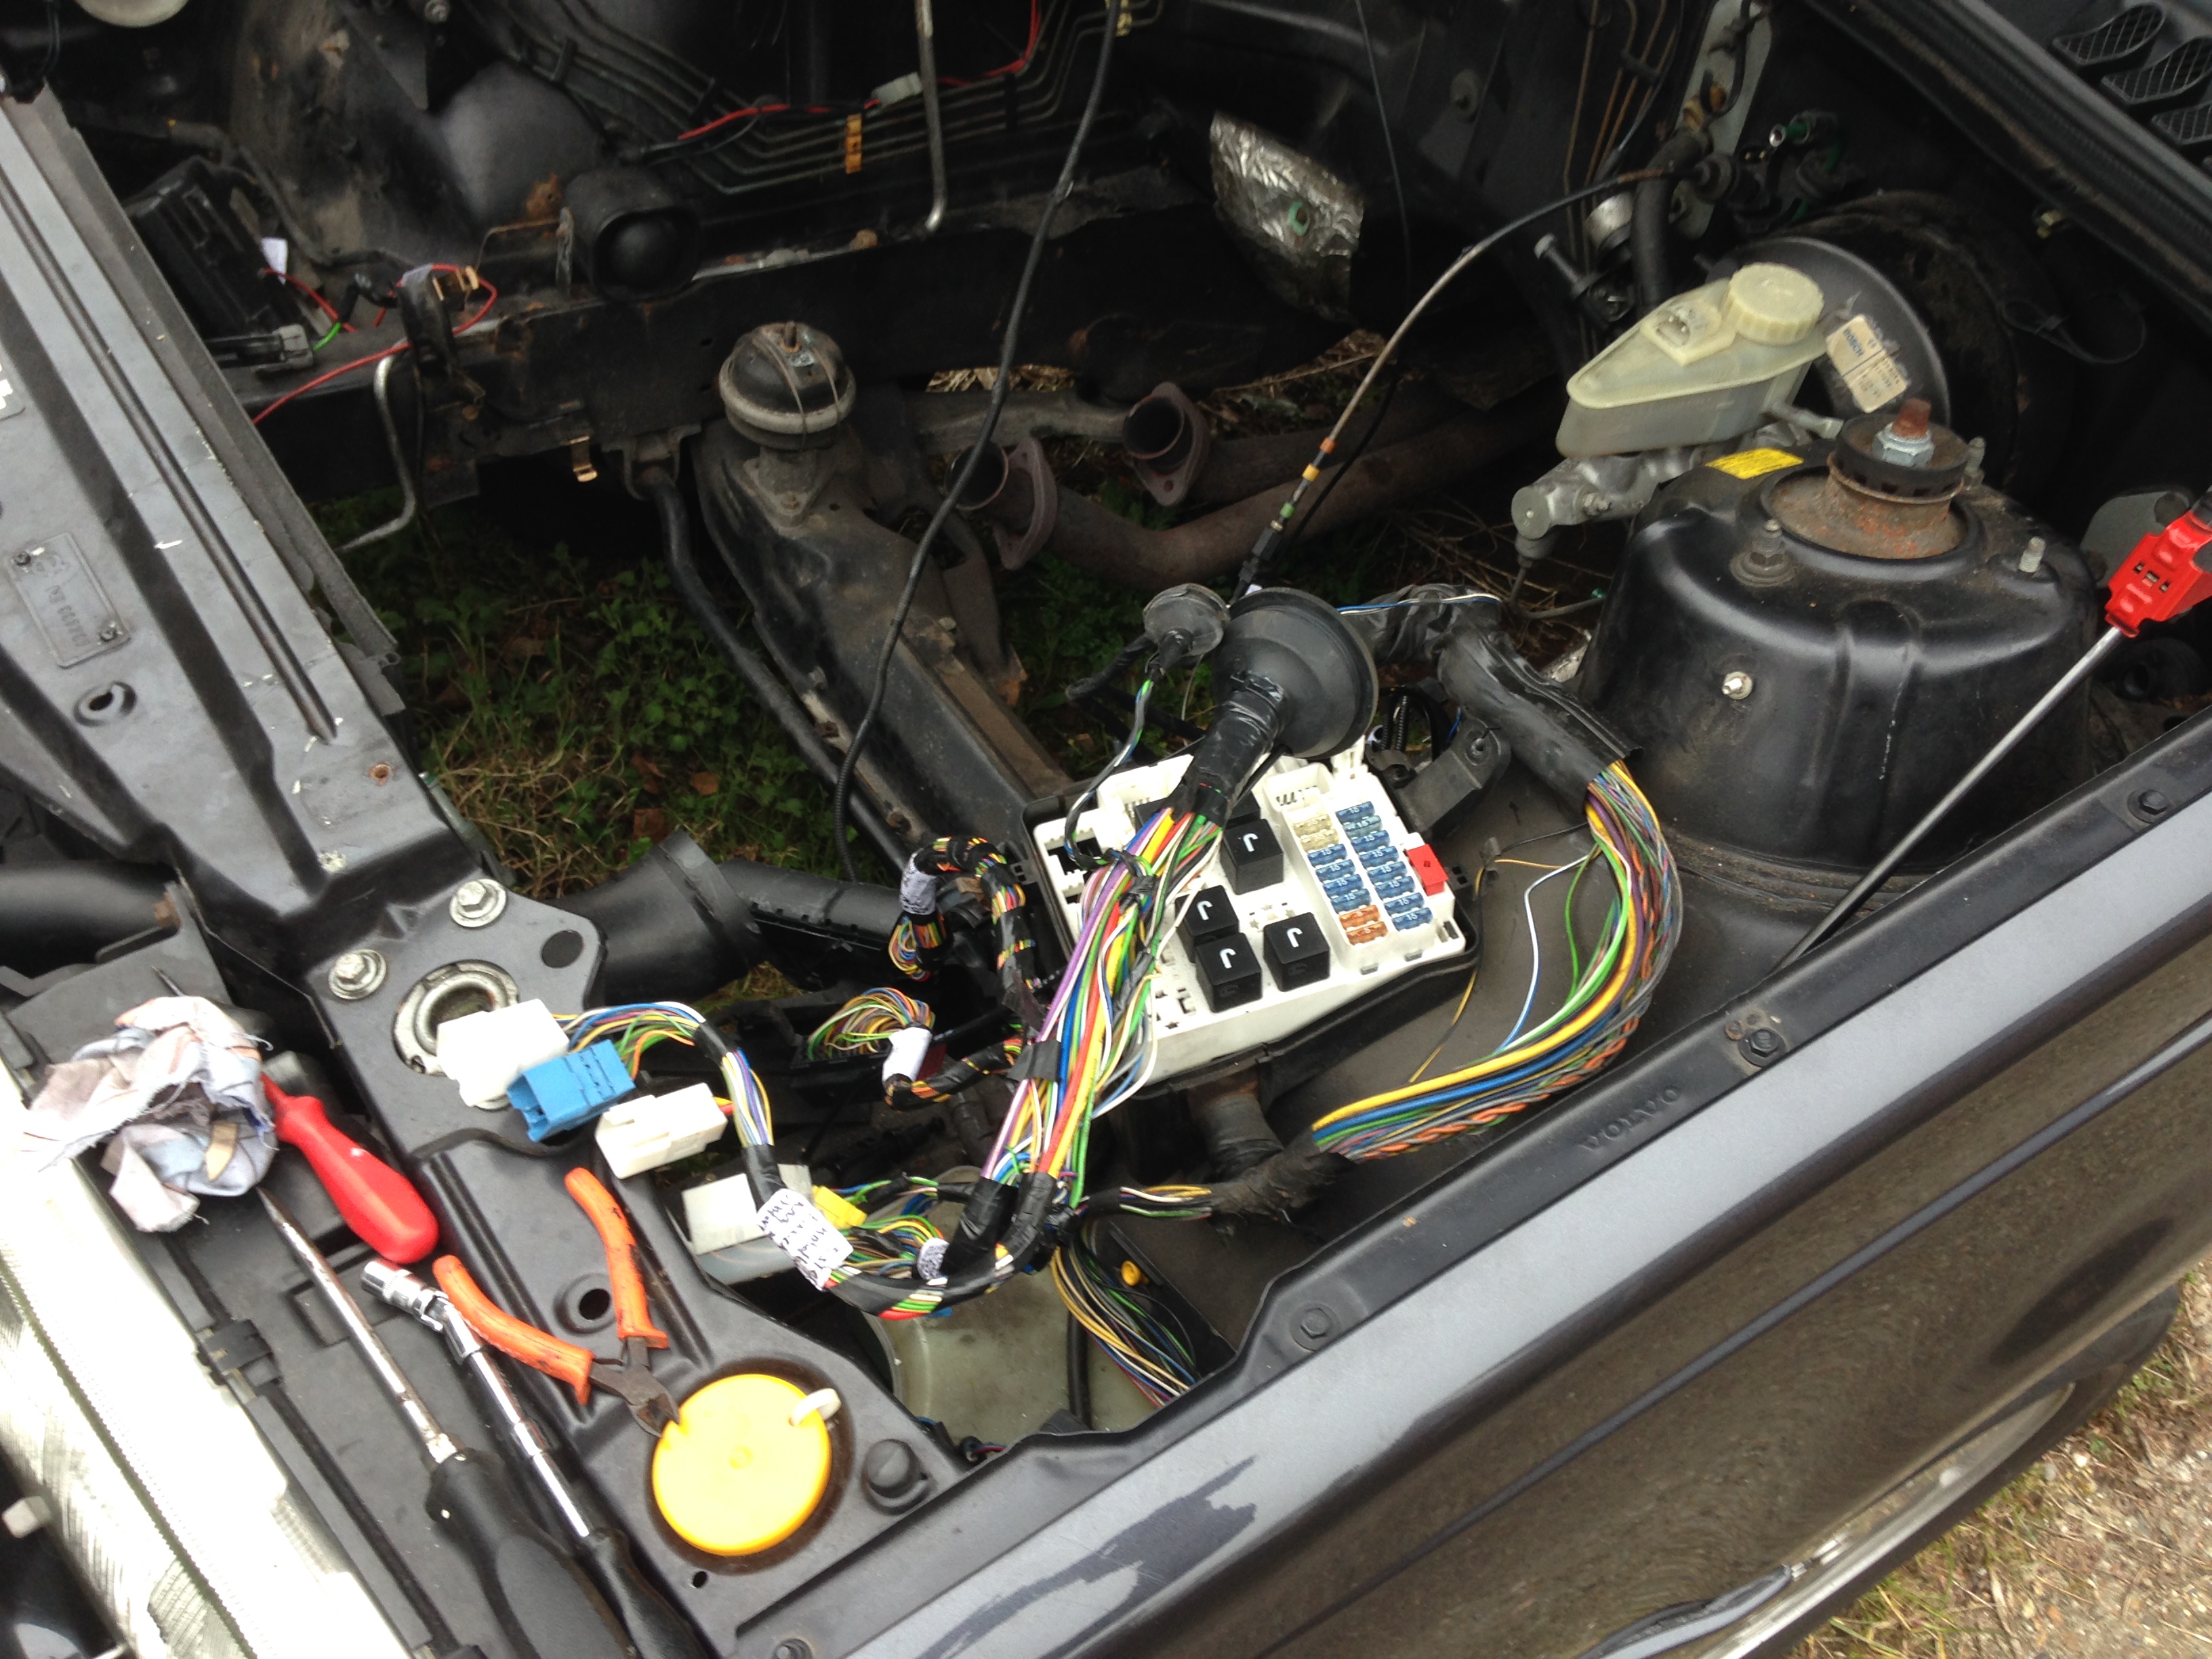
Awaiting my exhaust manifold ajustment (get it machined down with a different angle, hopefully it will fit then) and finishing installing the new fuel-lines I started the electrics...
I'm keeping the new wiring totally seperate from the original 164 wiring wich is (for me) the easiest way, basically I'm using 2 new powersource cables (white and yellow) from the original S90 "mainfuse" box
wich will supply me the new powersouce needed for this new "engine" circuit.
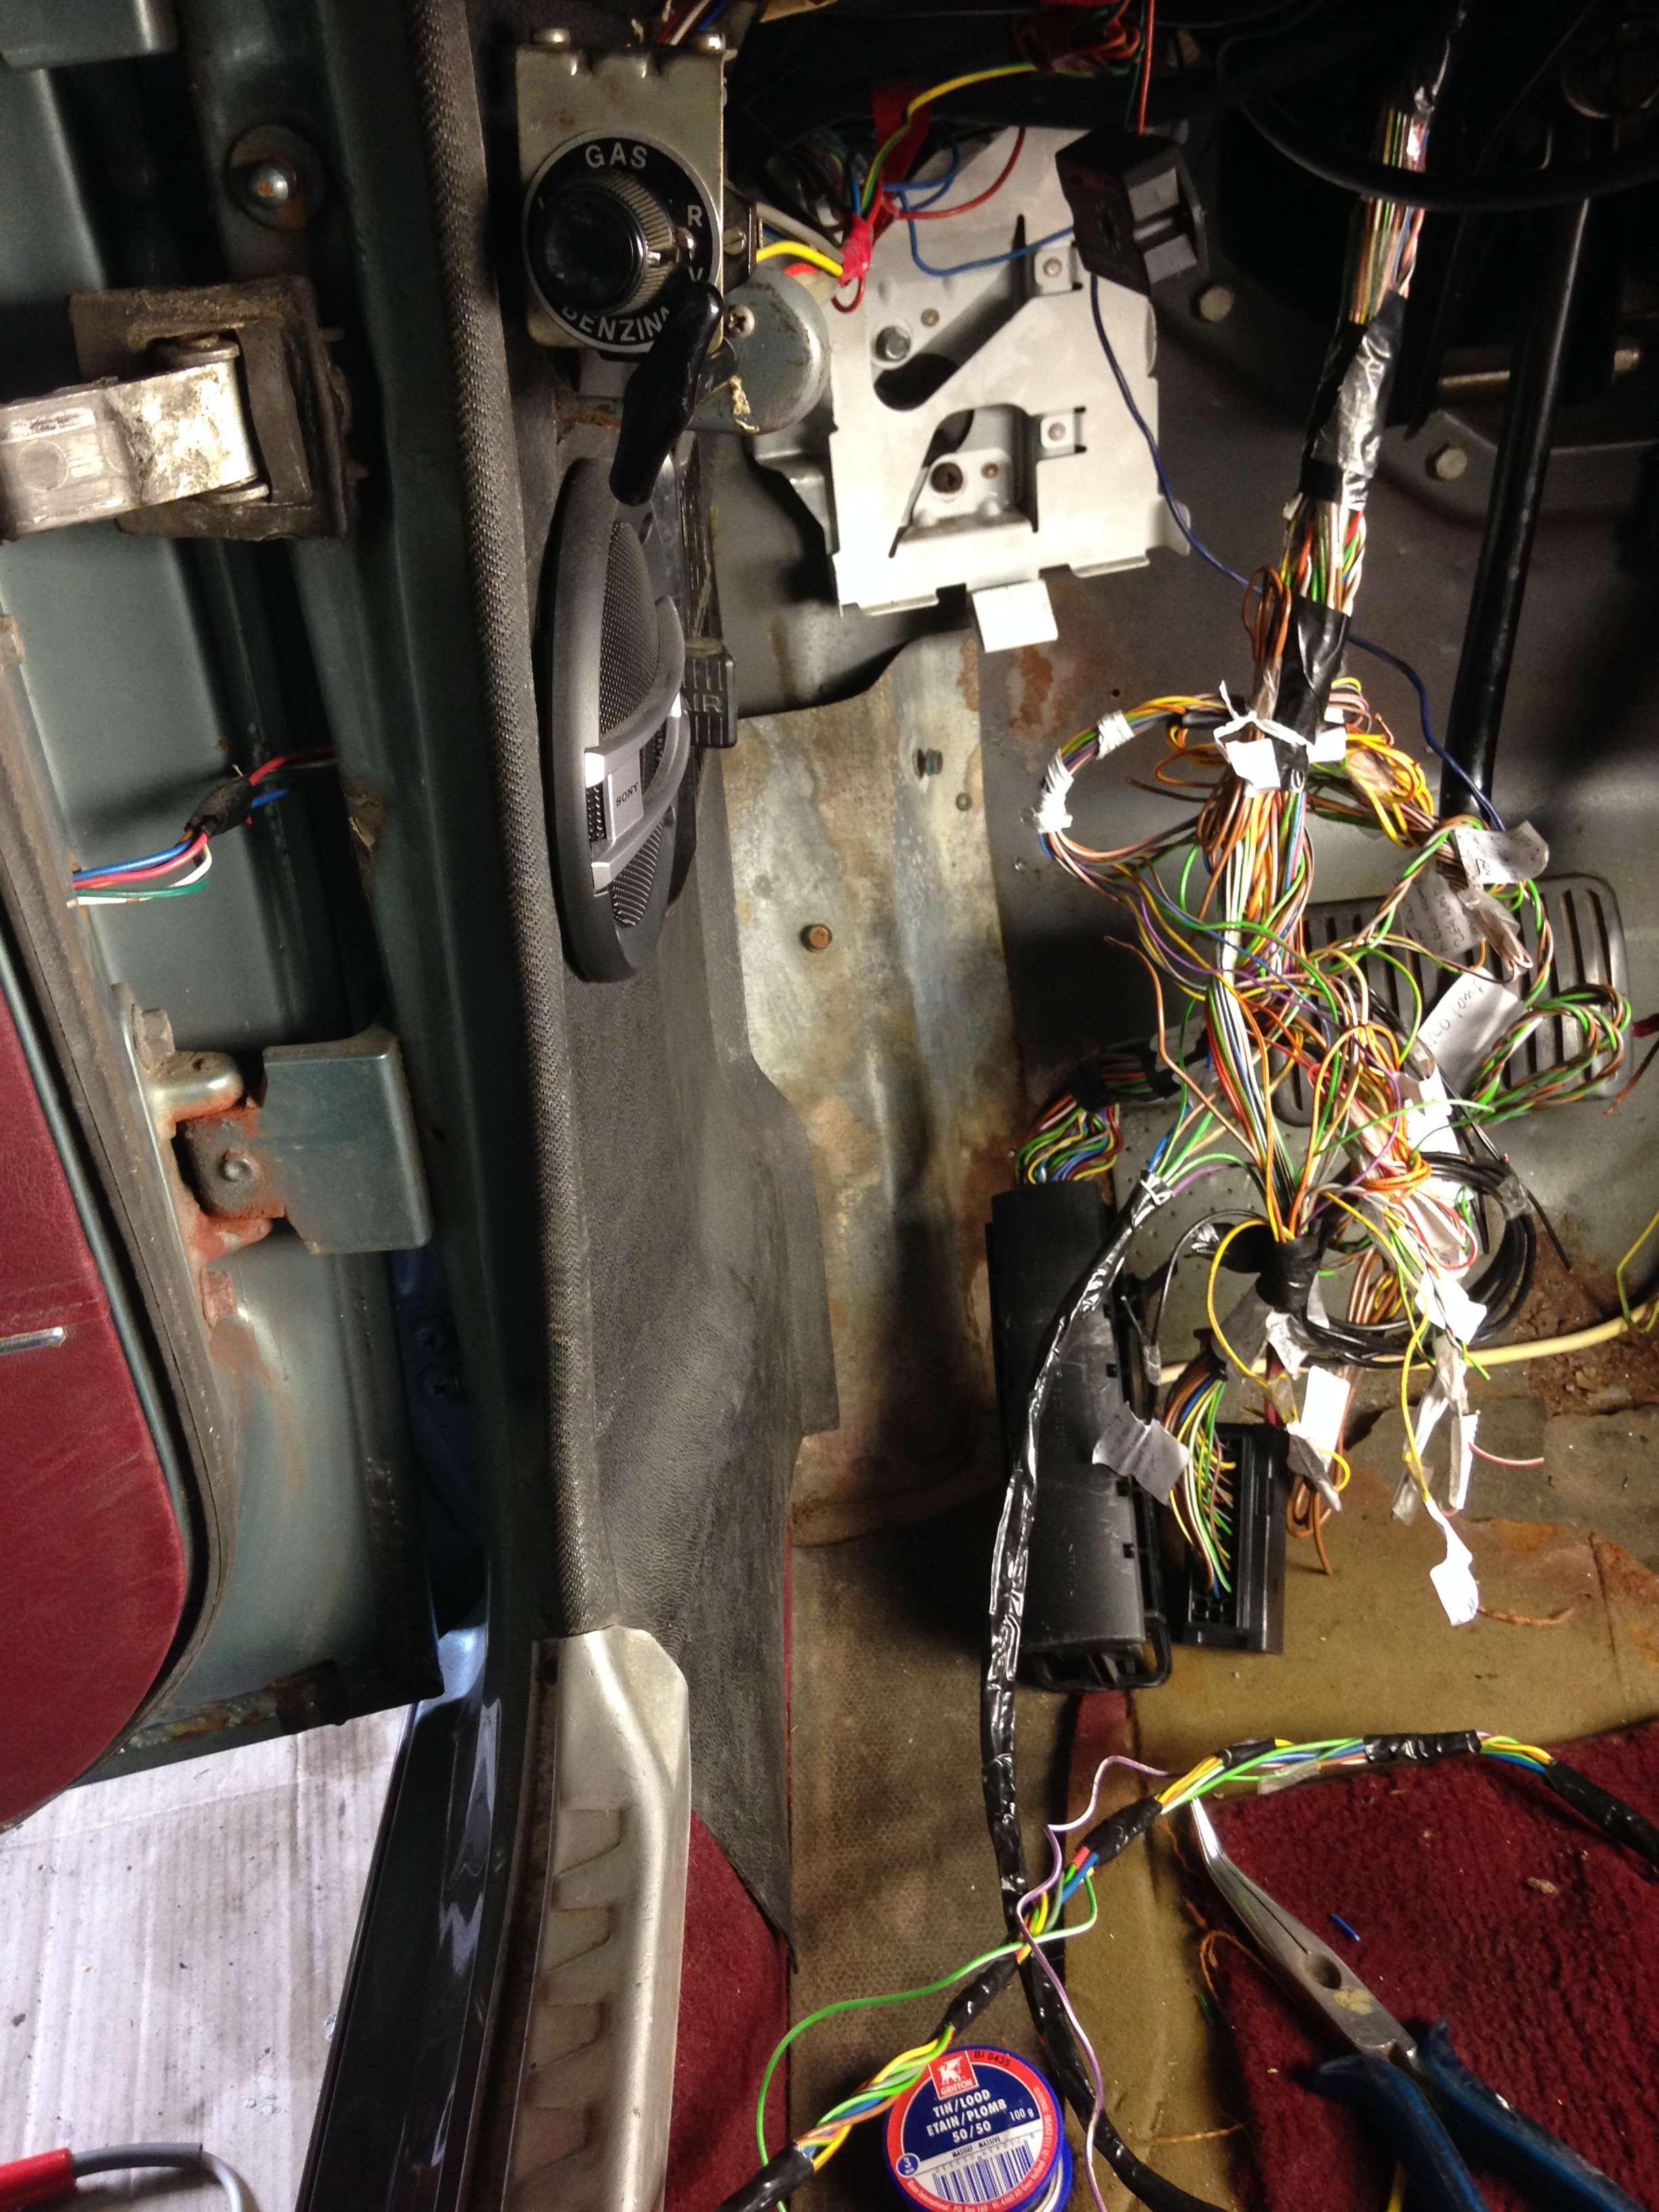
Below is the pic where the ECU/TCU will go, in the driver footwell
Already have the "main cable" going into the engine compartment, you can see the connectors for ECU/TCU here and in the
top-left corner of the pic there is the mounting bracket (white square thingy) wich I'm using from the S90 where the ECU/TCU slides into, secure and nicely out of the way
All the loose wires still hanging here will go to dashboard/brakepedal/gearlever etc. inside the car, that's for later
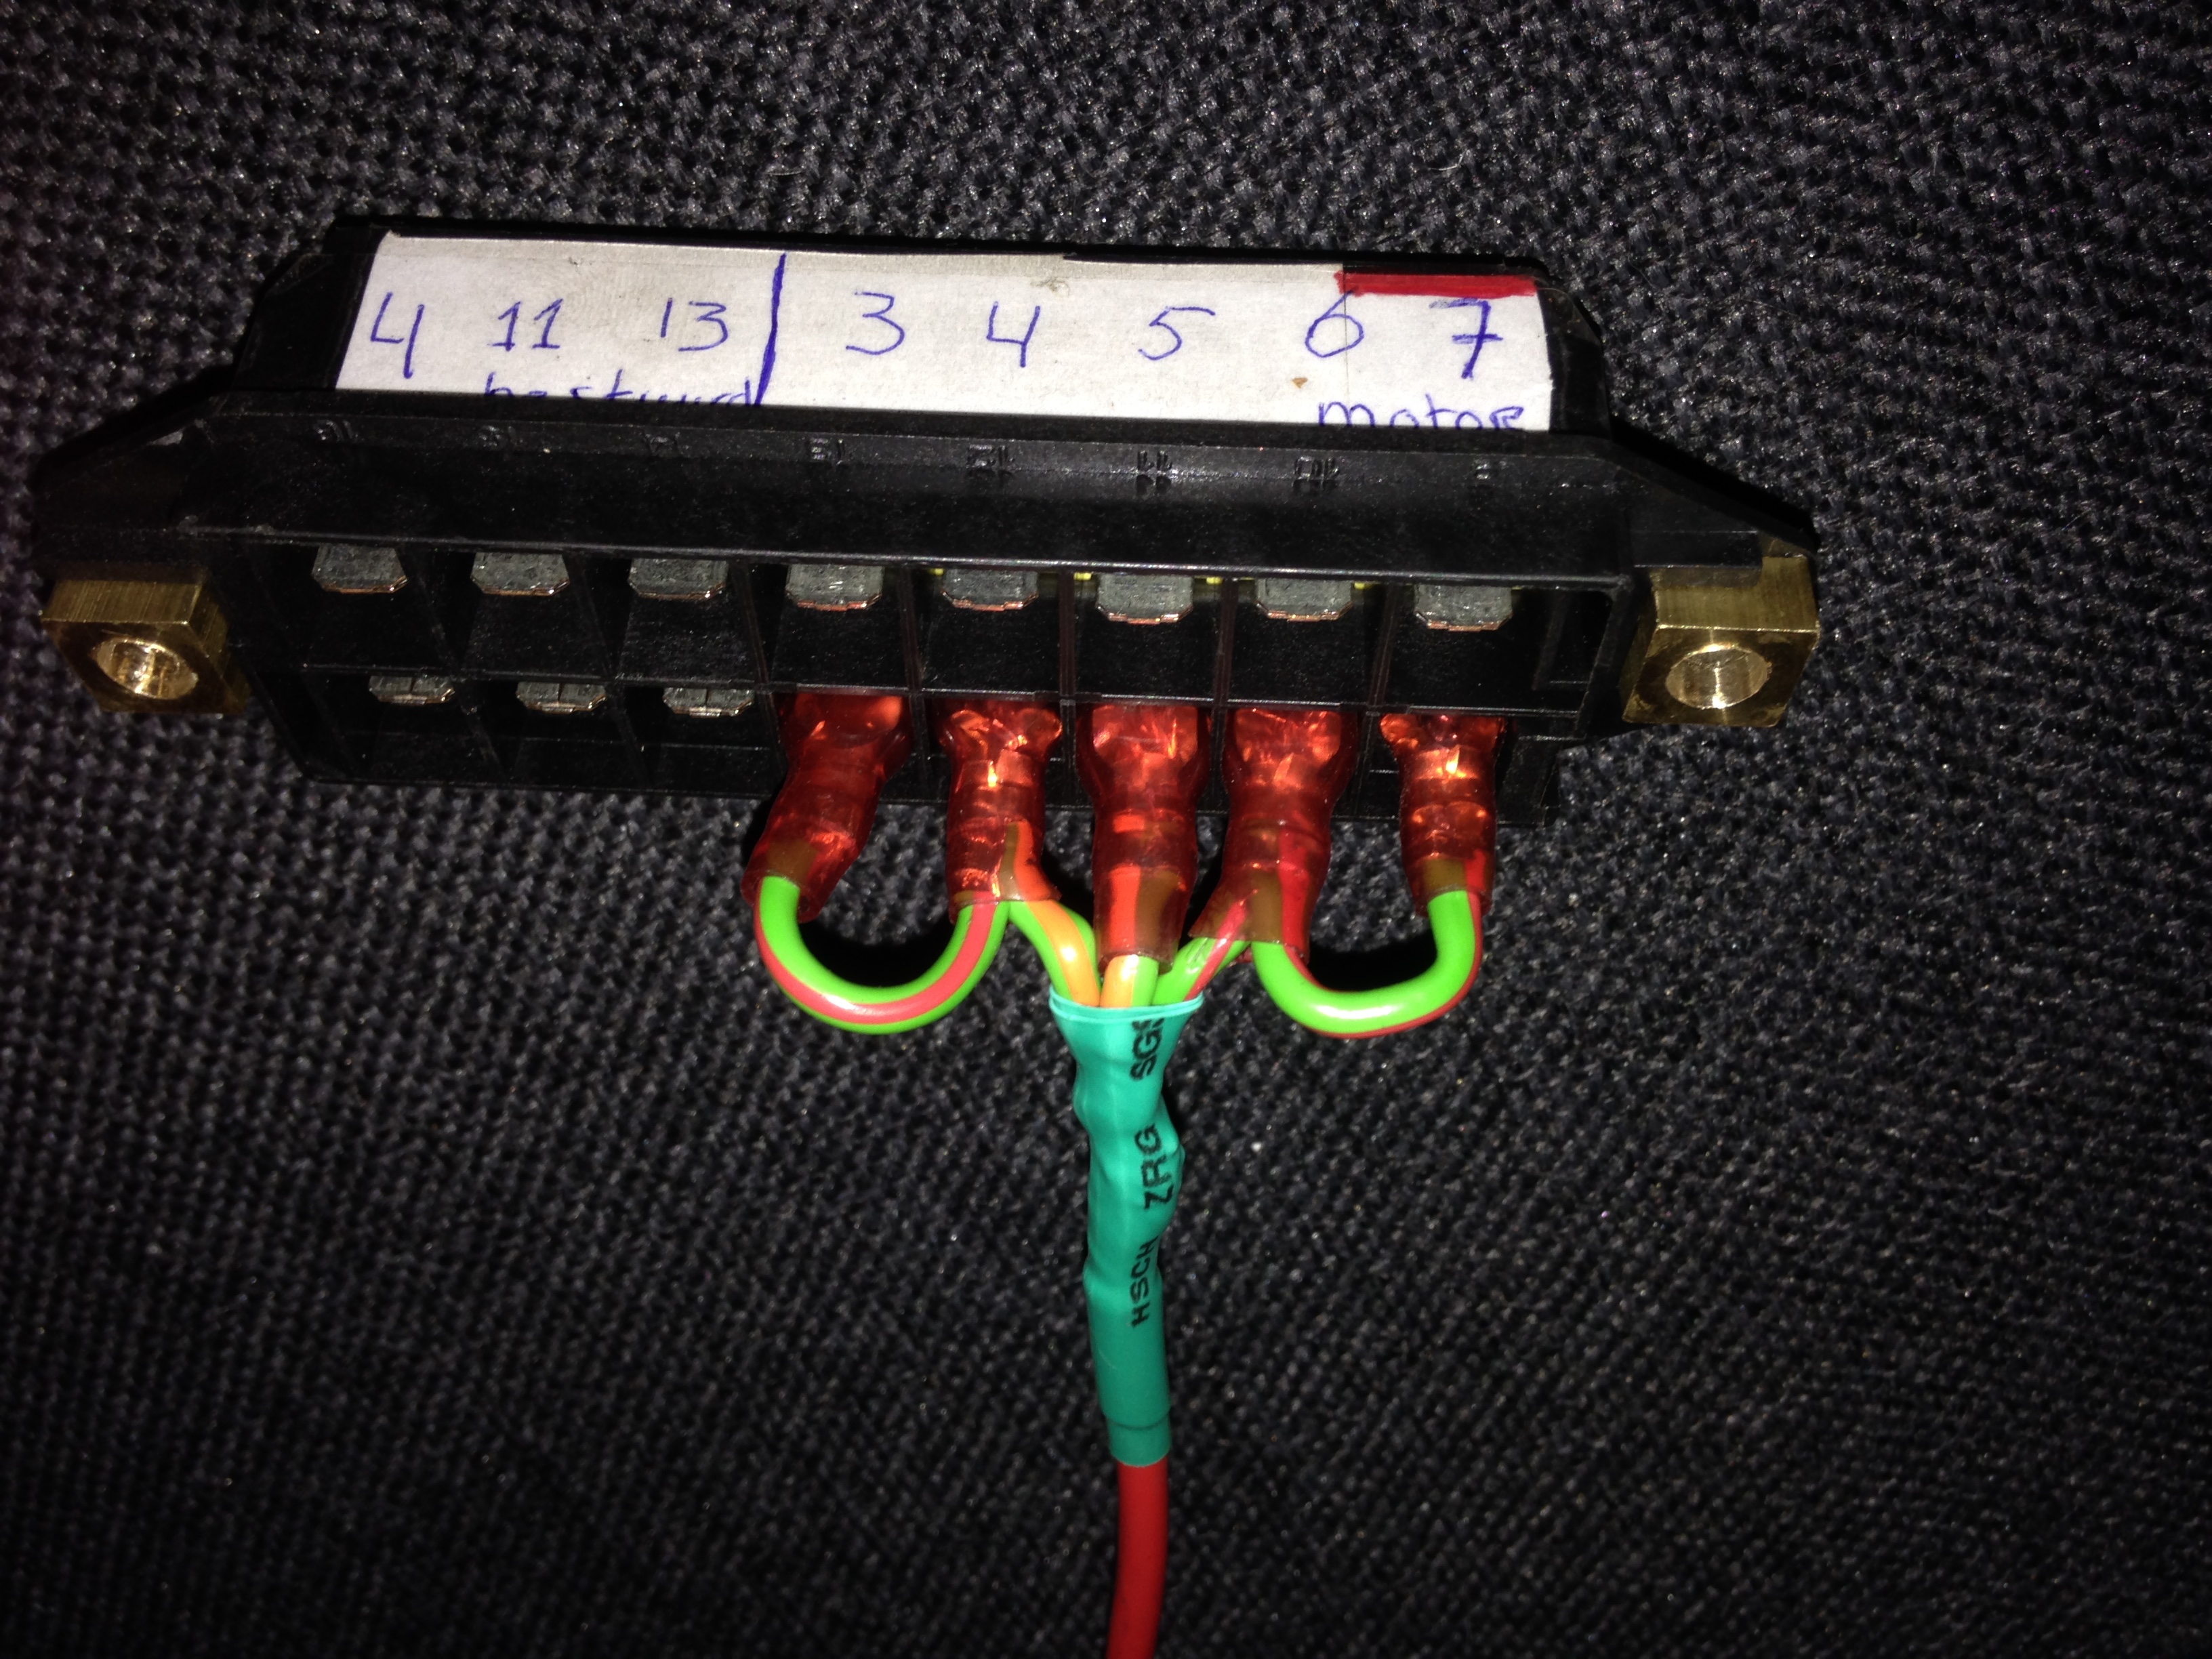
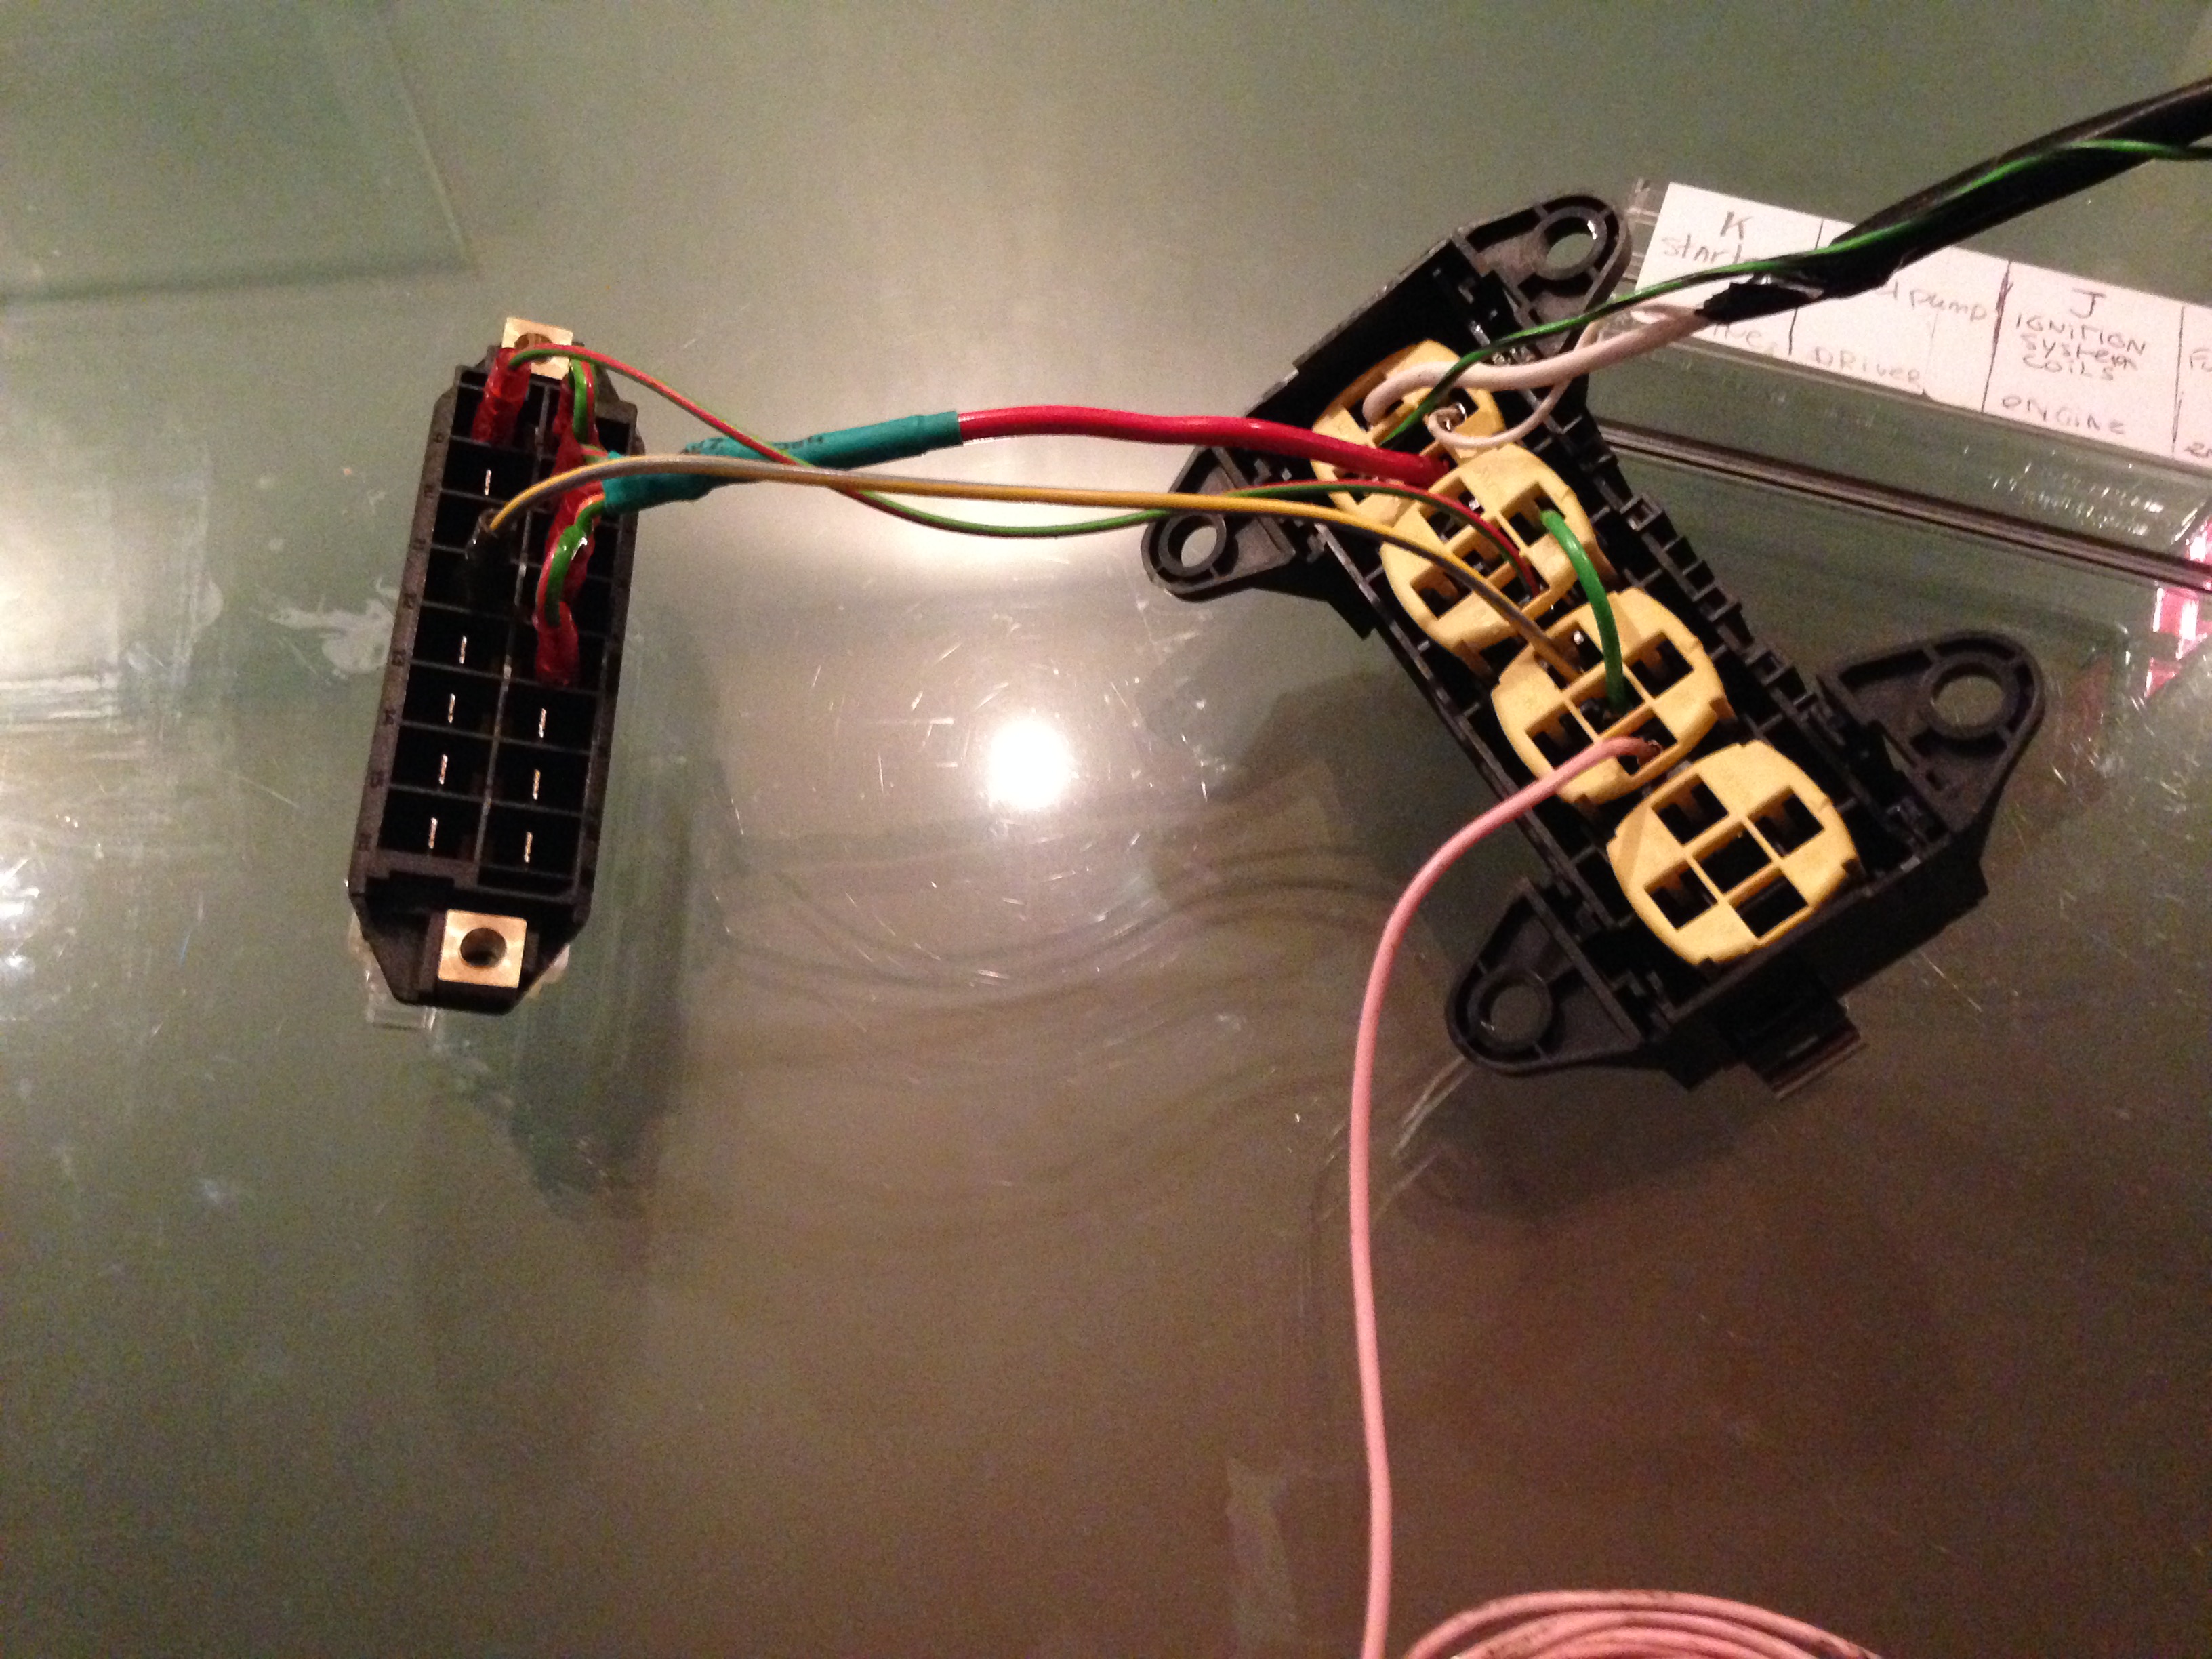
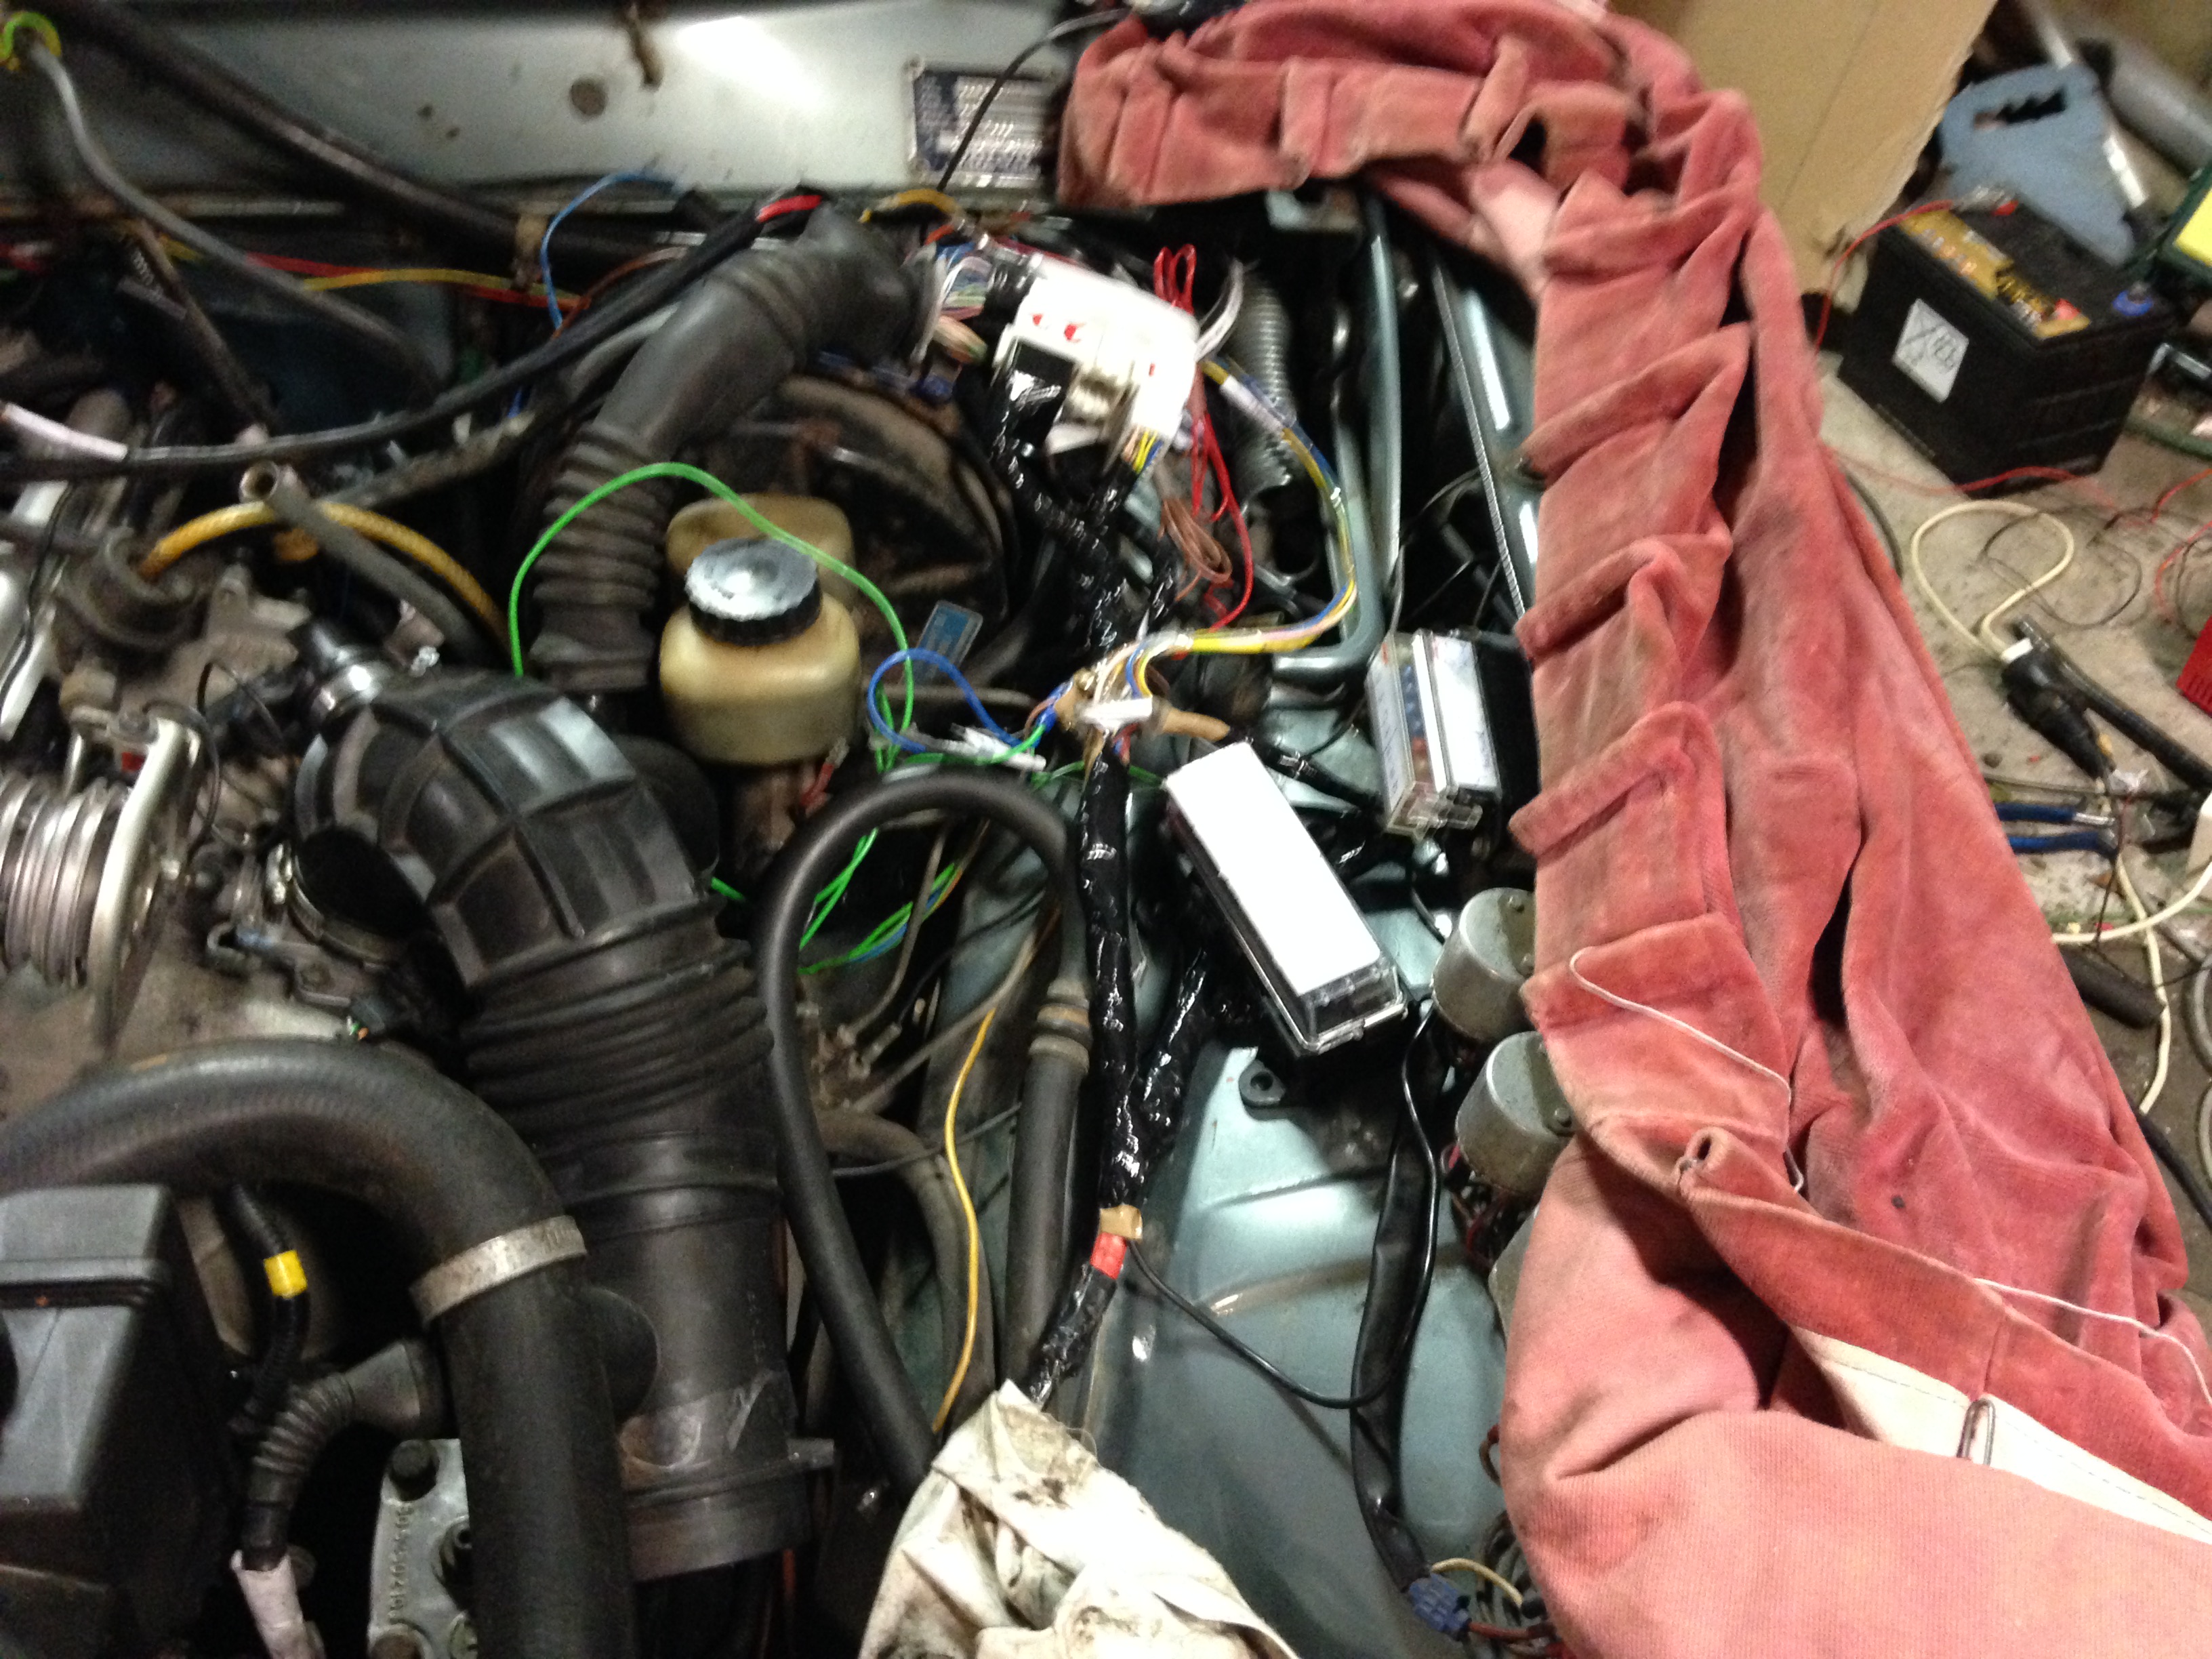
Started the wiring for the new fusebox and the new relay-box wich will be located underneath the hood in engine compartment
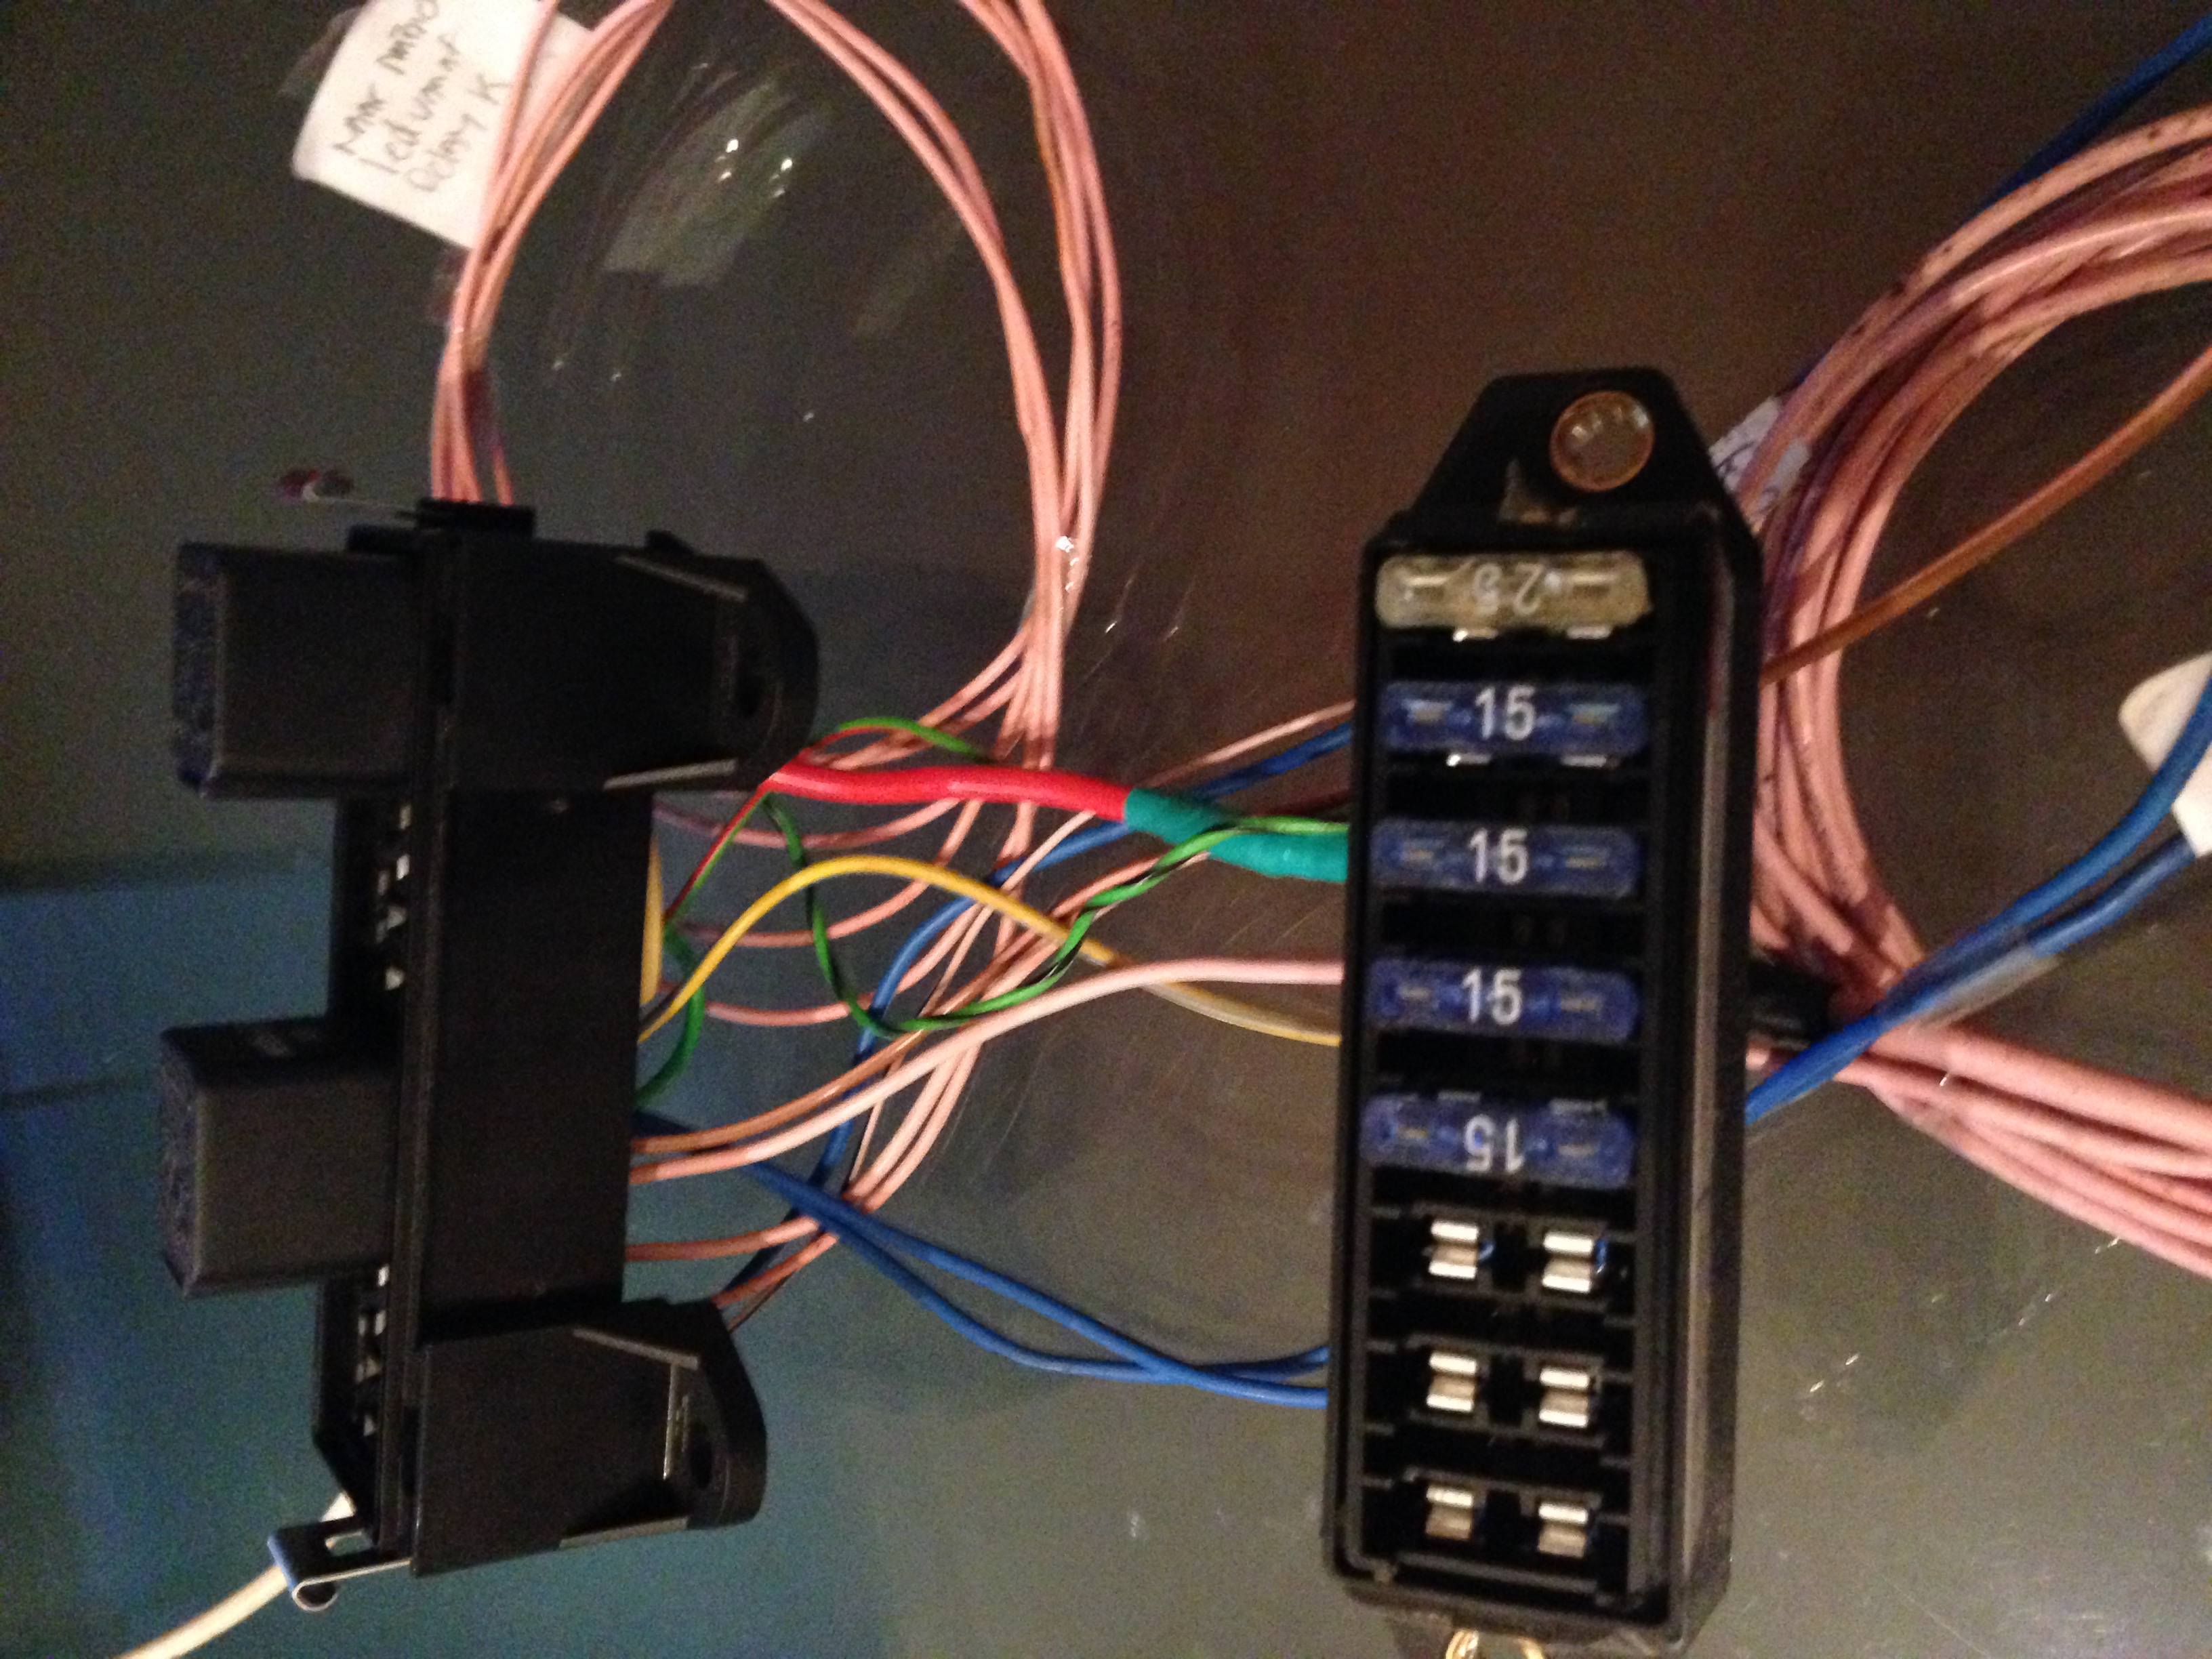
Next pic is with the fuse- and relaybox (fits the needed 4) with some more wiring attached, lots more to go but hey....it's a start!
I'm using the original colouring for the wires so I can allways use the original wiring diagrams as reference, together with my
new wiring diagram. Basically it's all connected, well....going to be, not just jet :-) in the same way as it was in the S90...
Pink is for..... right, fuell-pump!!
Look it up in the wiring diagram if you want :-)
And today I did some more wiring stuff on the new fuse/relay boxes
Also today I picked up my adjusted exhaust-header wich was machined-down /skived off, seems to fit now! Next week i'm getting the other one so hopefully that
will be the end of it and I can put the engine "on the spot" and create the exhaust-side engine mount
June 2, Meanwhile back at the ranch...
Go the ECU and TCU back online!!
It was a bit of a challenge to get the ECU online, missed a wire.... But after checking the schema's I found
out I forgot to connect the blue wire :-) (seriously, going to fuelpump-relay, coming from the ignition switch also needs to go to ECU:B46A pin 12, just so you know...)
Pic here is first test-connections, wiring will be routed nicely off-course but I wanted to be sure the basics work!
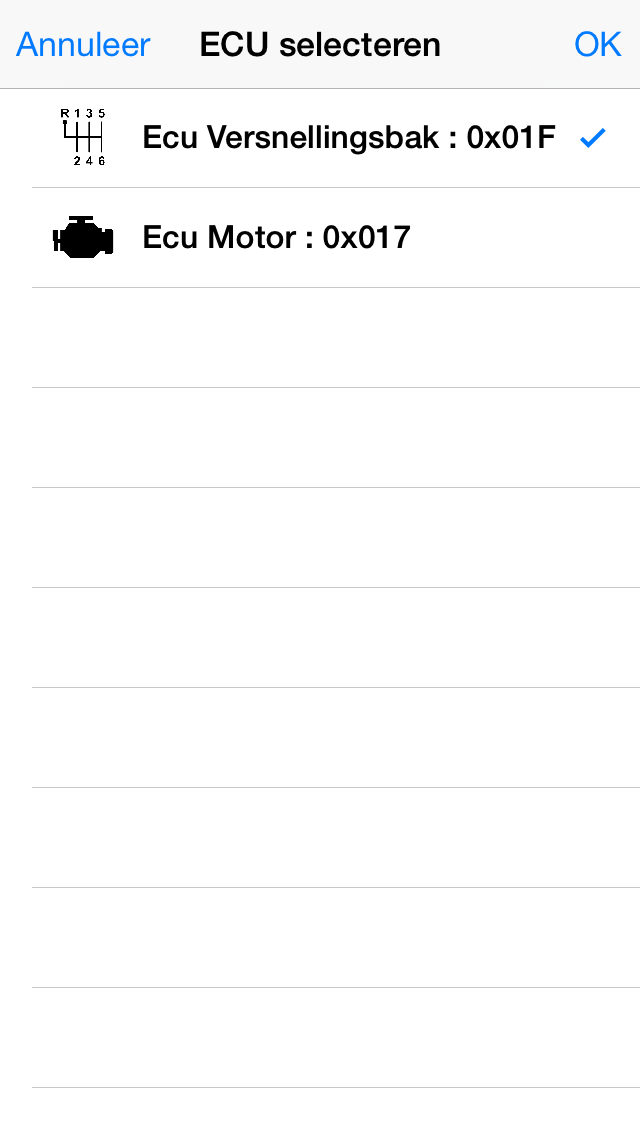
And below it shows the screenprint off the Iphone OBD app with 2 ECU's available :-) Motronic and the Transmission computer
And some readings (Using a wifi OBD scanner with my Iphone), offcourse some are still wrong/missing since not everything is connected!
But I'm a happy man to see them online again!
June 25
Houston we have lift-off!
Got the engine running this weekend, yippieeee!!!
Bad news was it started then stopped immediately... After suspecting the cranksensor, doing some testing it didn't seem like the cranksensor was bad
I decided to first rule out that terrible immobilizer thing... Turns out the immo doesn't only just disable fuelpump& starter but even more, it also sends a signal to
the ECU. If that is'nt sent the ECU will cut off the ignition system. So after connecting the immo unit back again the engine started and...
kept running!
Because there's no coolant in the engine (radiator is still out) I only let it run for about 15 secs, long enough to get it to stabilize and
run on a perfect idle speed. Also because the exhaust headers weren't in place the noise was too much anyway.
But good news, engine is running, this week i'll hook up the wiring for real, get the exhaust headers and some pipes attached to it and
put the radiator back in, then for a longer testrun
I'll post a vid if it keeps running :-) but for now it seems I'm a happy man!
July 21 So, here it is, running like a baby!!
Connected the radiator (and some hoses too :-) ), filled it with coolant, poored in 5.5 Litres of oil and fired it up!
Since i did some cleaning, greasing and messing about there's some smoke coming off the exhaust-headers and because there's no muffler yet
it sounds like a true rally car :-)
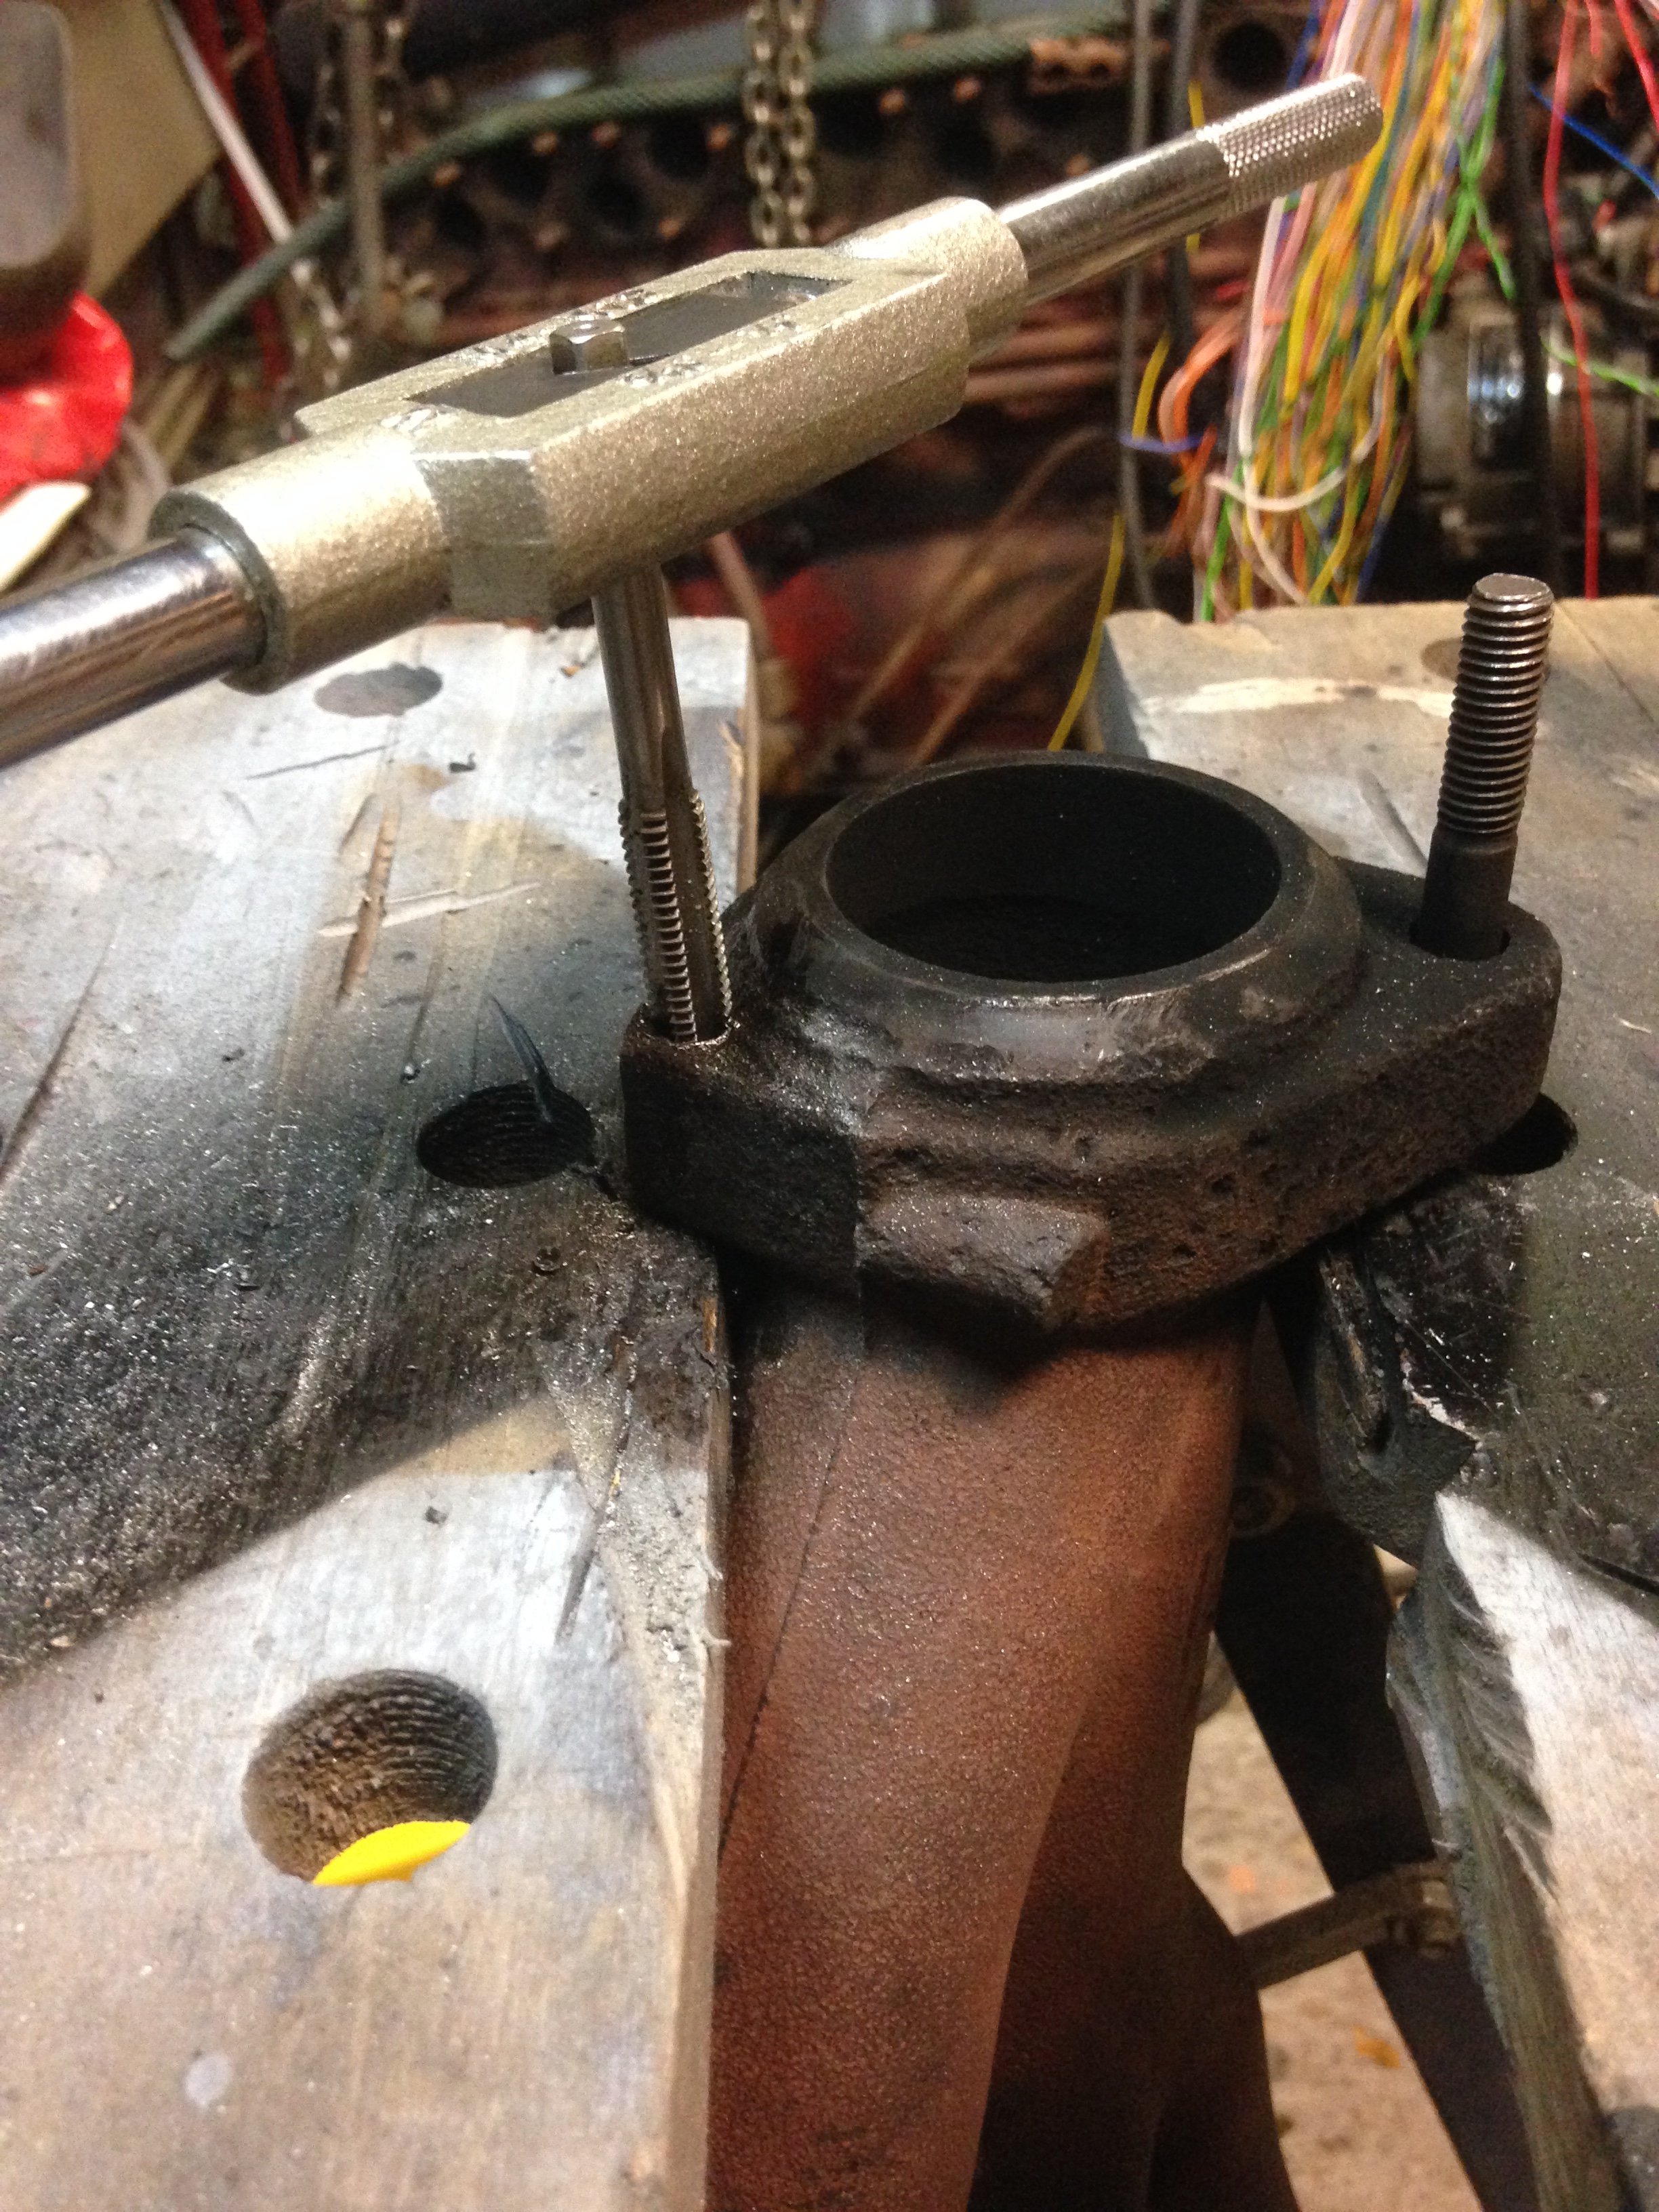
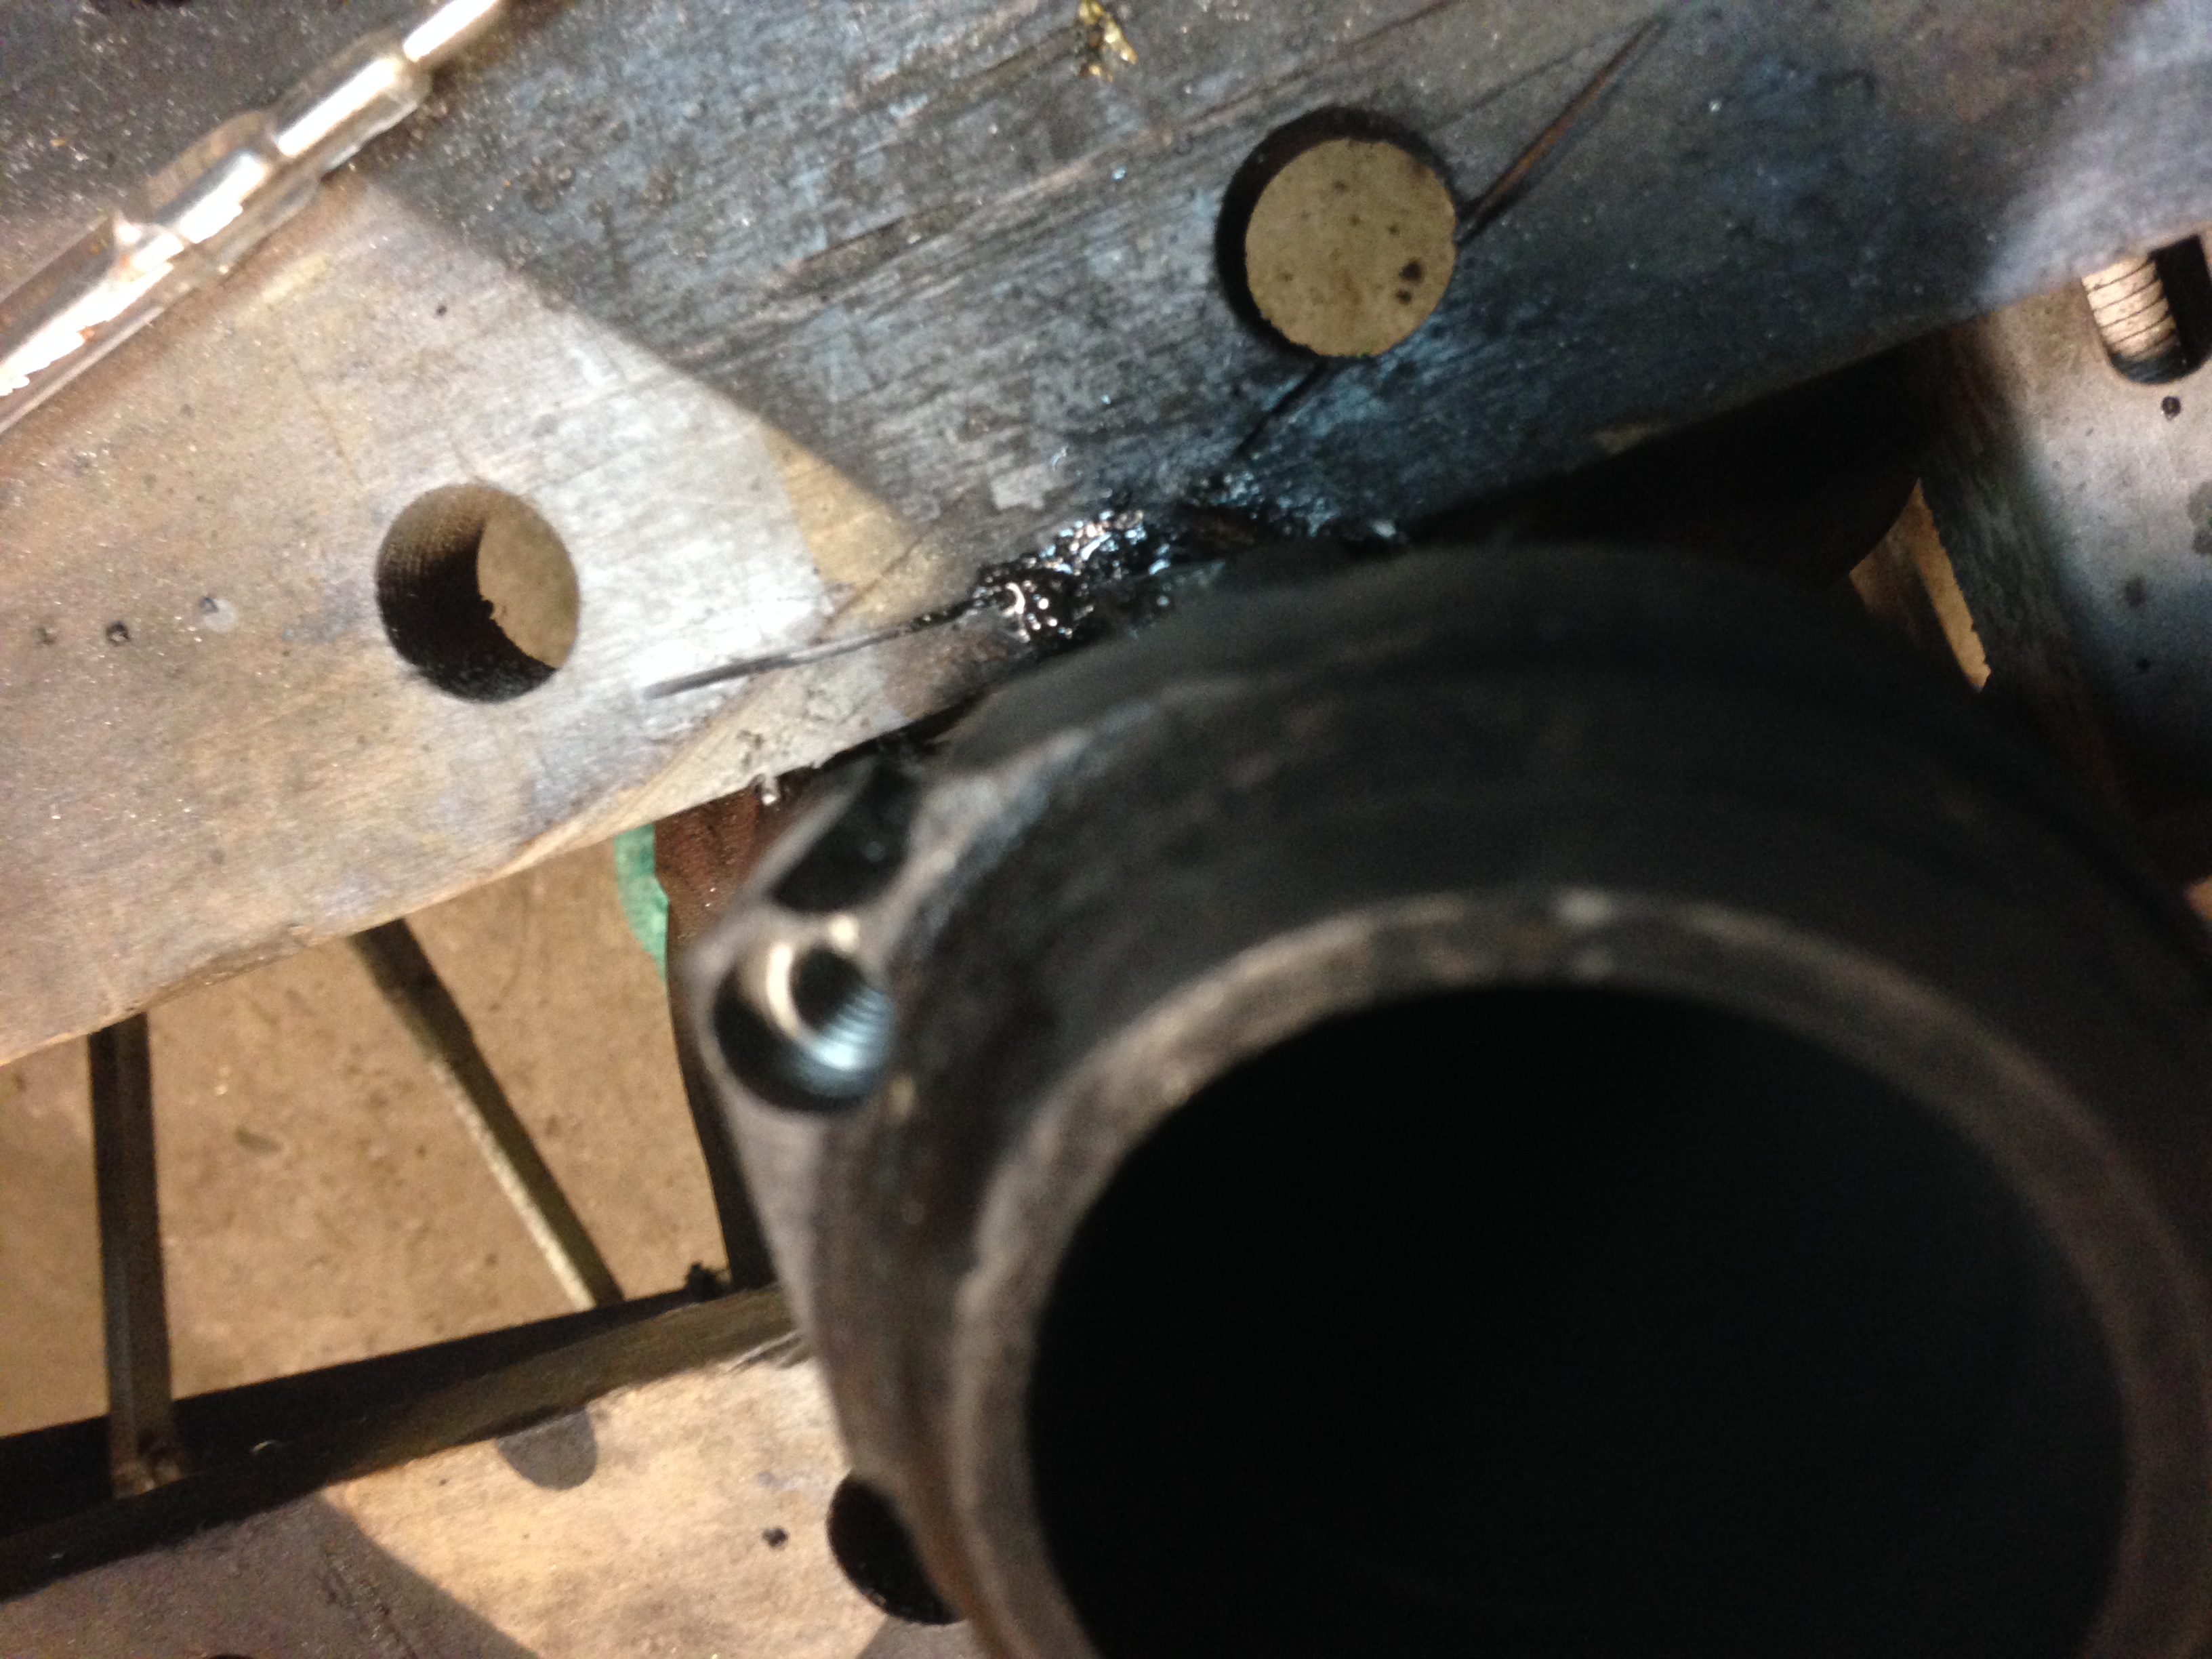
Also I had to change the flange for the back exhause manifold, since room is scarse I moved one of the bolts a few mm. Had to make a new screw-thread as you can see in the next pic
And here you can see the new screw-thread right next to the old one so that gives me some extra room since I could scrape off a few more mm's from the flange (wich was too close to the chassis) by relocating that thread)
Now there's still lots to be done, the wiring still is hooked up as a pre-production version :-) but since all is well I'm going to finally tuck them away like a pro :-)
Also the intake side needs a bit more work, clearing is still minimal so I will need to take off about 5mm from the intake manifold to
make a perfect fit. But all in all it seems like it's getting there...
Next is getting the alternator in it's place (next to steering pump) and do some cleaning up for all the wiring/fuel-line/brake-lines etc.
Oh hell, forgot that I need to make myself a muffler that will fit onto the original last part
After that it's time to turn the car around and swap the rear-axle with a 244 axle that has a speedsensor (and lsd diff)
And after that...? Drive!
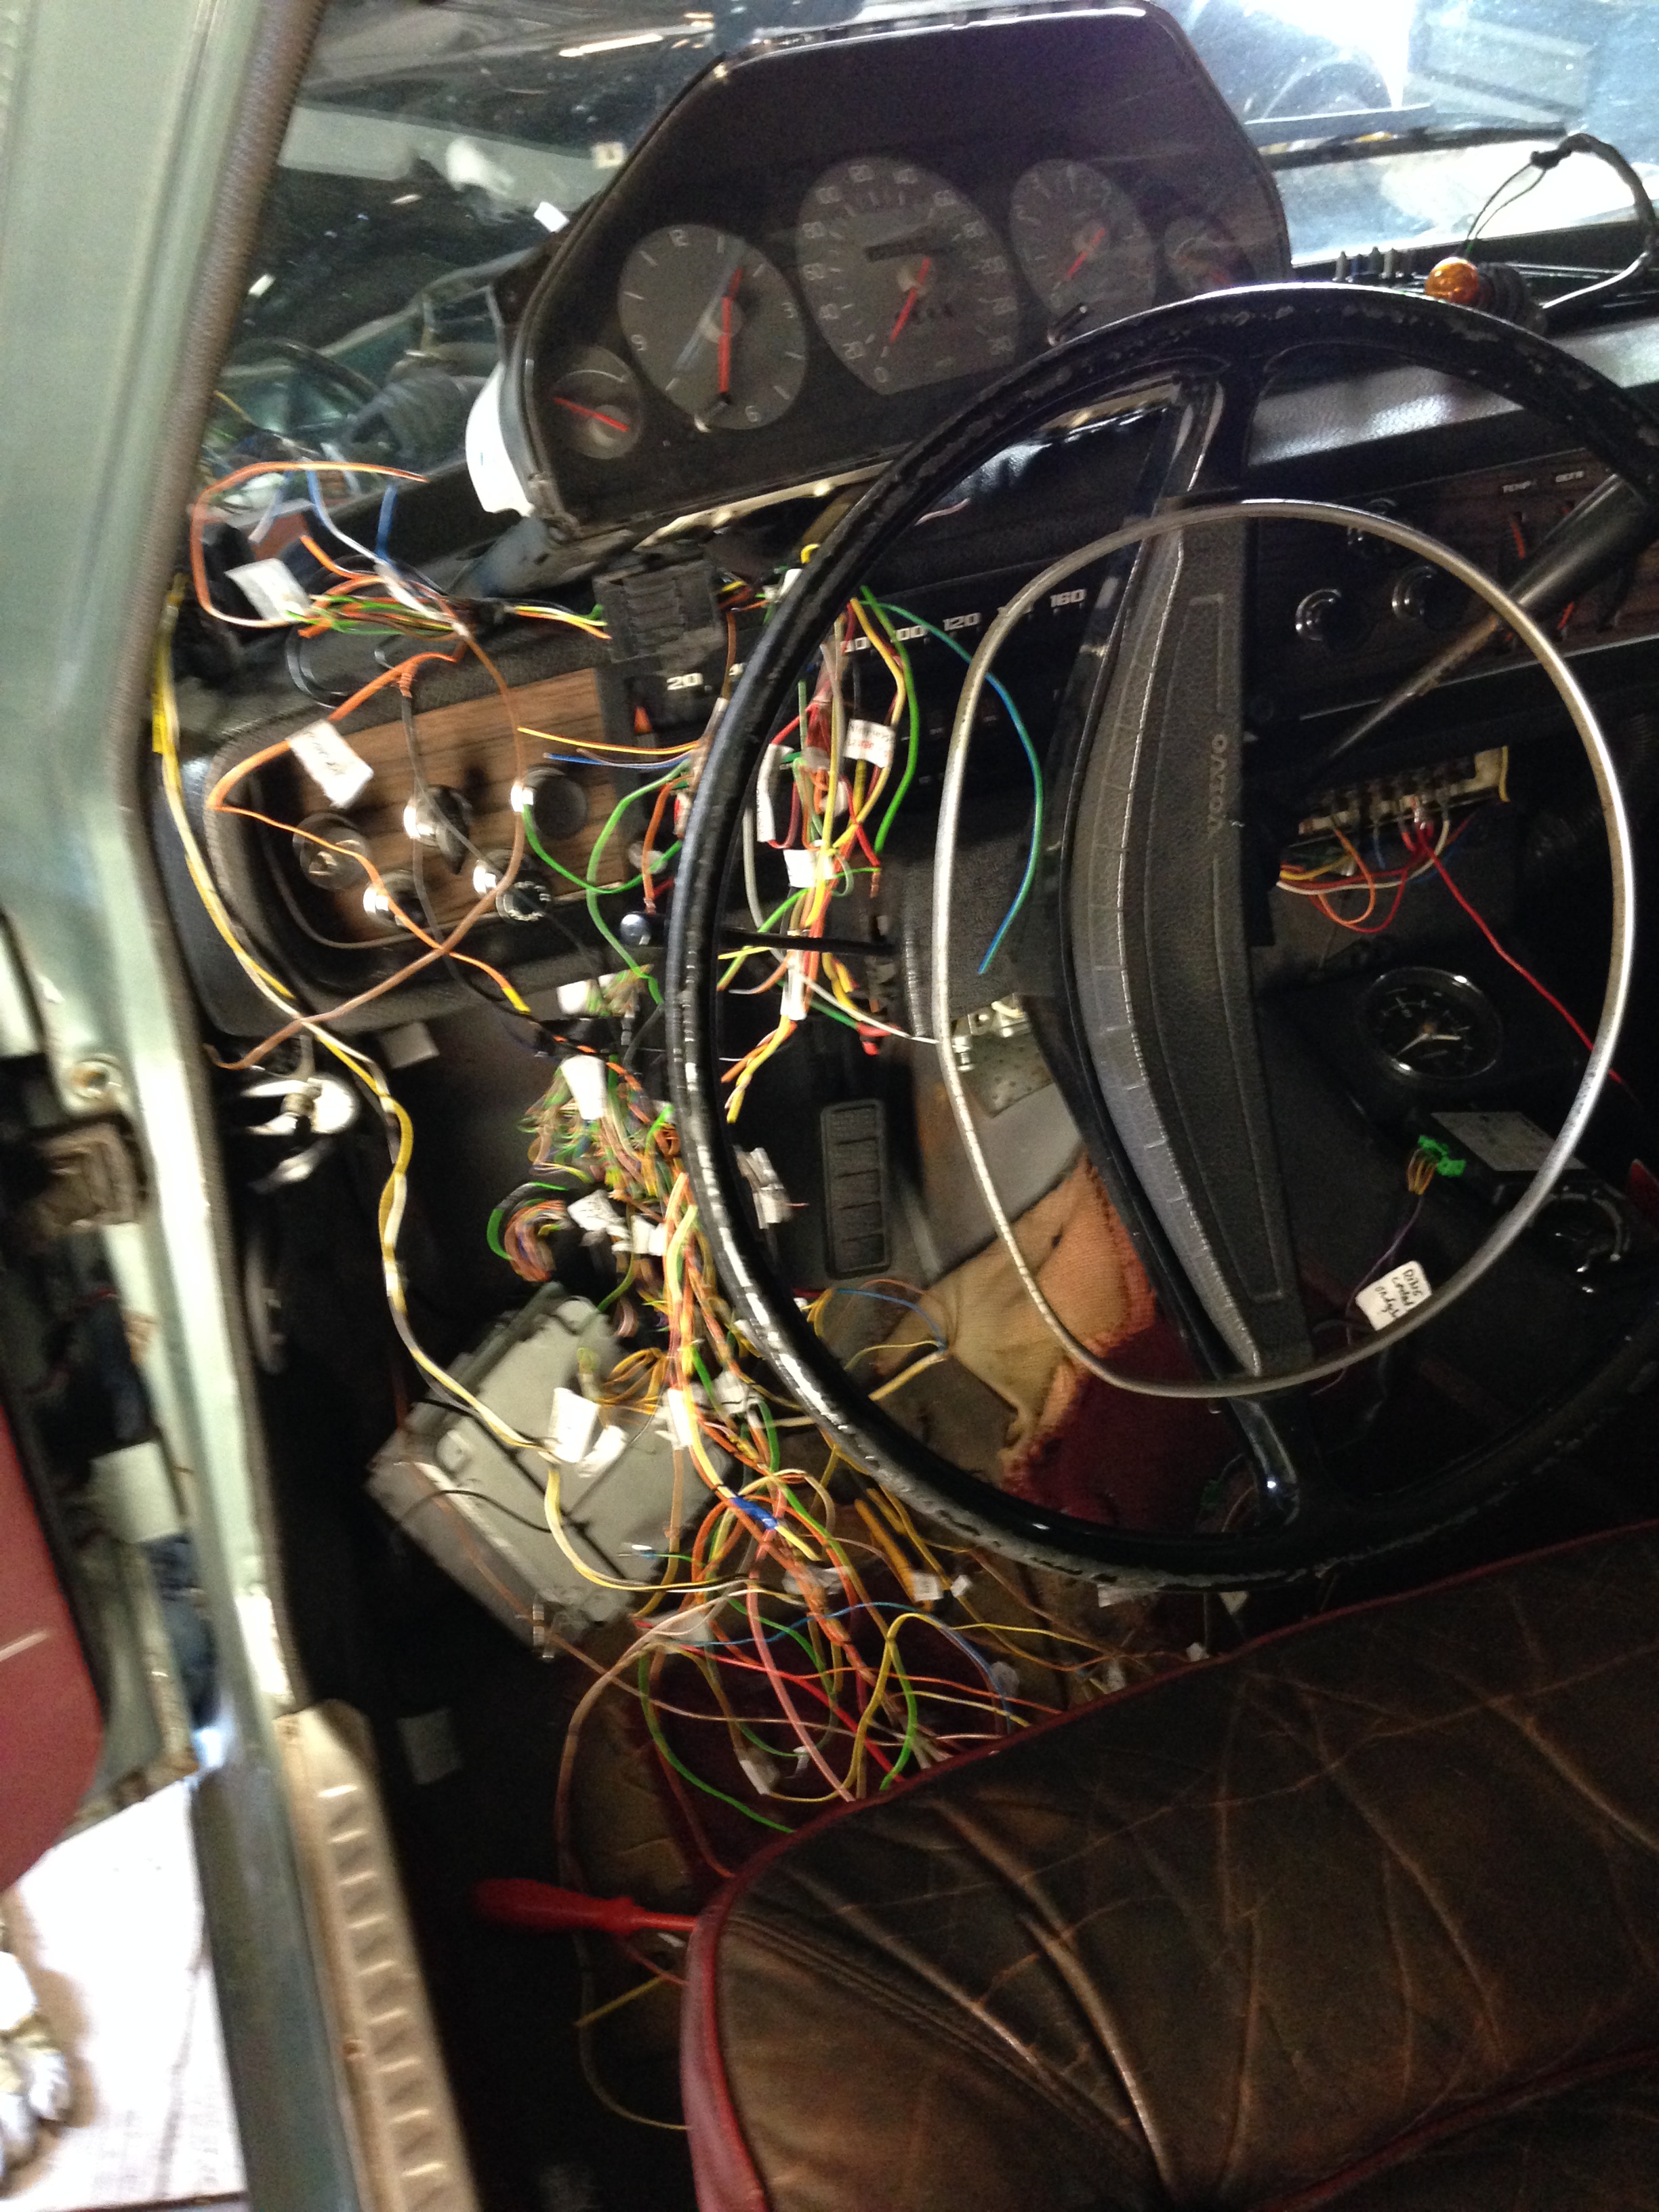
Forgot to post a pic of my Dual-Dash :-) :-)
Had it installed to check some engine-lights and RPM. Since it all checked out I'm now going to rewire the stuff to my old dash
Might fit the revcounter in the center-console where the clock is, not sure about it yet
And wiring under the hood is as good as fixed, was a lot of work to bundle all them wires....
Wiring in the passenger comp. still needs to be done (as you can see on the double-dash pic. above) but that's not too much work, a lazy afternoon will be enough I guess
Finally....it's actually moving!
It's just a few meters on the driveway behind my garage but still, it's good to feel that it's moving (as you can see, it even goes in reverse :-) ), now still some work to do...
Rear axle will be next, going to keep the original axle while trying to install a speedsensor. If that doesn't work i'll install a 240 axle
but I think/hope it's just a matter of installing that speed-ring and the sensor mounted on the diff-lid.
And some fine-tuning with a few parts (muffler/drive-selector is just on for a quick test and finishing off the gearbox mount under the car wich I welded)
Also I need to hookup the power-steering pump somehow and find a place for the alternator but all in all, seems we're getting there!
It's been a while, all is fine, car is used for fundriving and runs nice on petrol and LPG. Not much has been done lately since...well it's driving ok :-)